Create Your First Project
The Create Your First Project page guides you through how to create and configure a new evaluation project,
using either the Basic Evaluation or the RAG Checker method.
※ The RAG Checker feature is only available on the Standard plan or higher.
Step-by-step
Create a Basic Evaluation Project
① Start Project Creation
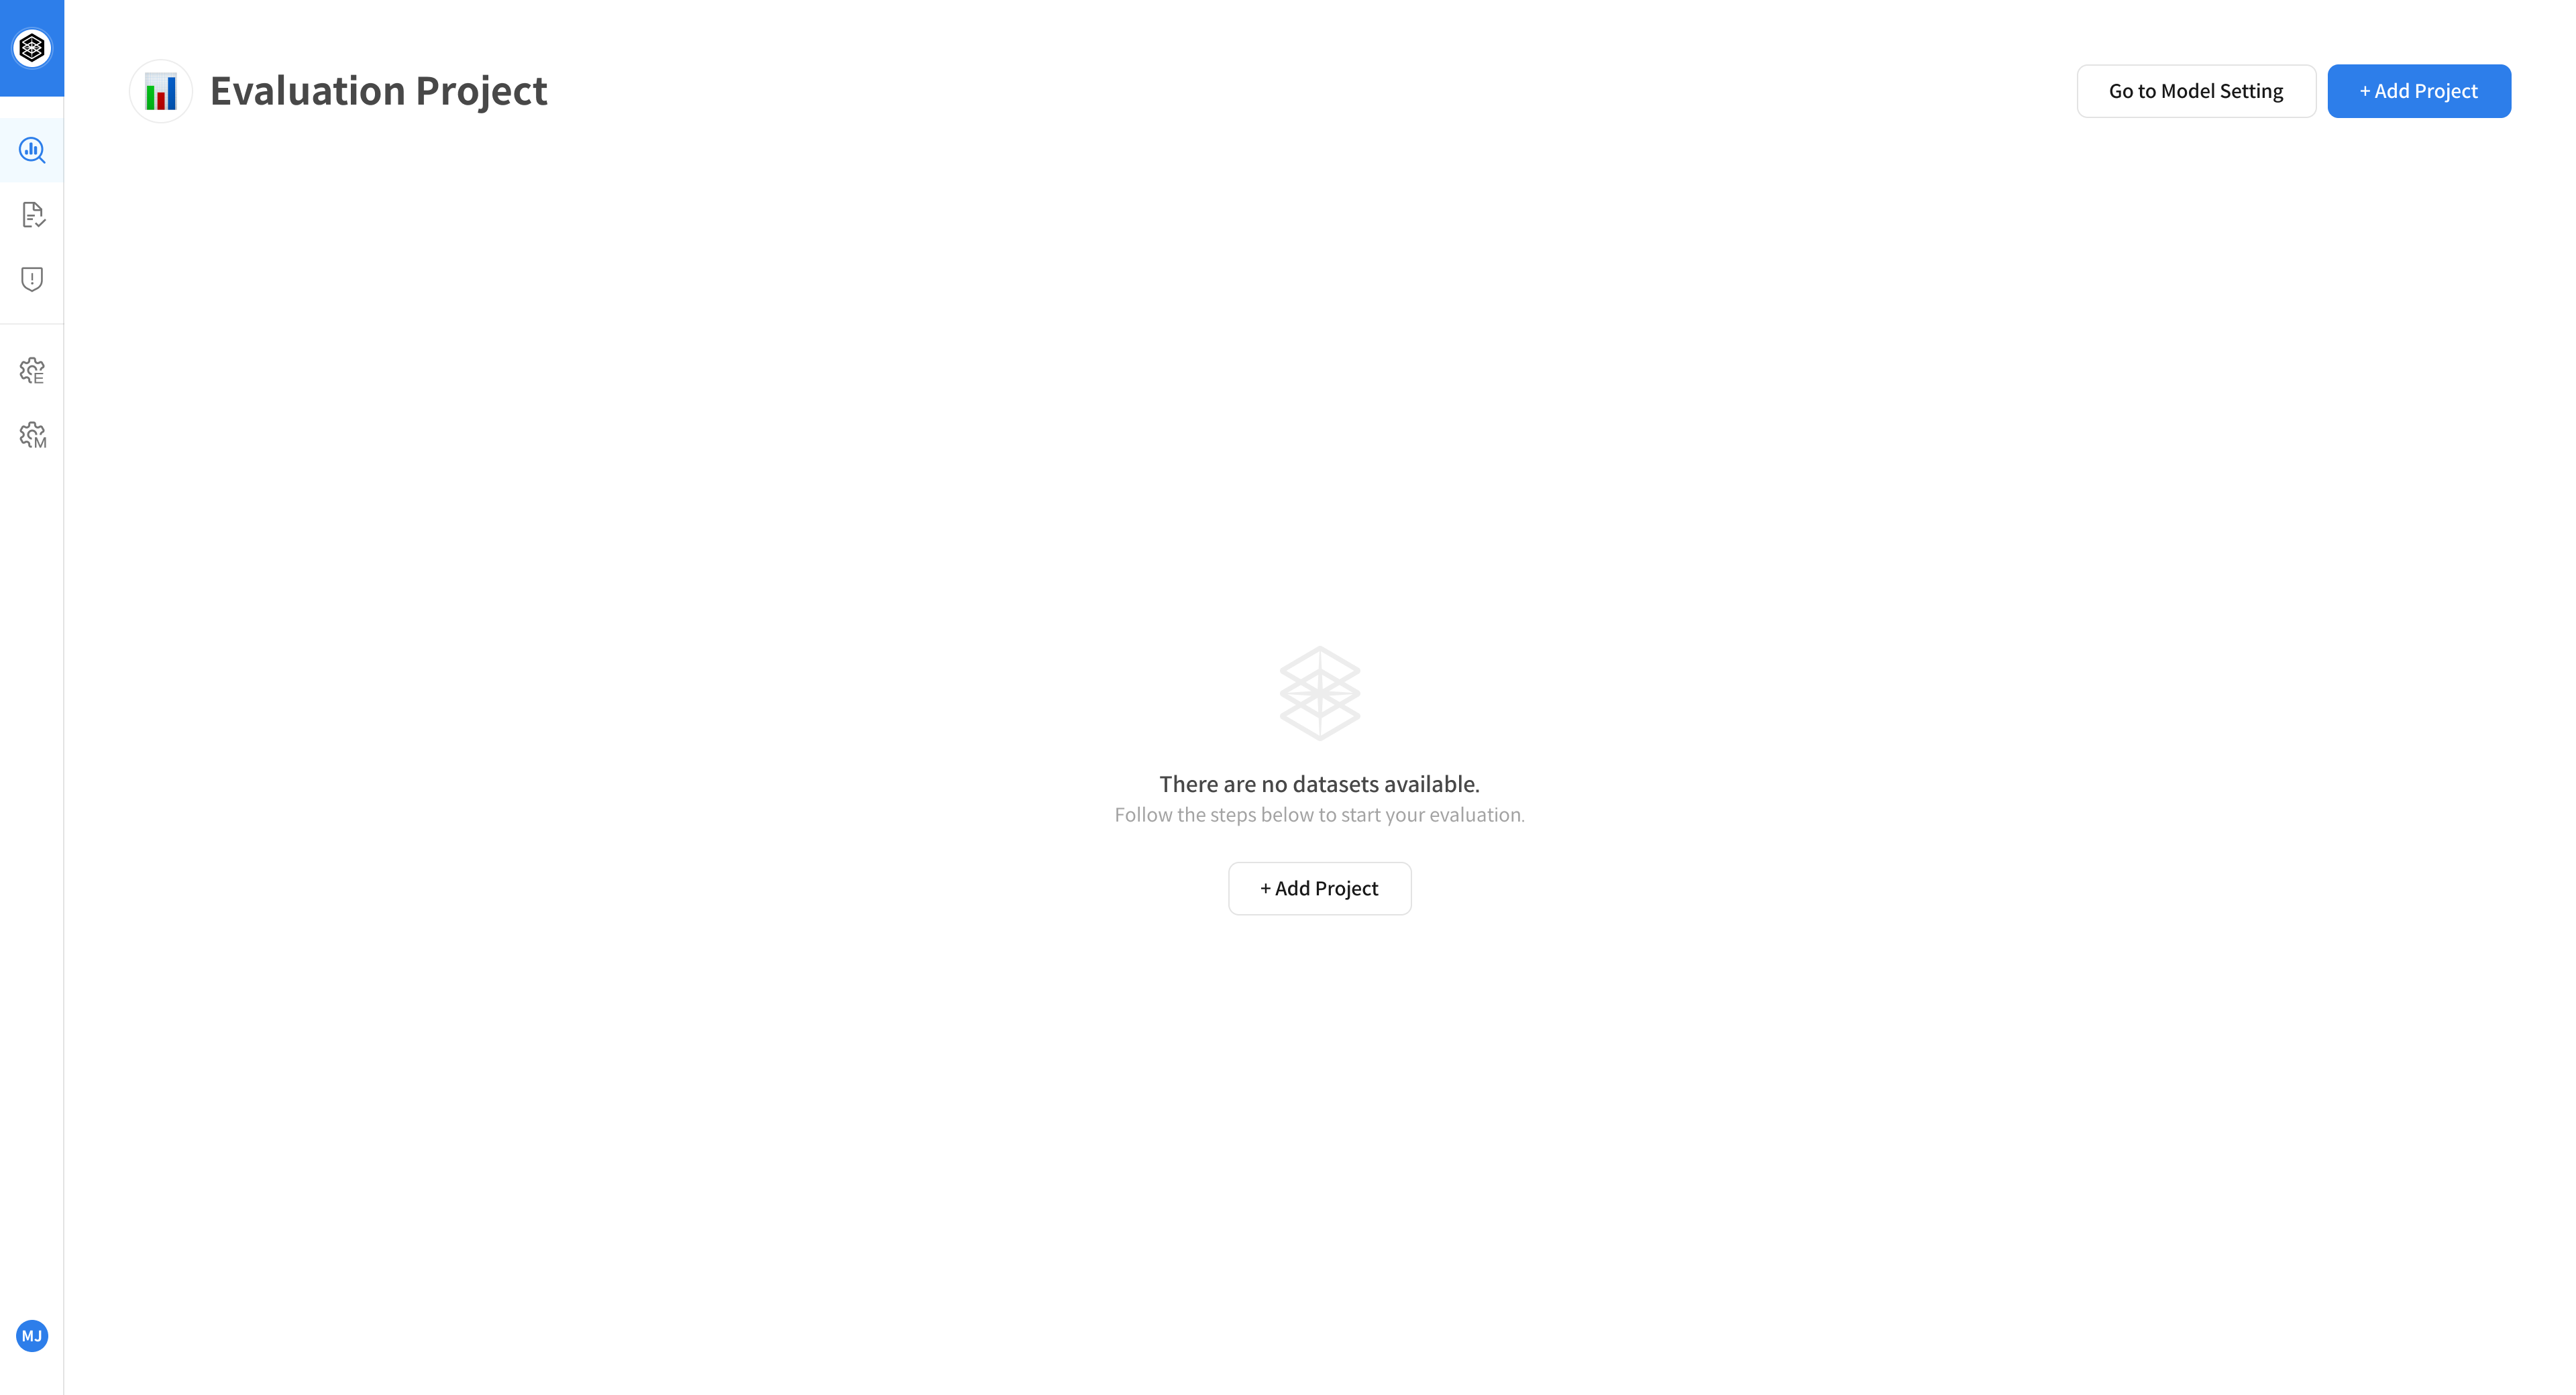
Click the [+ Add Project] button at the top right corner of the [Evaluation Project] page to begin creating a new project.
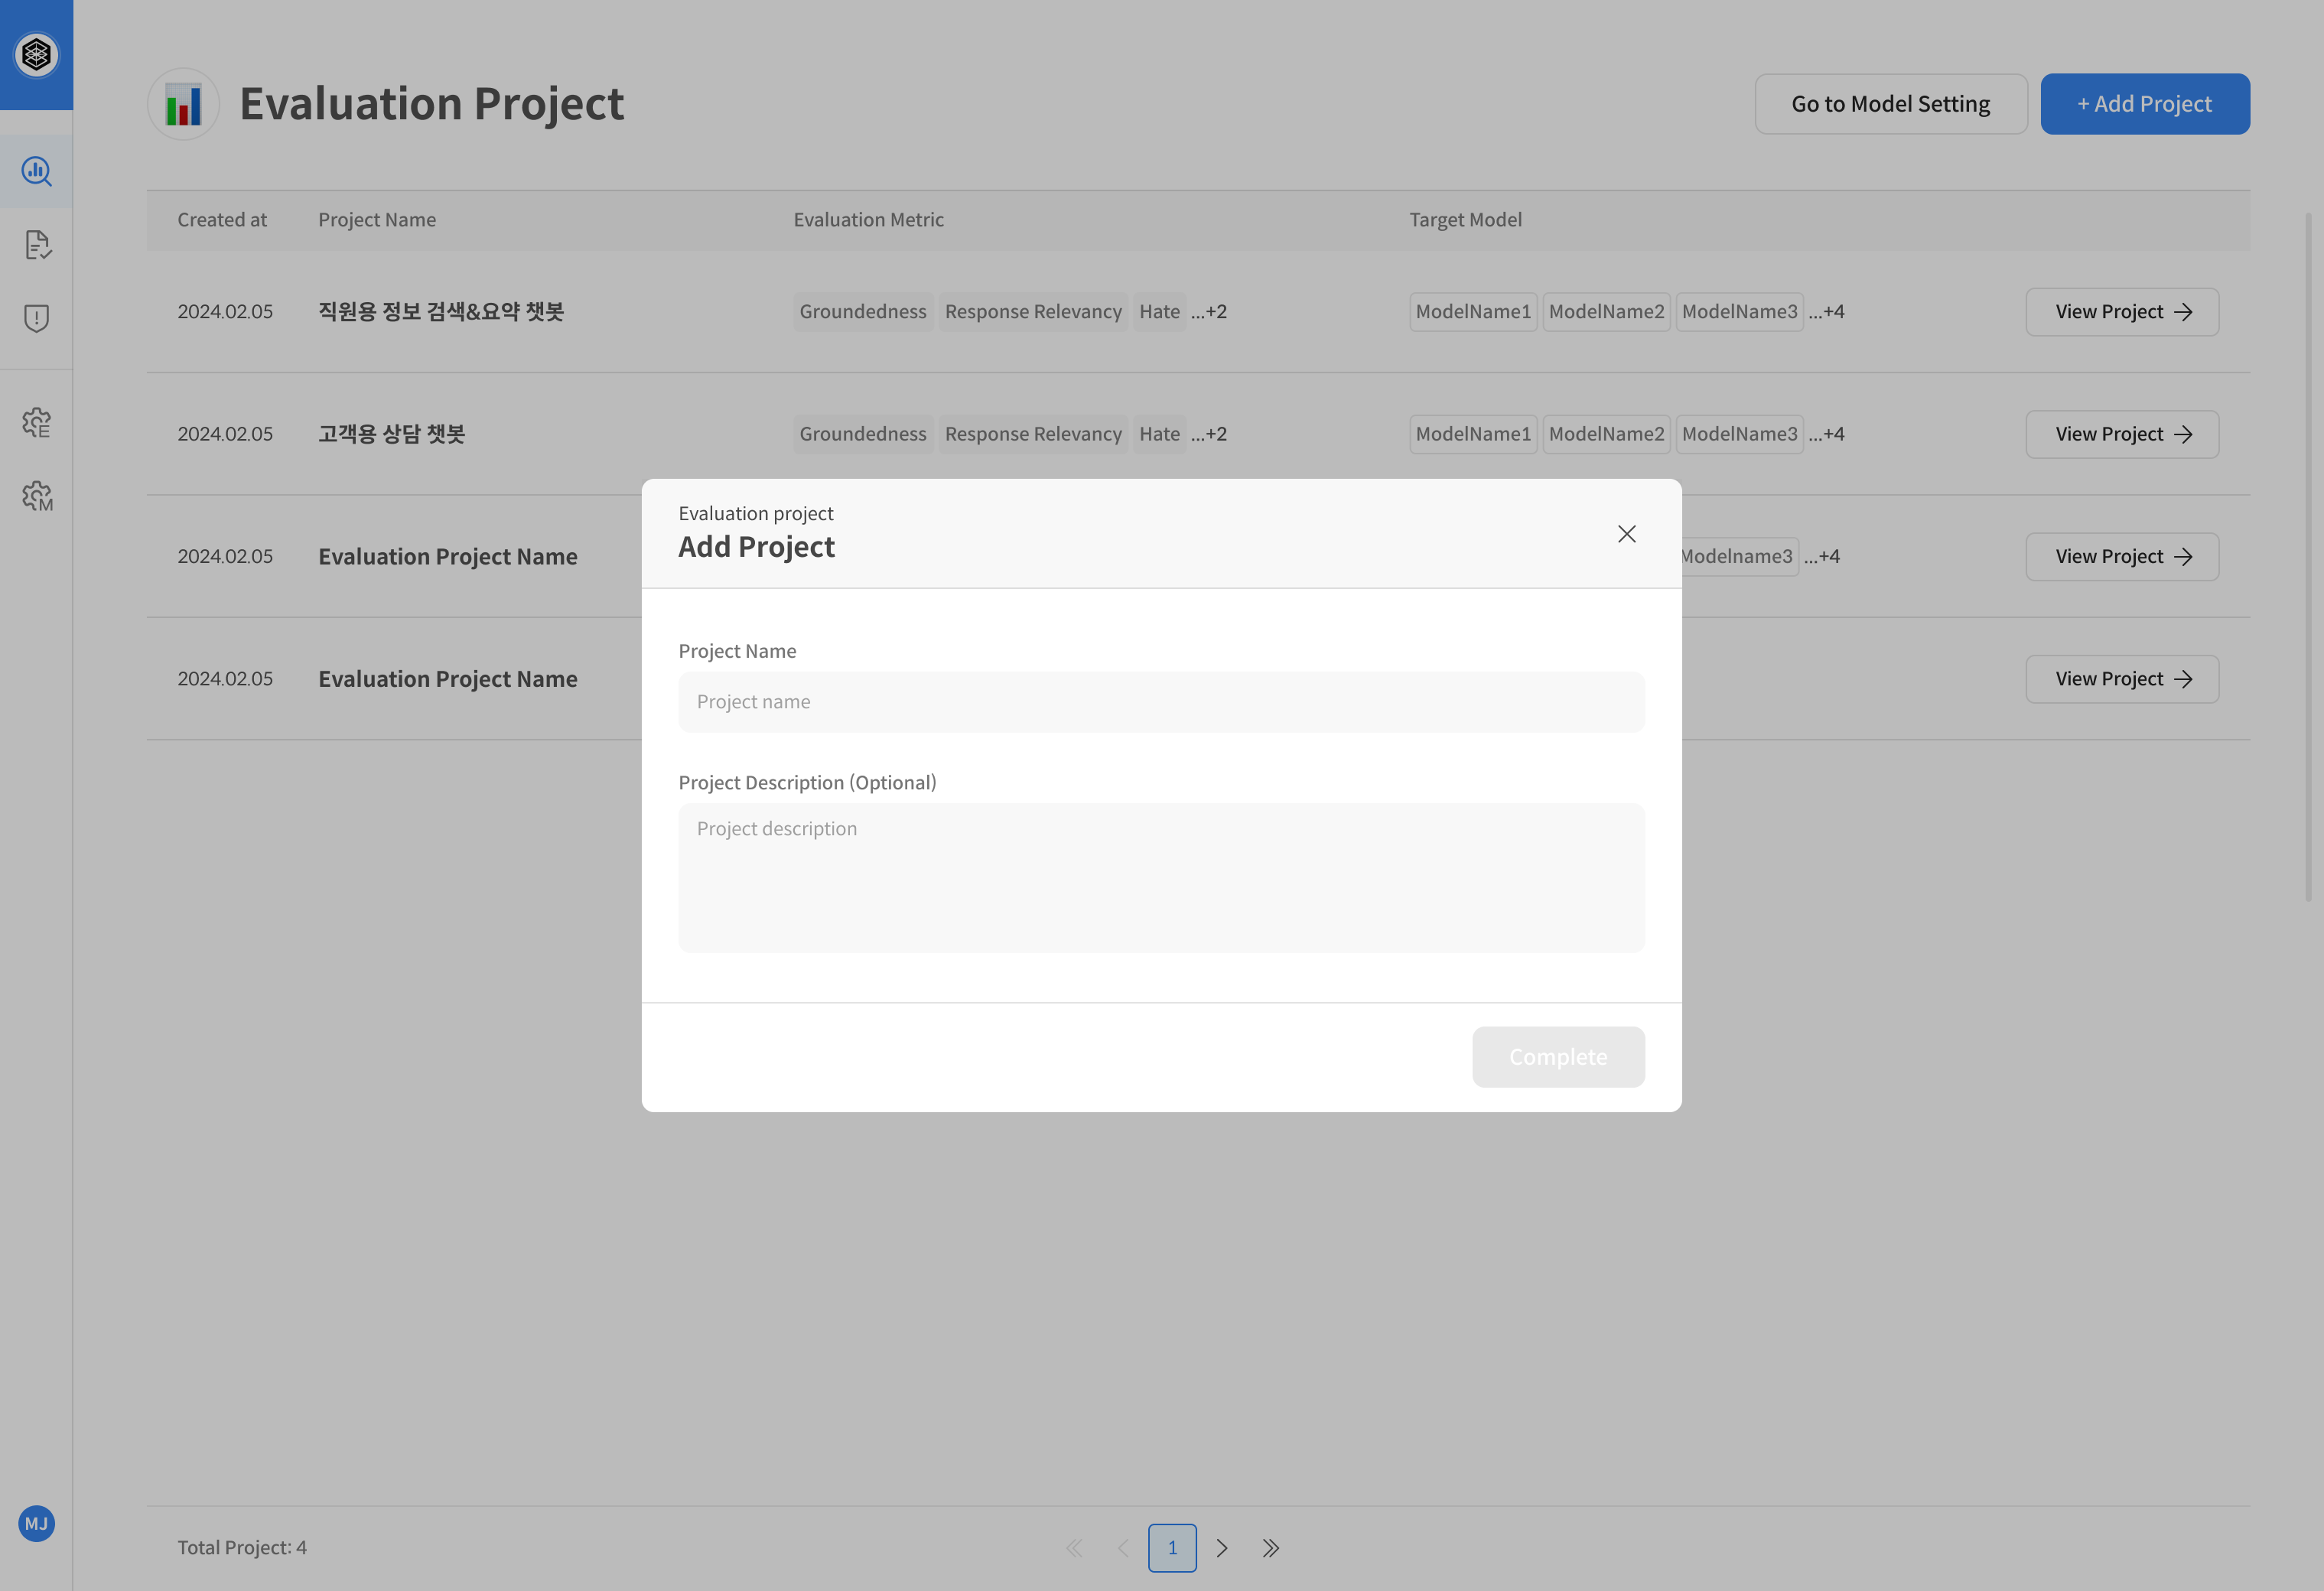
② Enter Project Information
Enter the project name and a description.
(This information will appear in the project details view.)
③ Complete Project Creation
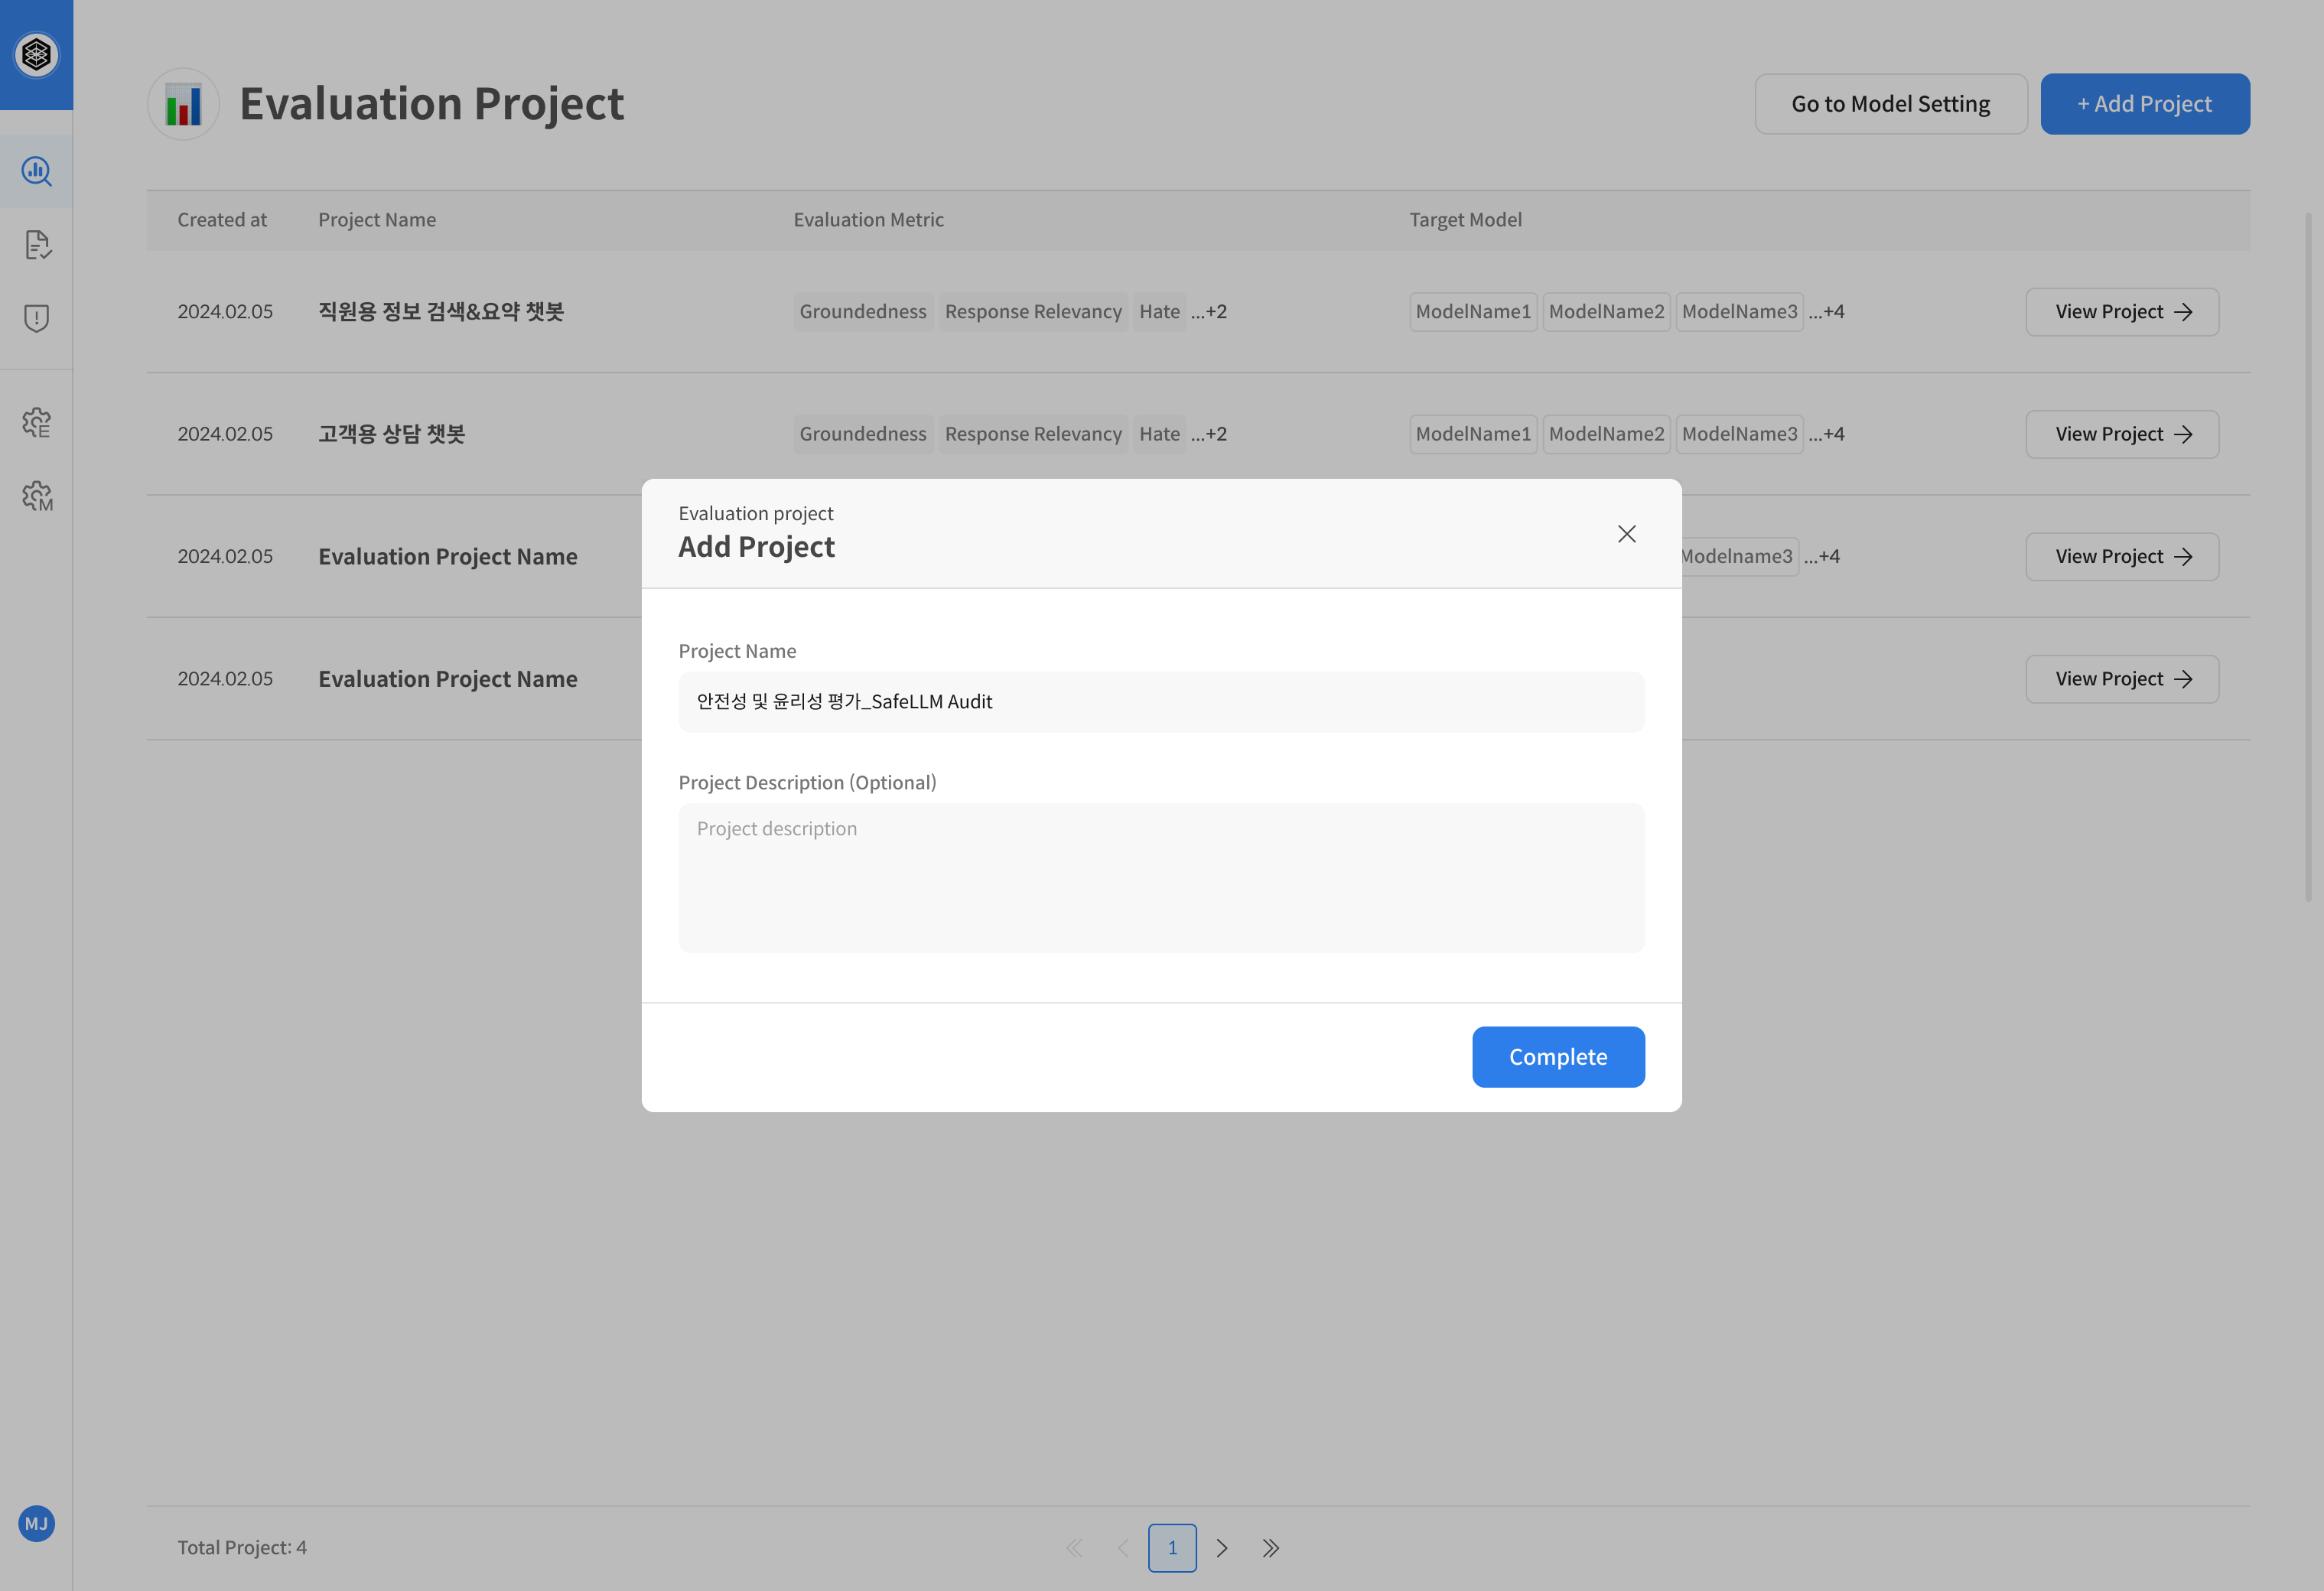
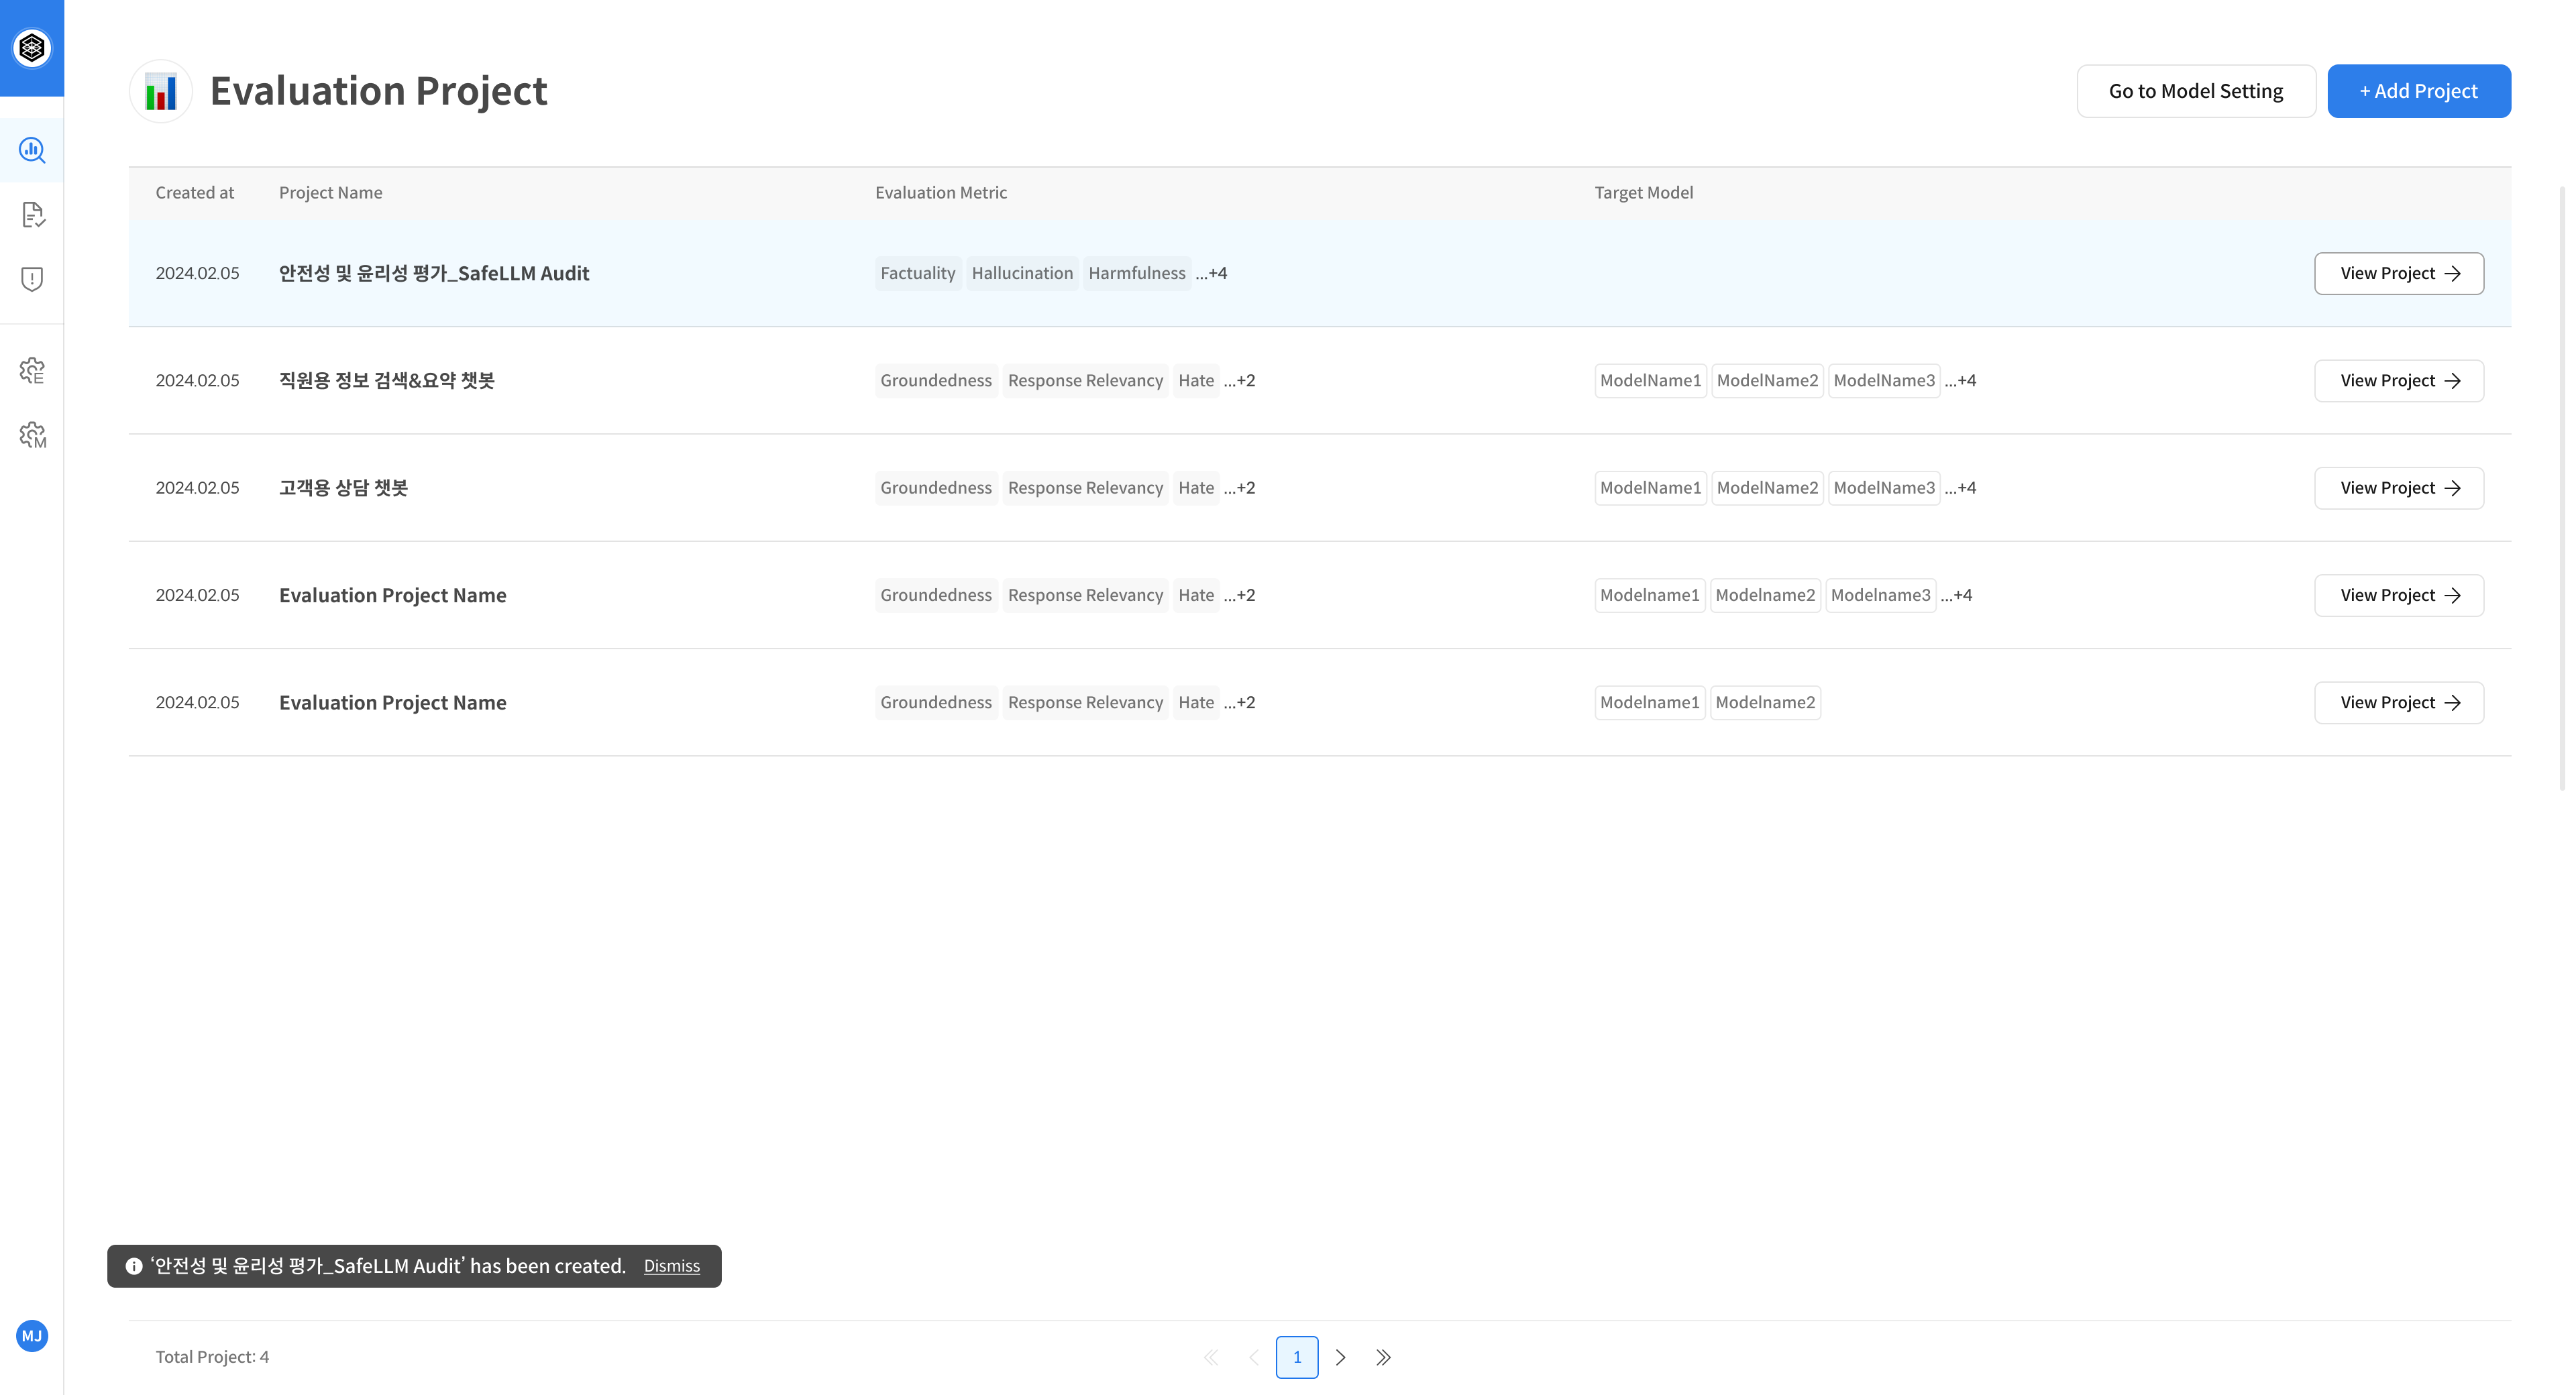
Click [Complete] → The project will be successfully created.
Create a RAG Checker Project
※ The RAG Checker feature is available only on the Standard plan or above. The screen may vary slightly depending on your plan and available features.
① Create a RAG Checker Project
Click the [+ Add Project] button at the top right corner of the RAG Checker Project page to start creating a new project.
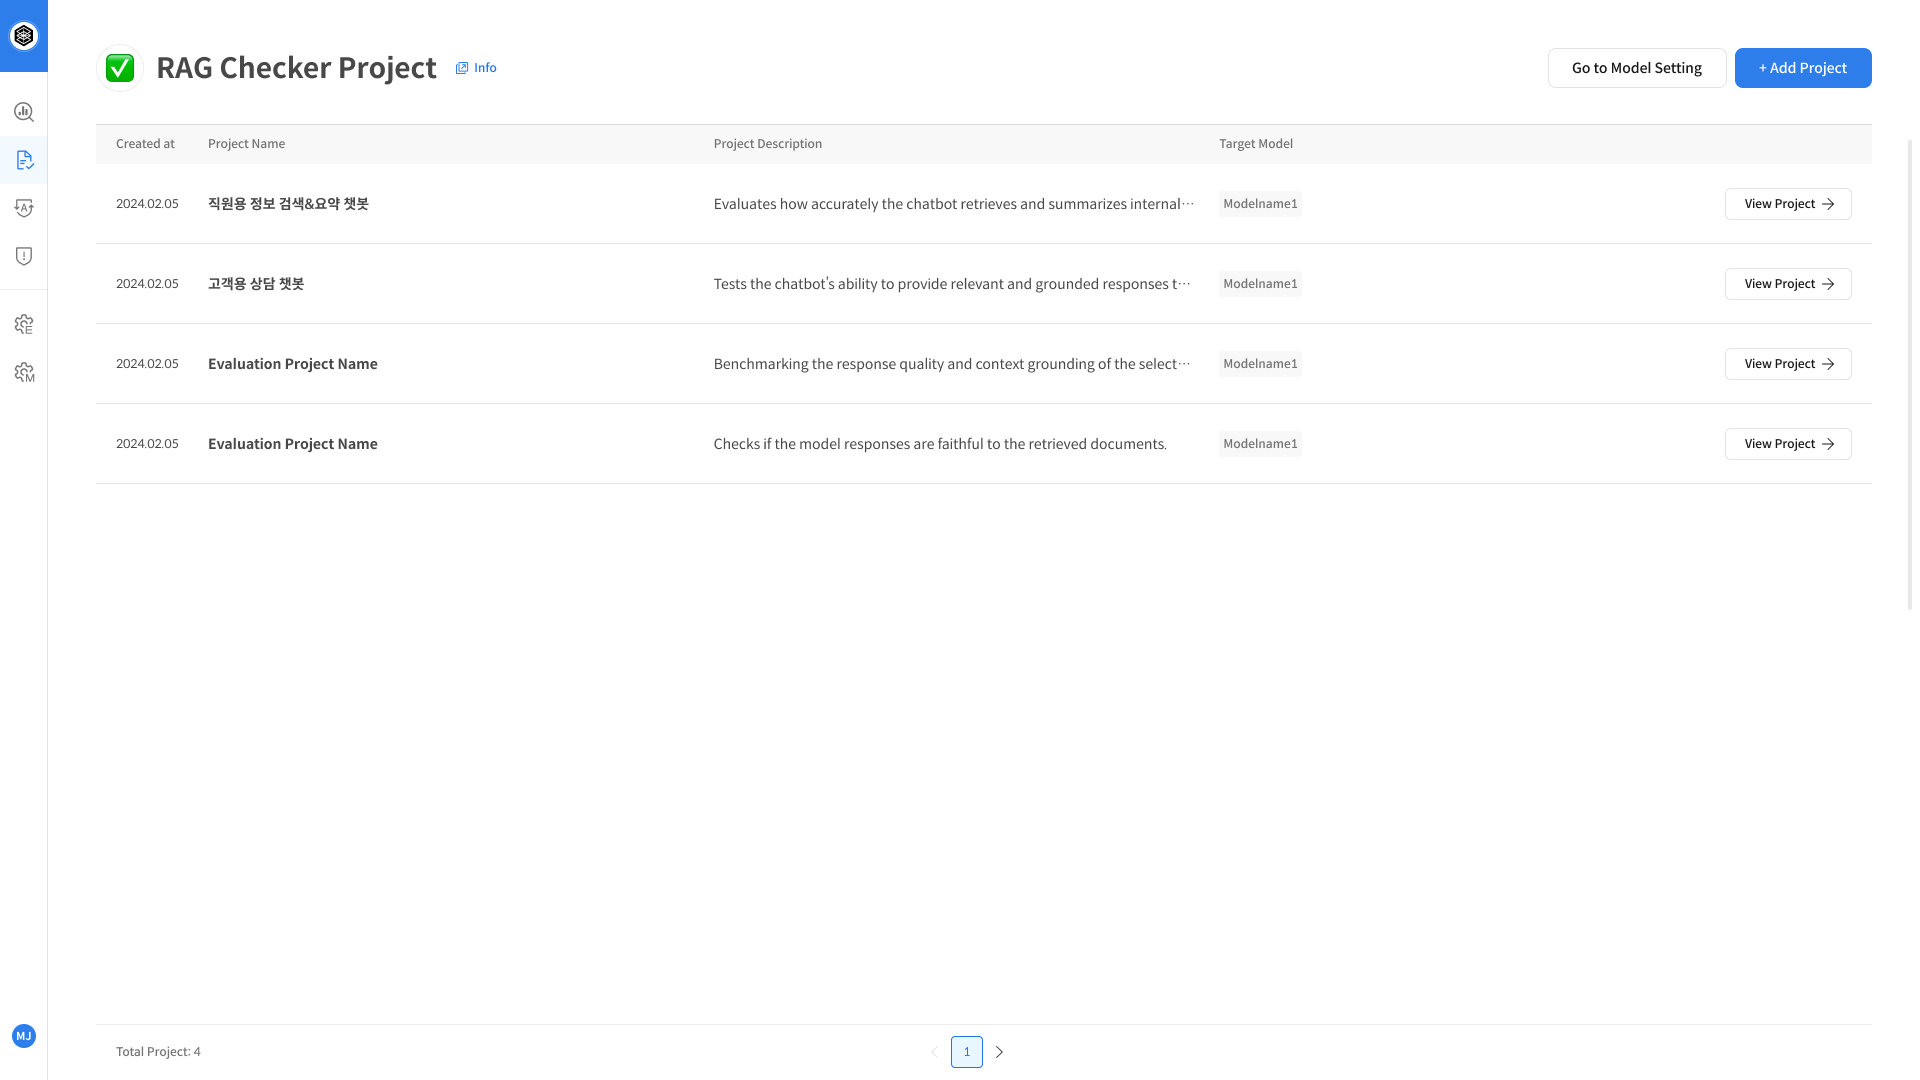
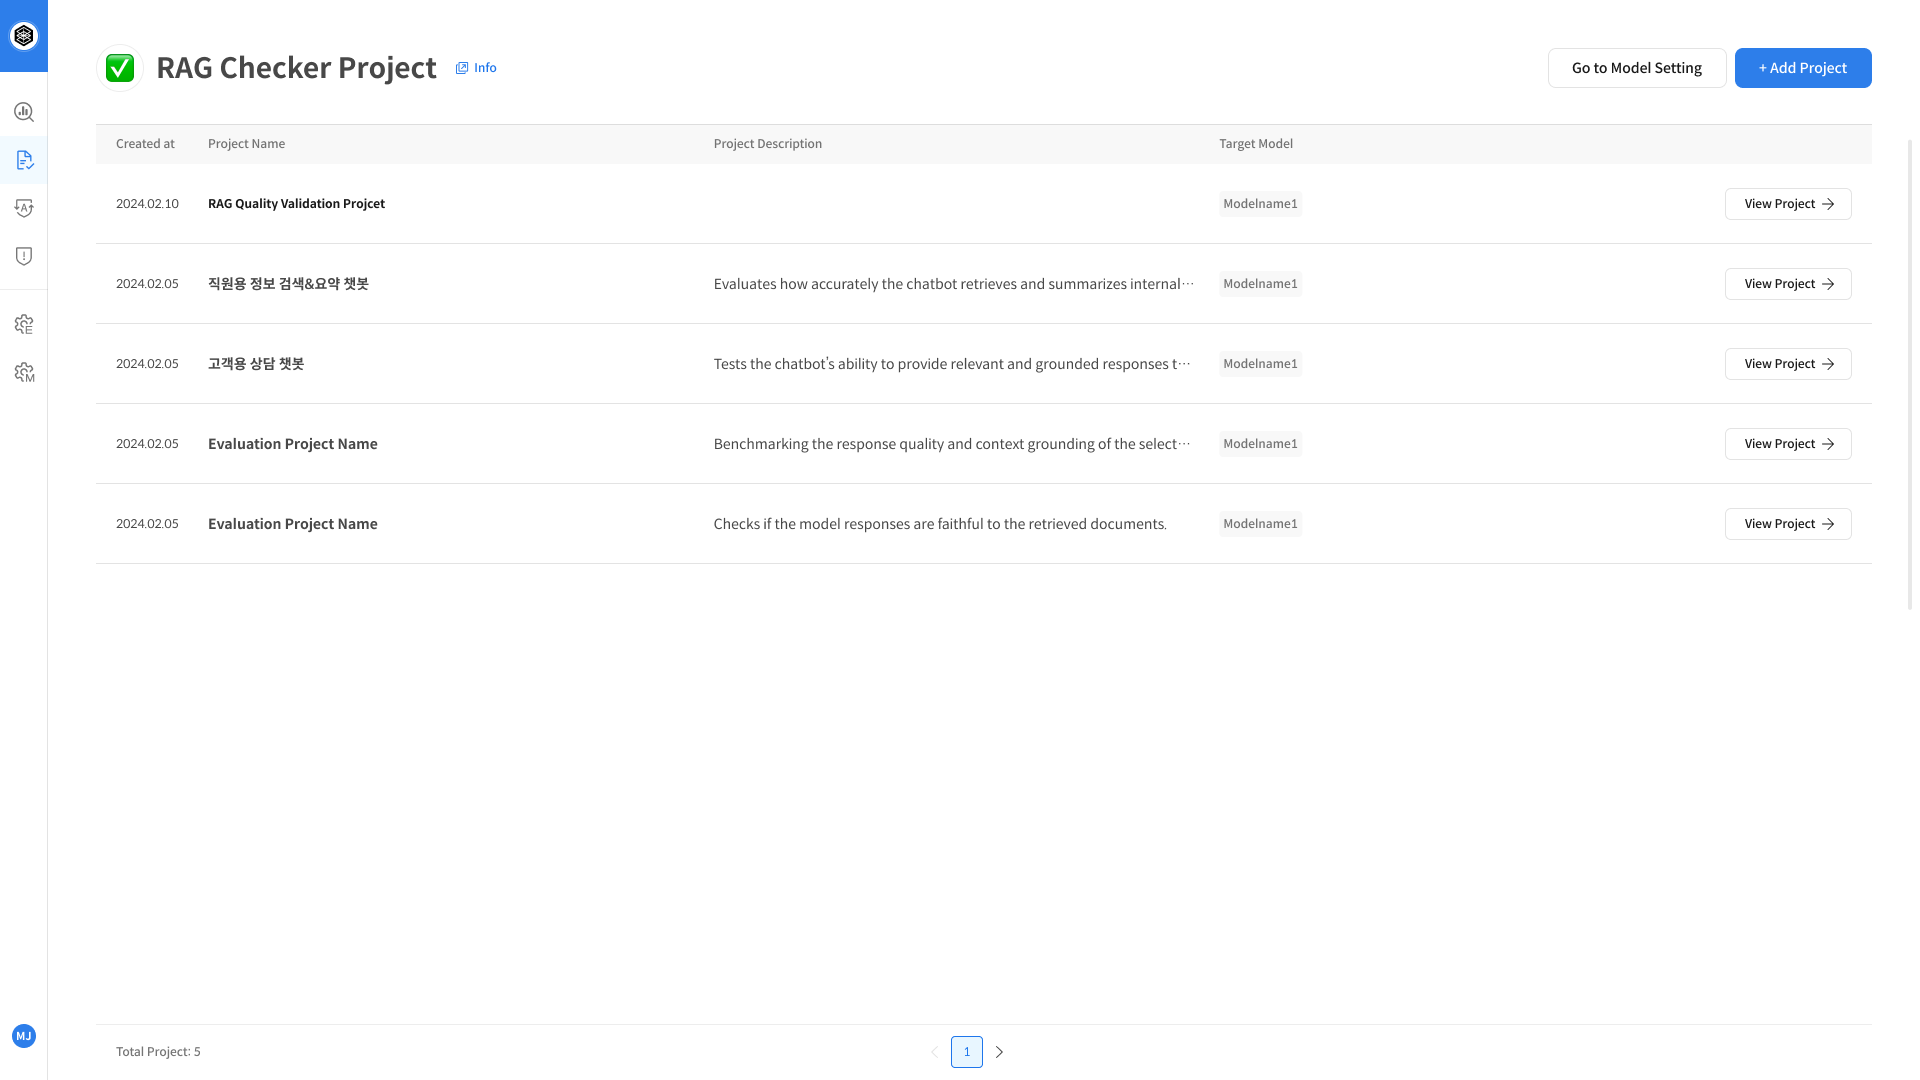
A list of existing projects will be displayed.
You can select one to open its detail page.
② Enter Project Information
Enter the project name, description, and the name of the target model (i.e. the LLM that will generate responses).
Click the Complete button to finish creating the project.

③ Project Created
Once you click the [Complete] button, your project will be created and you'll be automatically redirected to the project detail page.
Your project is now fully set up for evaluation. You’re ready to start testing!