Context Set Guide
A Context Set is a space to manage the source documents (contexts) used for query generation.
This guide provides a step-by-step process for creating a Context Set and generating a query dataset.
Default columns: query, response, context (optional)
Special columns (optional): gold_context1n, expected_response1n, retrieved_context1~n
Other (optional): Columns other than the above are treated as metadata, and their names can be freely defined
The 1st row is treated as the field name (header), and data is entered from the 2nd row.
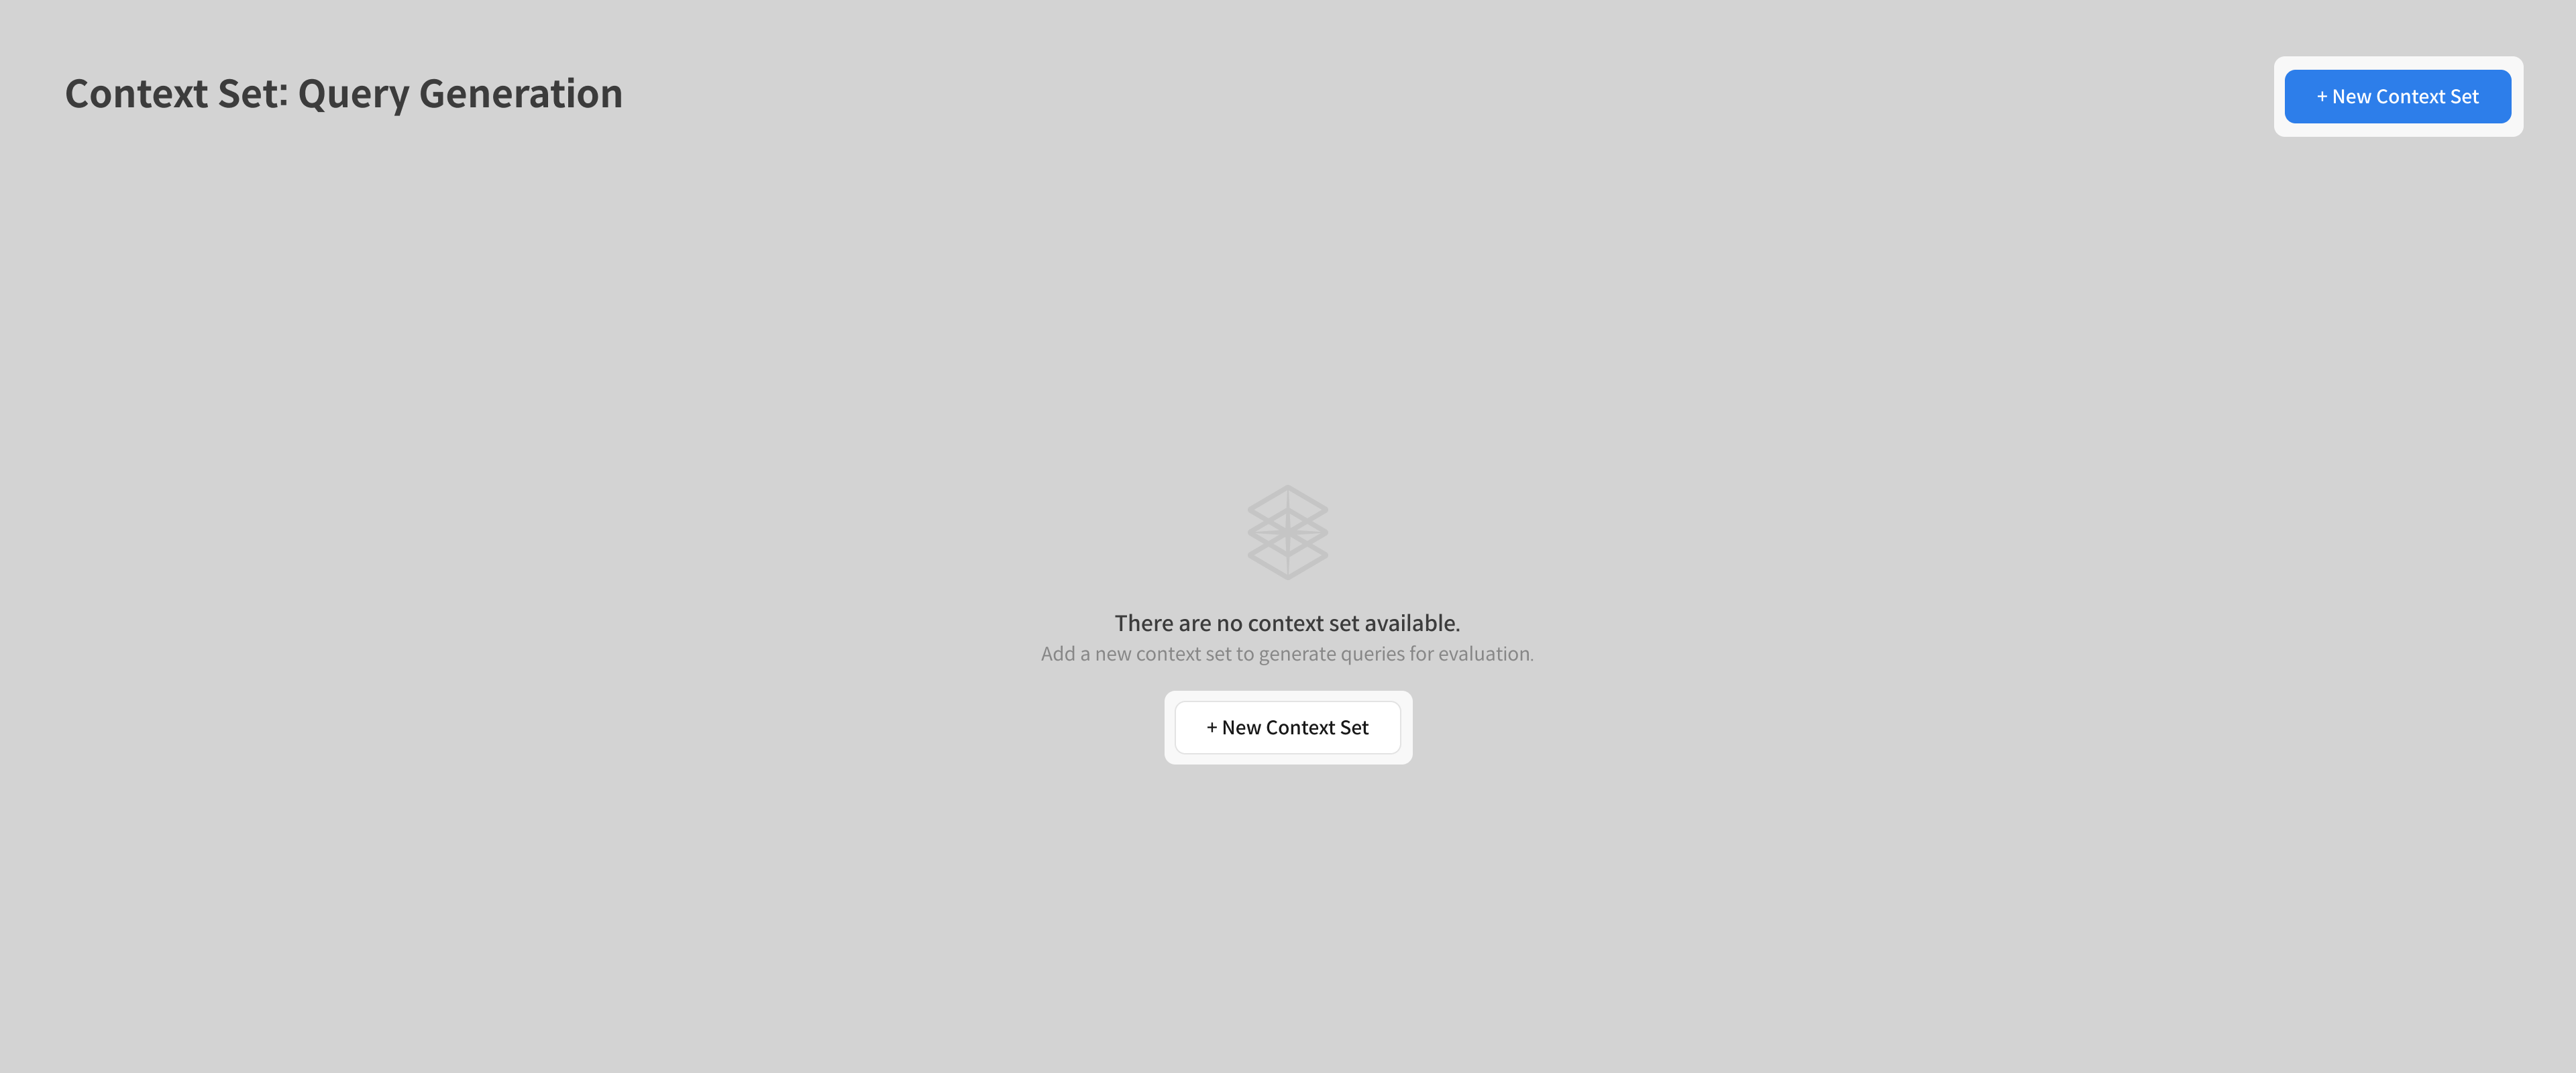
Step 1: Create Context Set
① Start Creating Context Set
- Click the 「+ New Context Set」 button at the top right of the screen.
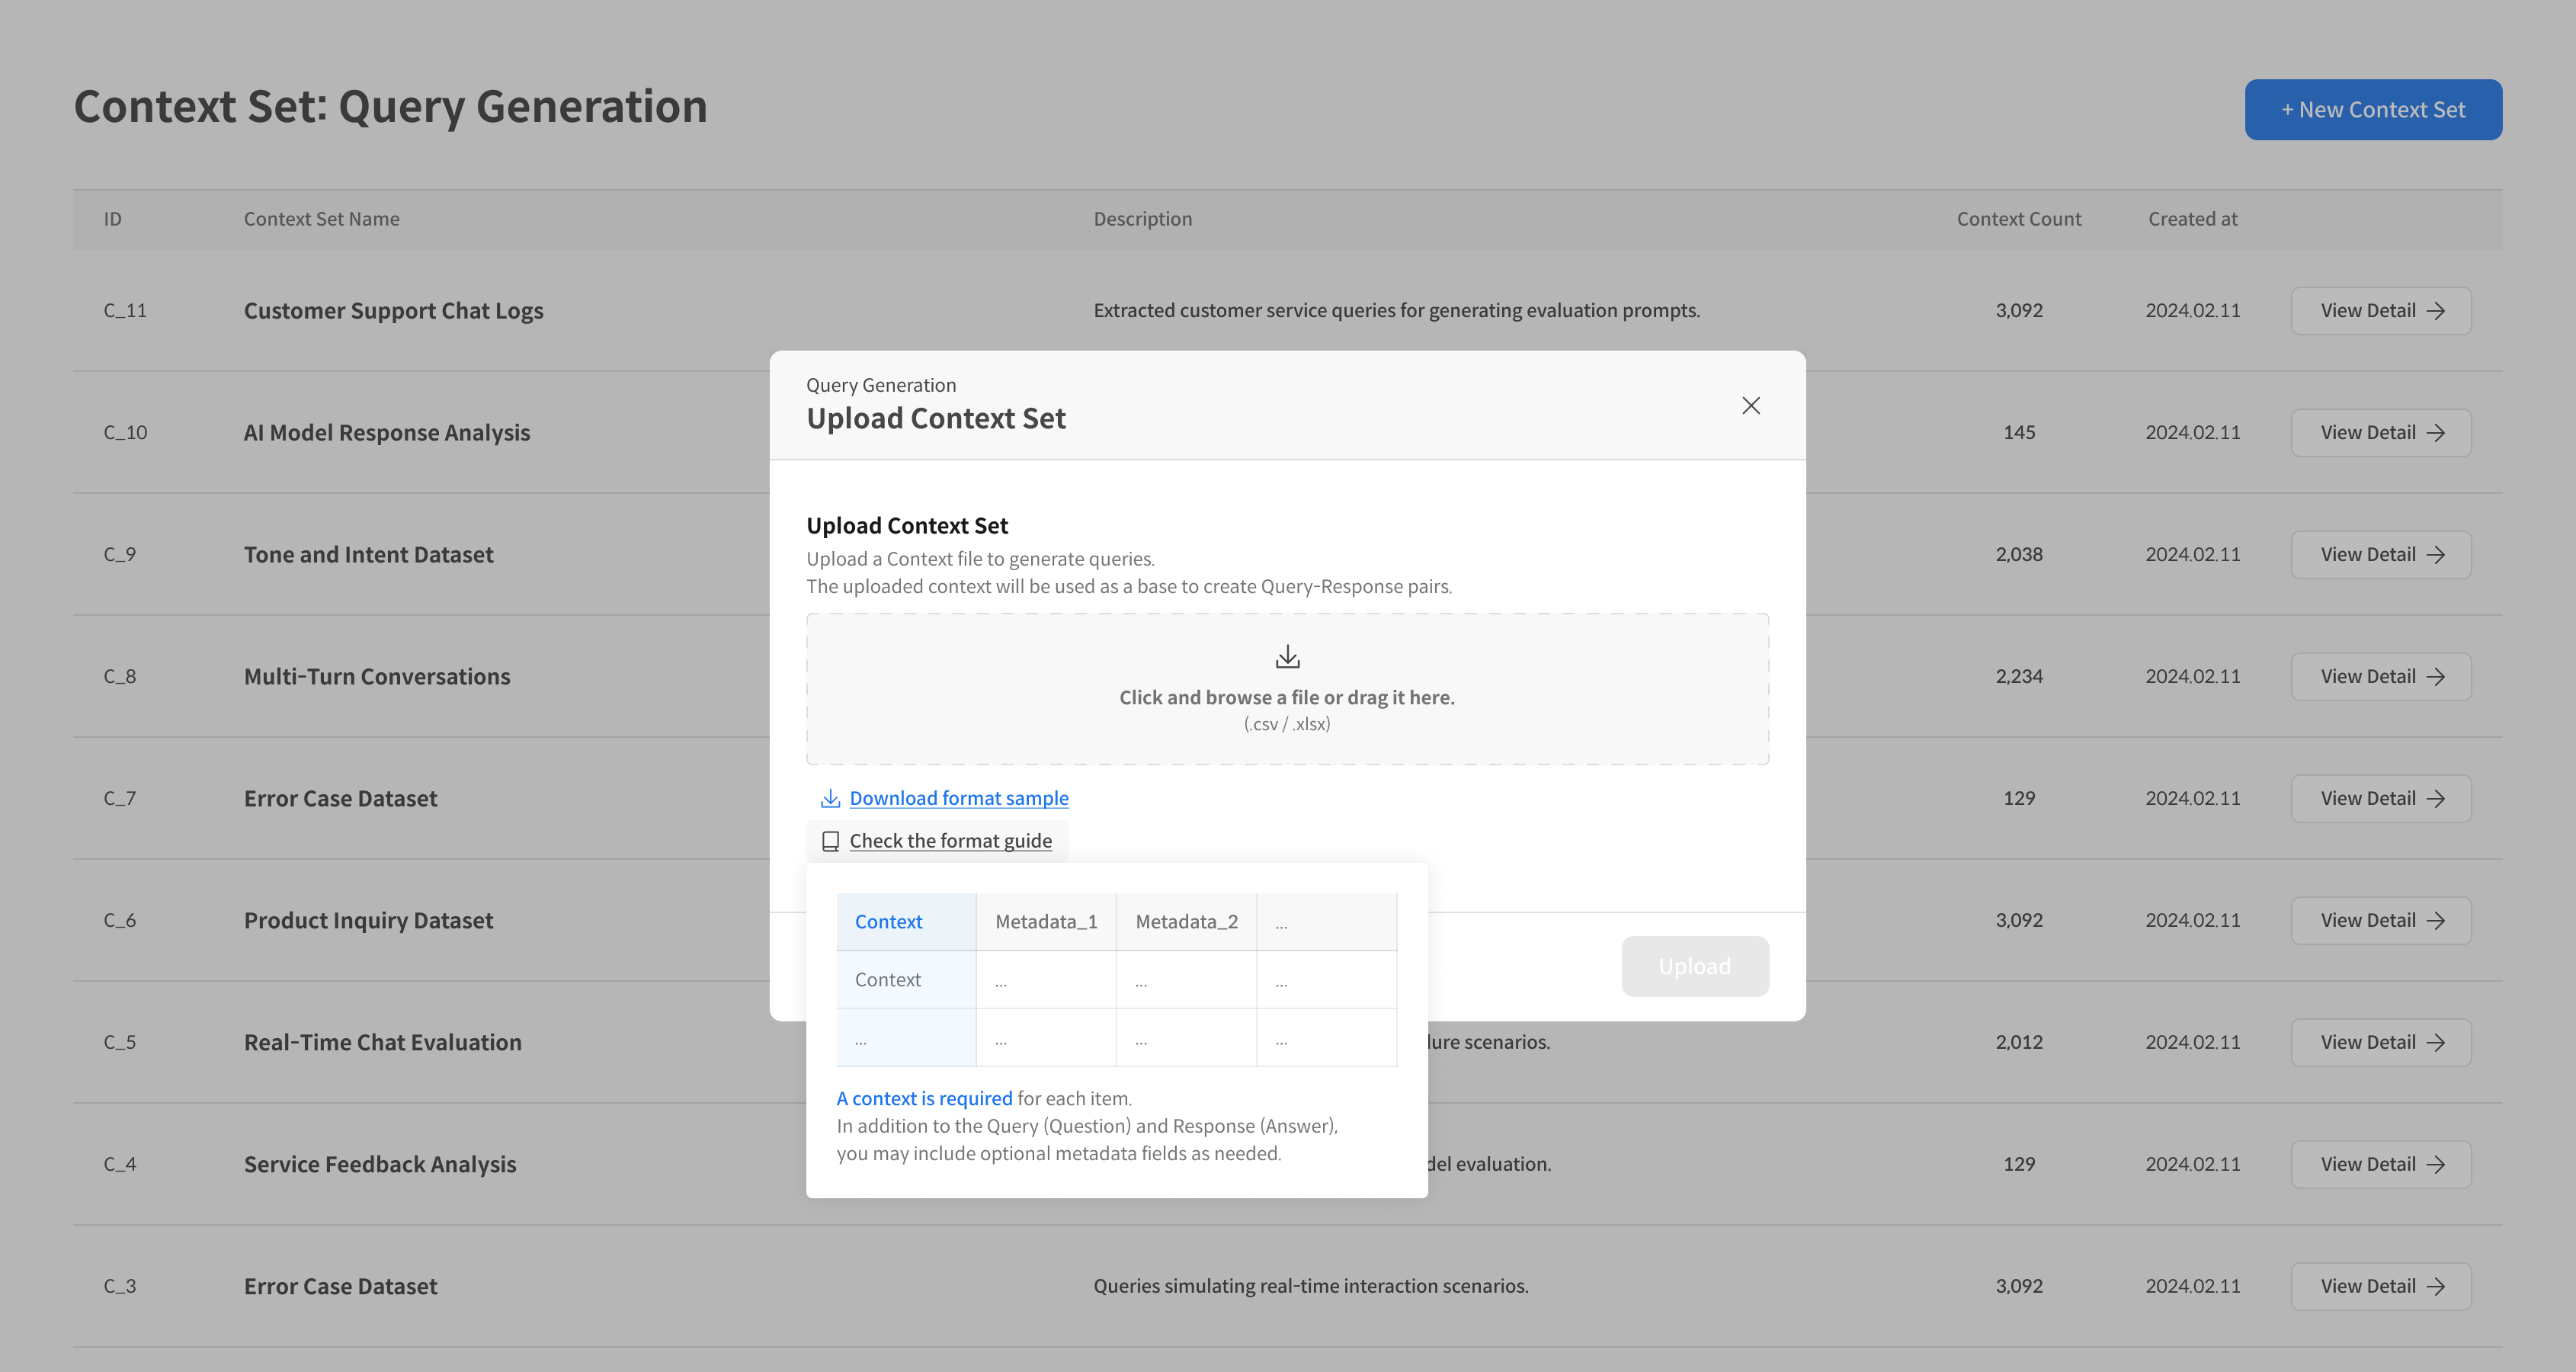
② Upload Context File
In the Upload Context Set popup, upload your context file.
- Supported formats: CSV, XLSX
- Upload method: Drag & Drop or file selection
- ※ For details, please refer to the [📁 File Format Guide].
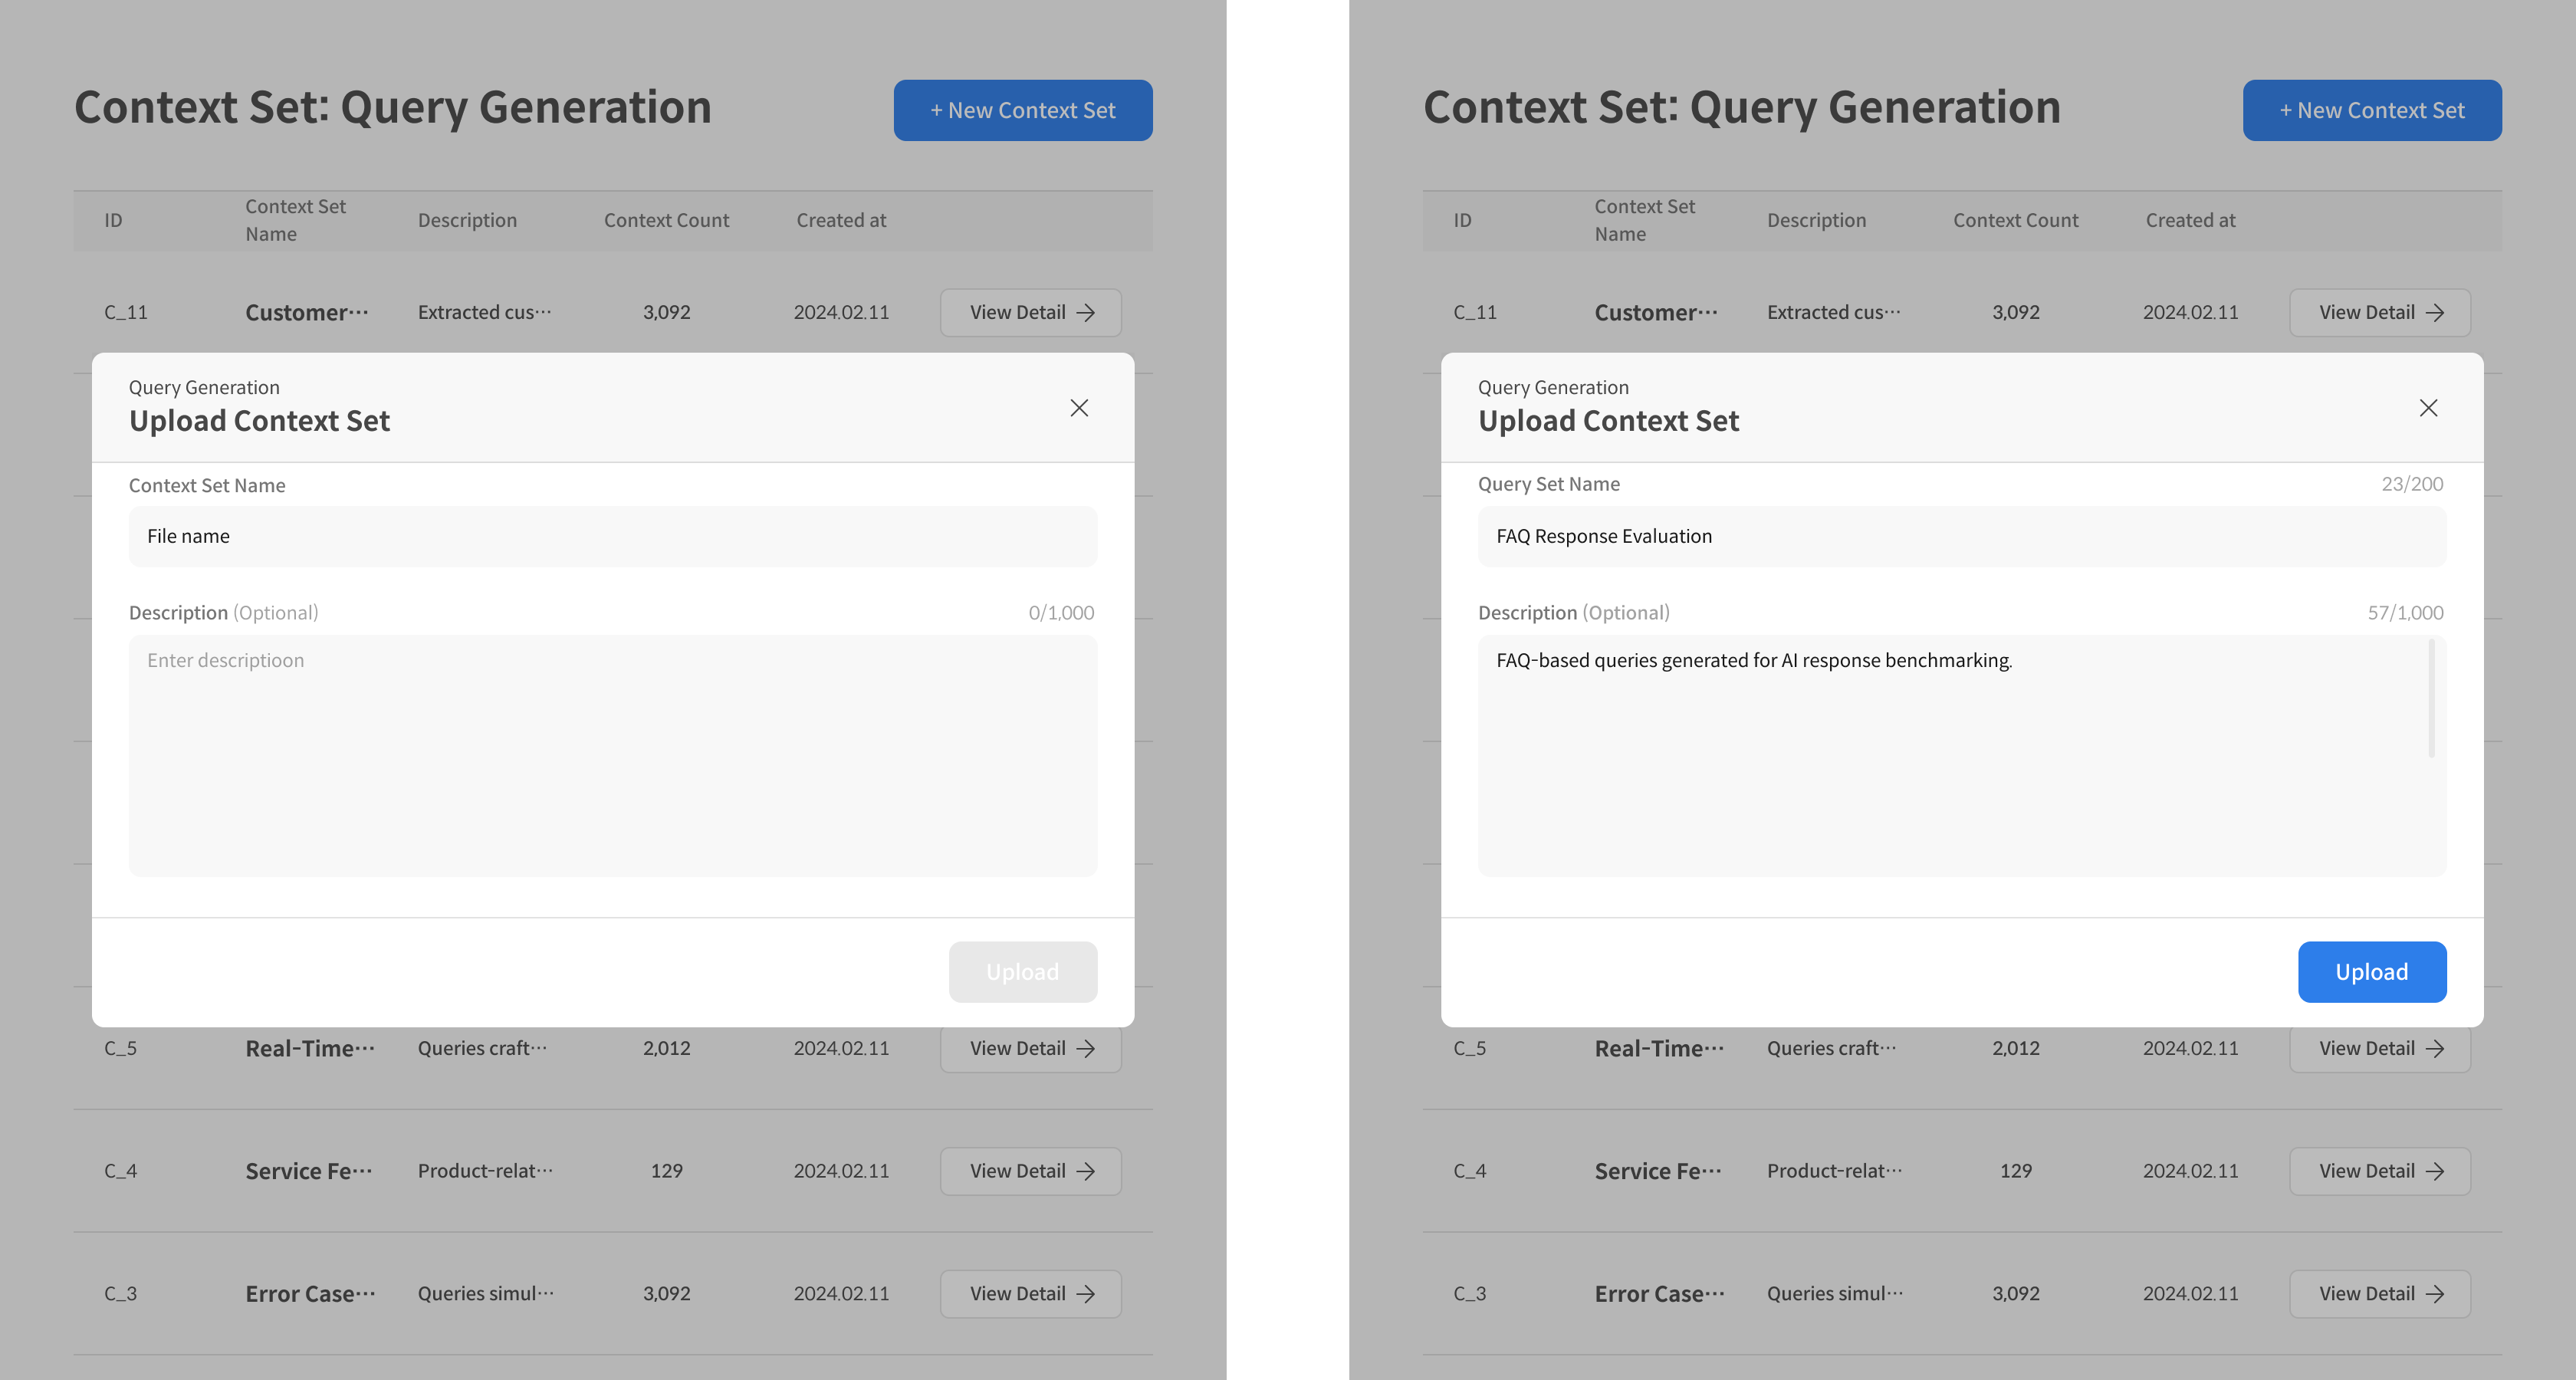
③ Enter Basic Information and Save
Enter the Context Set Name & Description, then click the Upload button to save.
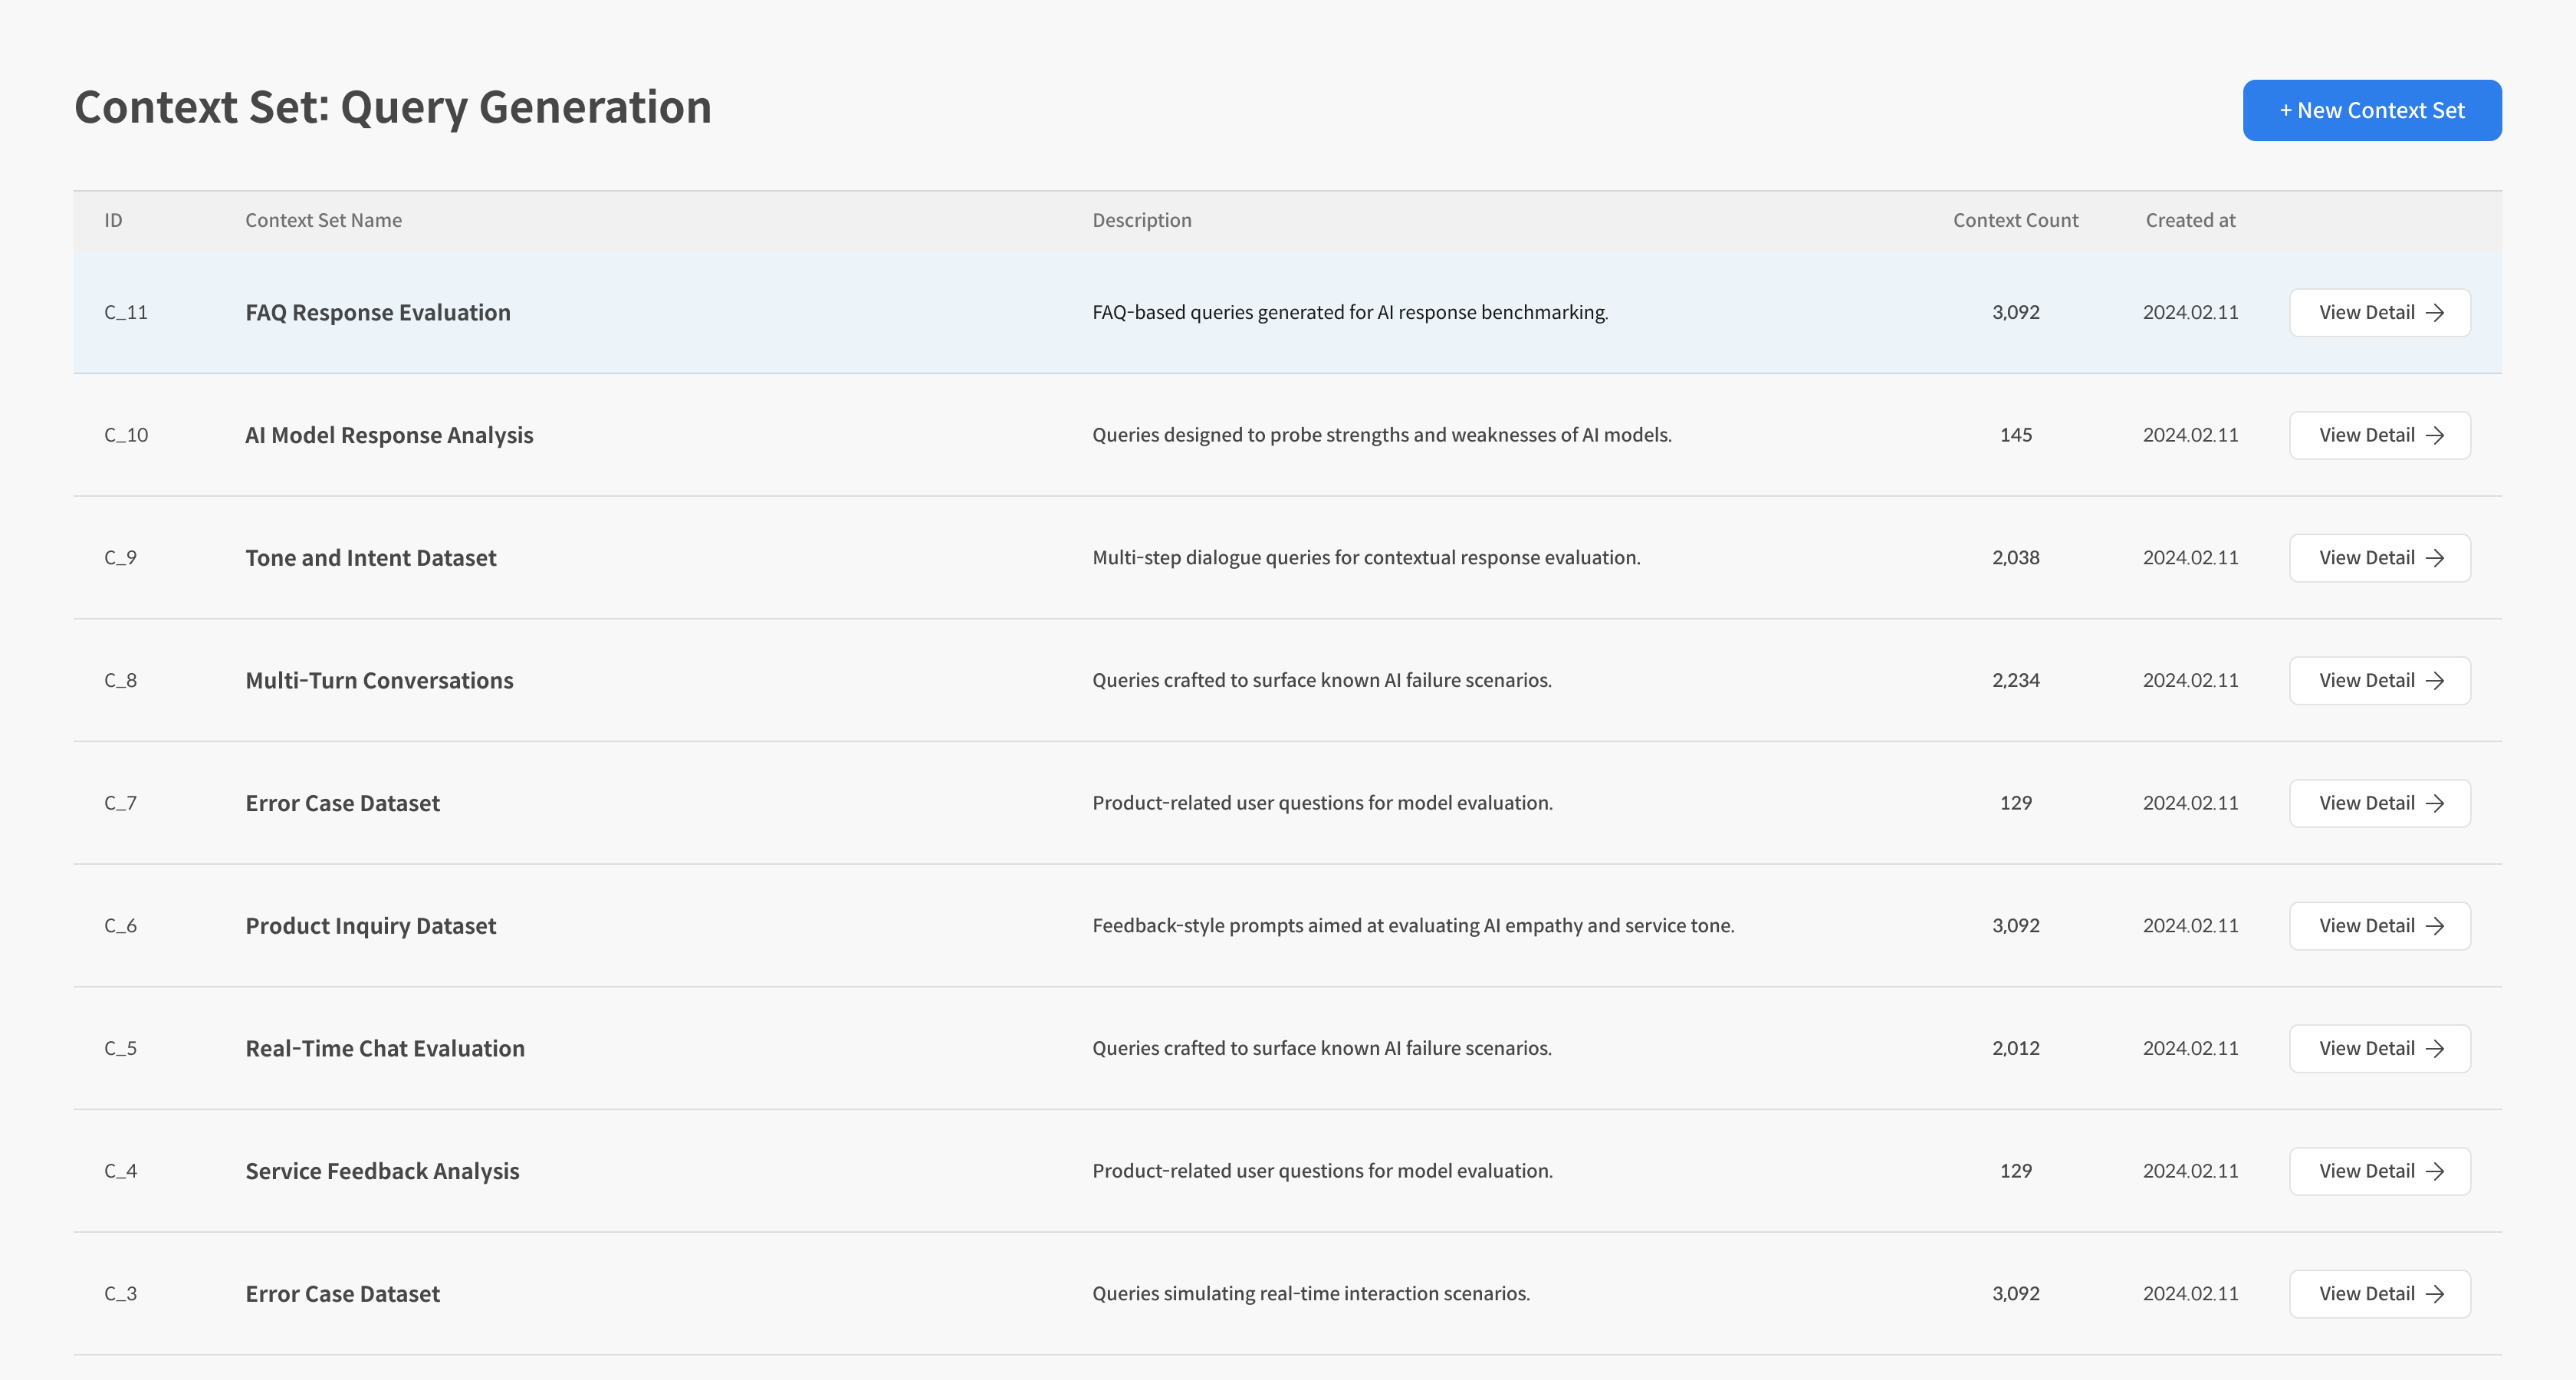
④ Check Context List
The uploaded Context Set is displayed as a list.
⑤ Check Detailed Information
On the detail page, you can view the data and metadata for each context. If needed, you can also automatically generate queries based on selected contexts.
💡When generating queries, you can choose whether to include each context in the generation target using the Remove / Restore function. When Remove is selected, the corresponding Context is excluded from query generation, and when Restore is selected, it is included again.
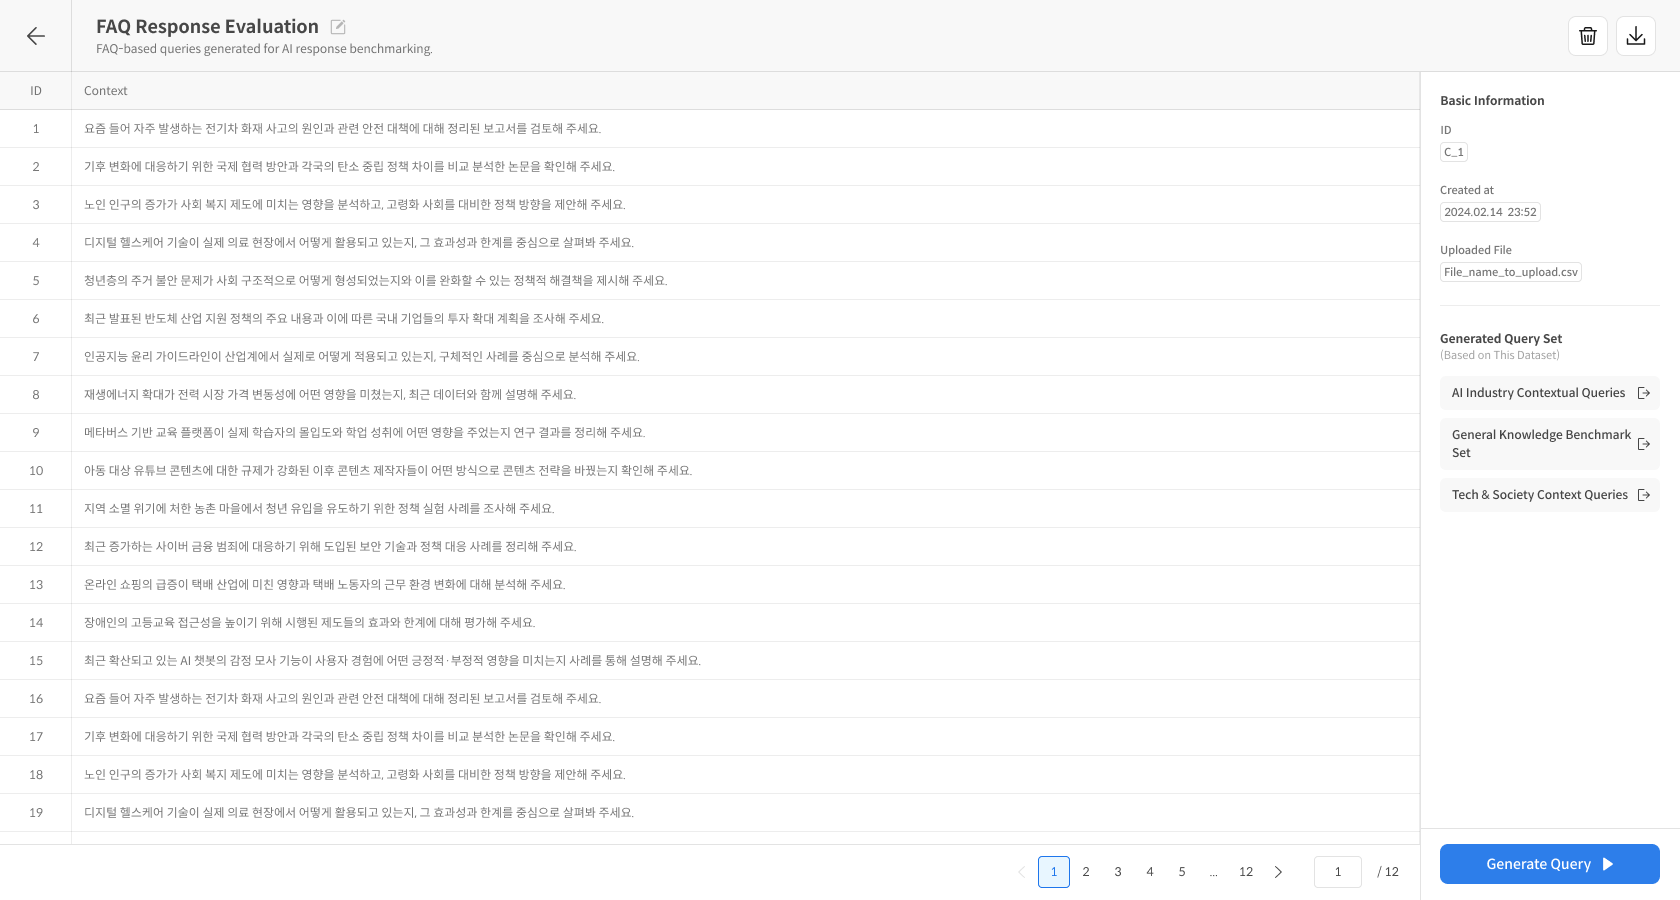
- In the right Basic Information panel, you can check the
Context Set ID,Creation Date, andUploaded File Name. - You can proceed directly to auto-generating a Query by clicking the Generated Query Set button.
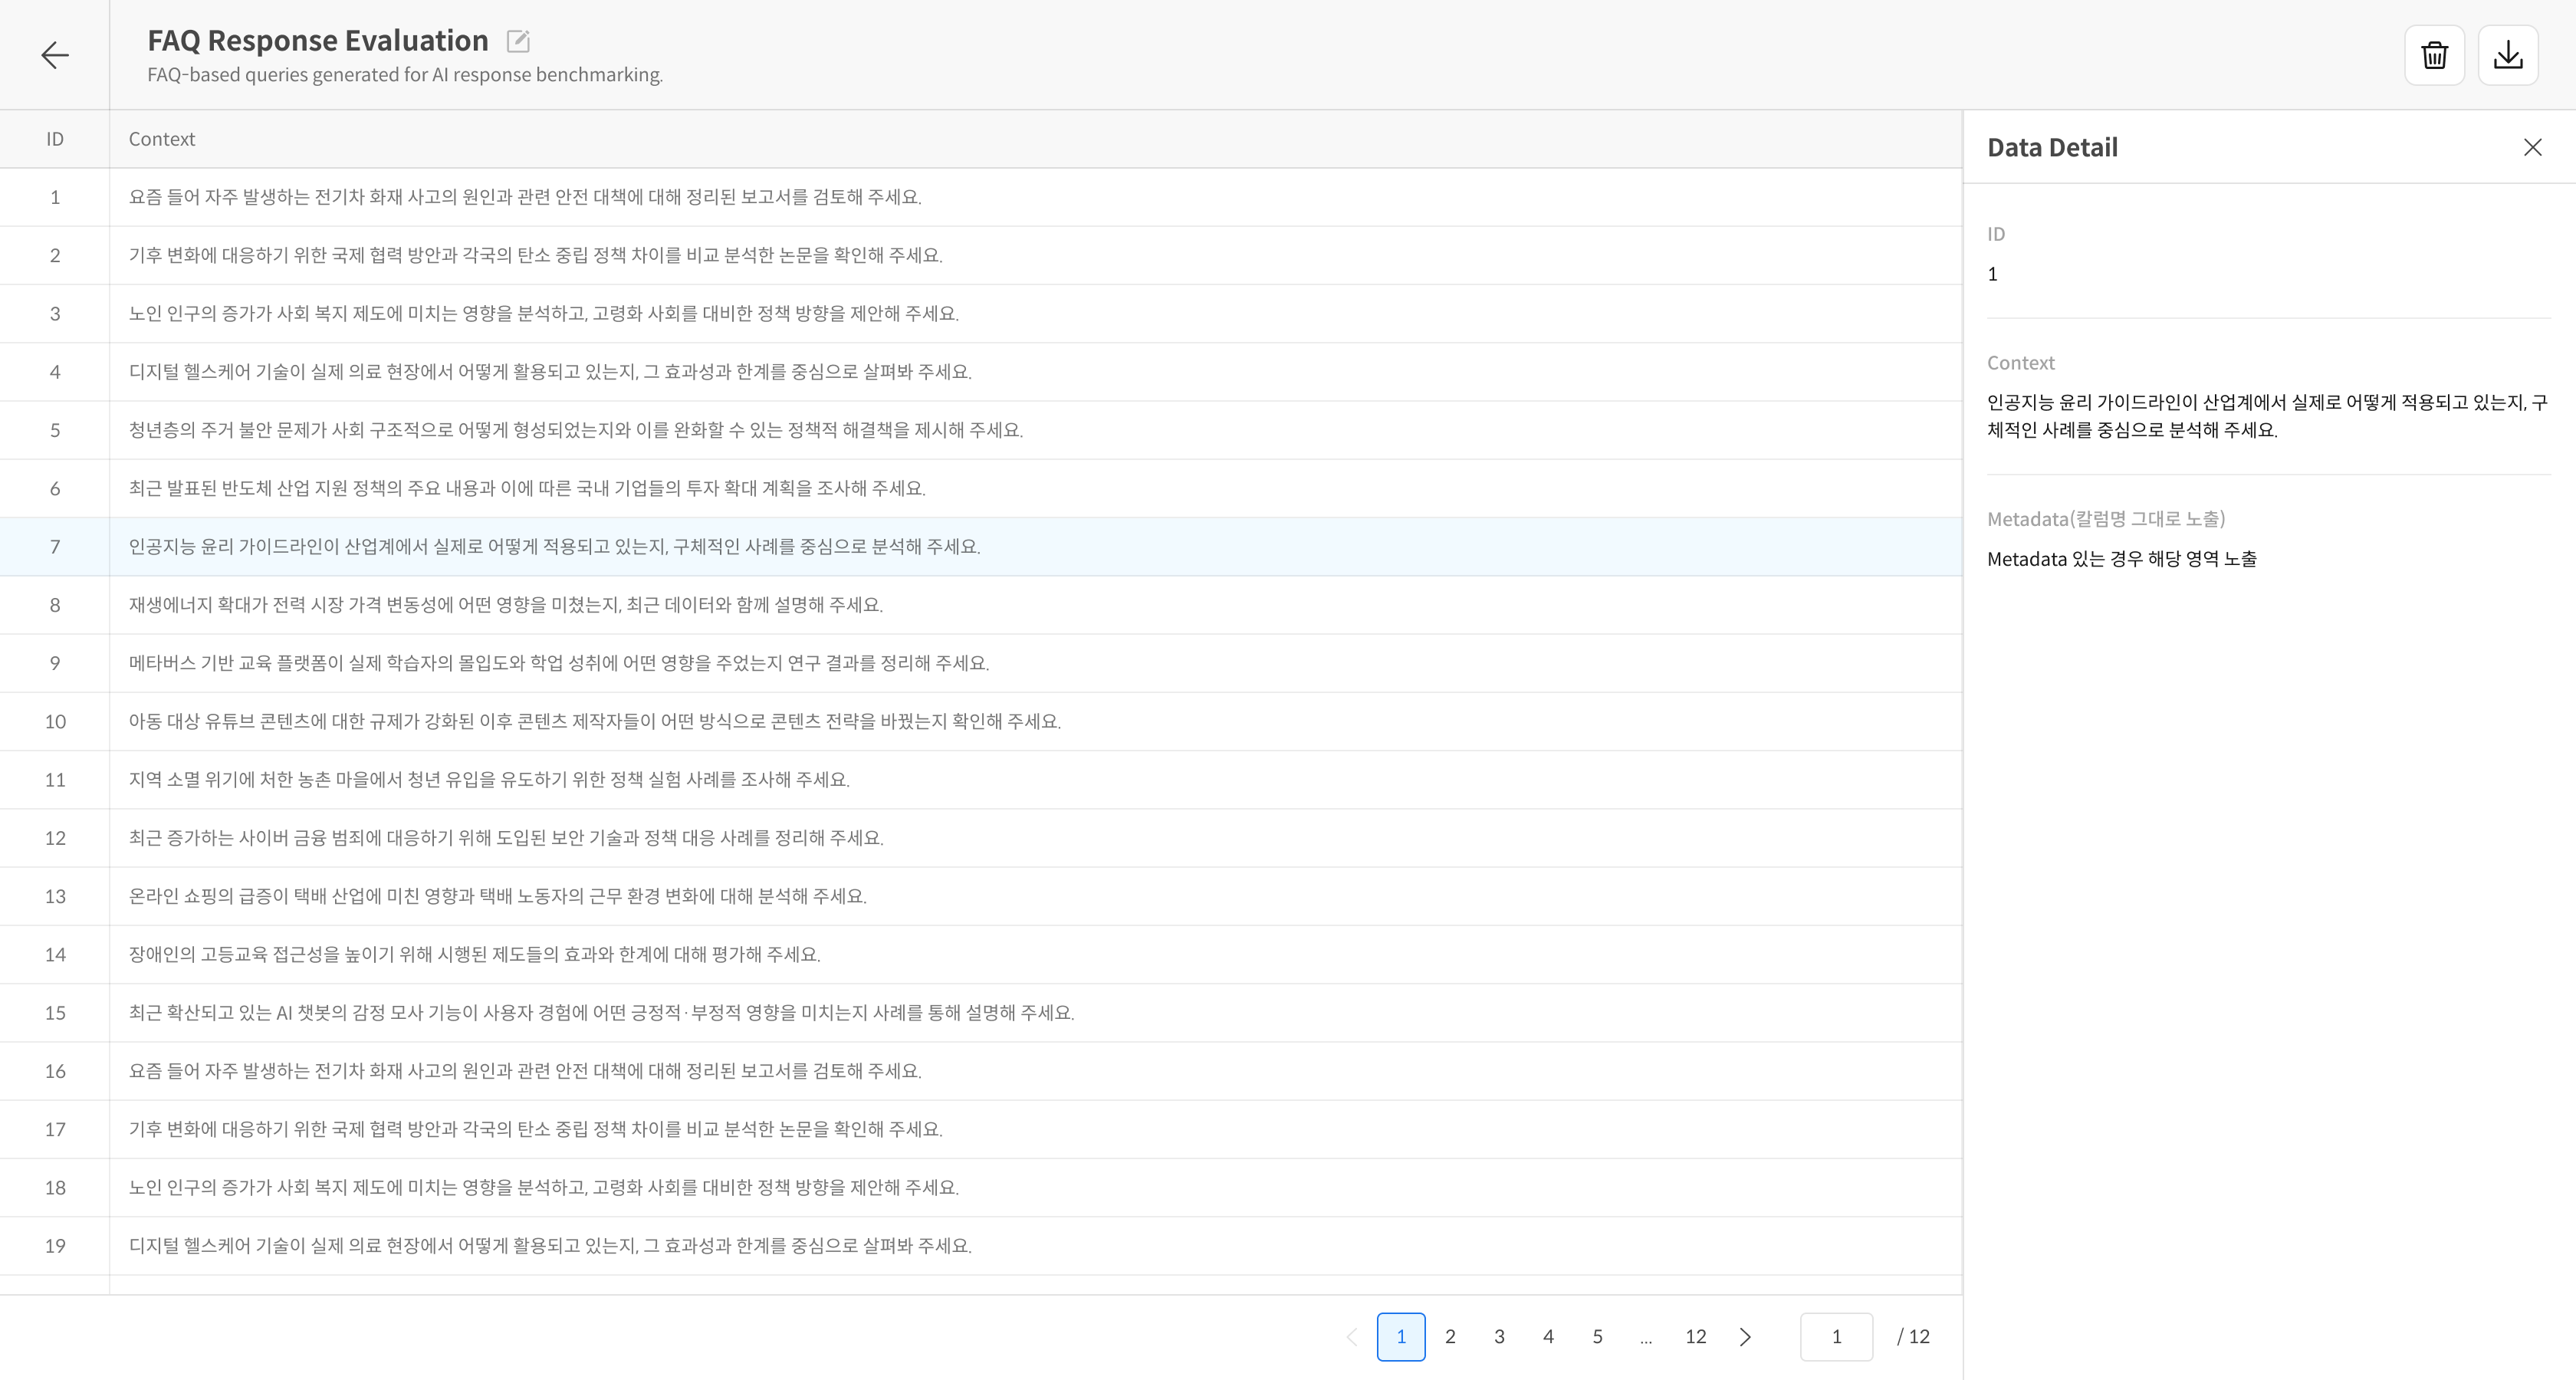
When a specific Context is selected, you can check the detailed content and Metadata in the Data Detail panel.
📁 File Format Guide
Required Columns
- id: Unique identifier
- context: Context content
Metadata Columns
The first row of the uploaded file is recognized as the key value (field name) of each column,
and all columns other than the required columns are automatically processed as metadata.
Format Example
| id | context | metadata1 | metadata2 | metadata... |
|---|---|---|---|---|
| 1 | Content1 | metadata1 | metadata2 | ... |
| 2 | Content2 | metadata1 | metadata2 | ... |
| 3 | Content3 | metadata1 | metadata2 | ... |
csv, xlsx Usage Example
| id | context | category | priority | department |
|---|---|---|---|---|
| 1 | Customer service hours are from 9 am to 6 pm on weekdays. | hours | high | CS |
| 2 | The refund policy is within 7 days from the date of purchase. | policy | medium | Sales |
| 3 | Shipping is free for orders over 30,000 won. | shipping | low | Logistics |
❓ Frequently Asked Questions (FAQ)
Q. When generating a question, is information other than the context (metadata) also referenced to generate the question?
A. The information referenced when generating a question is only the content of the context column. Metadata is not directly used for question generation.
Q. I got a format error when uploading a file.
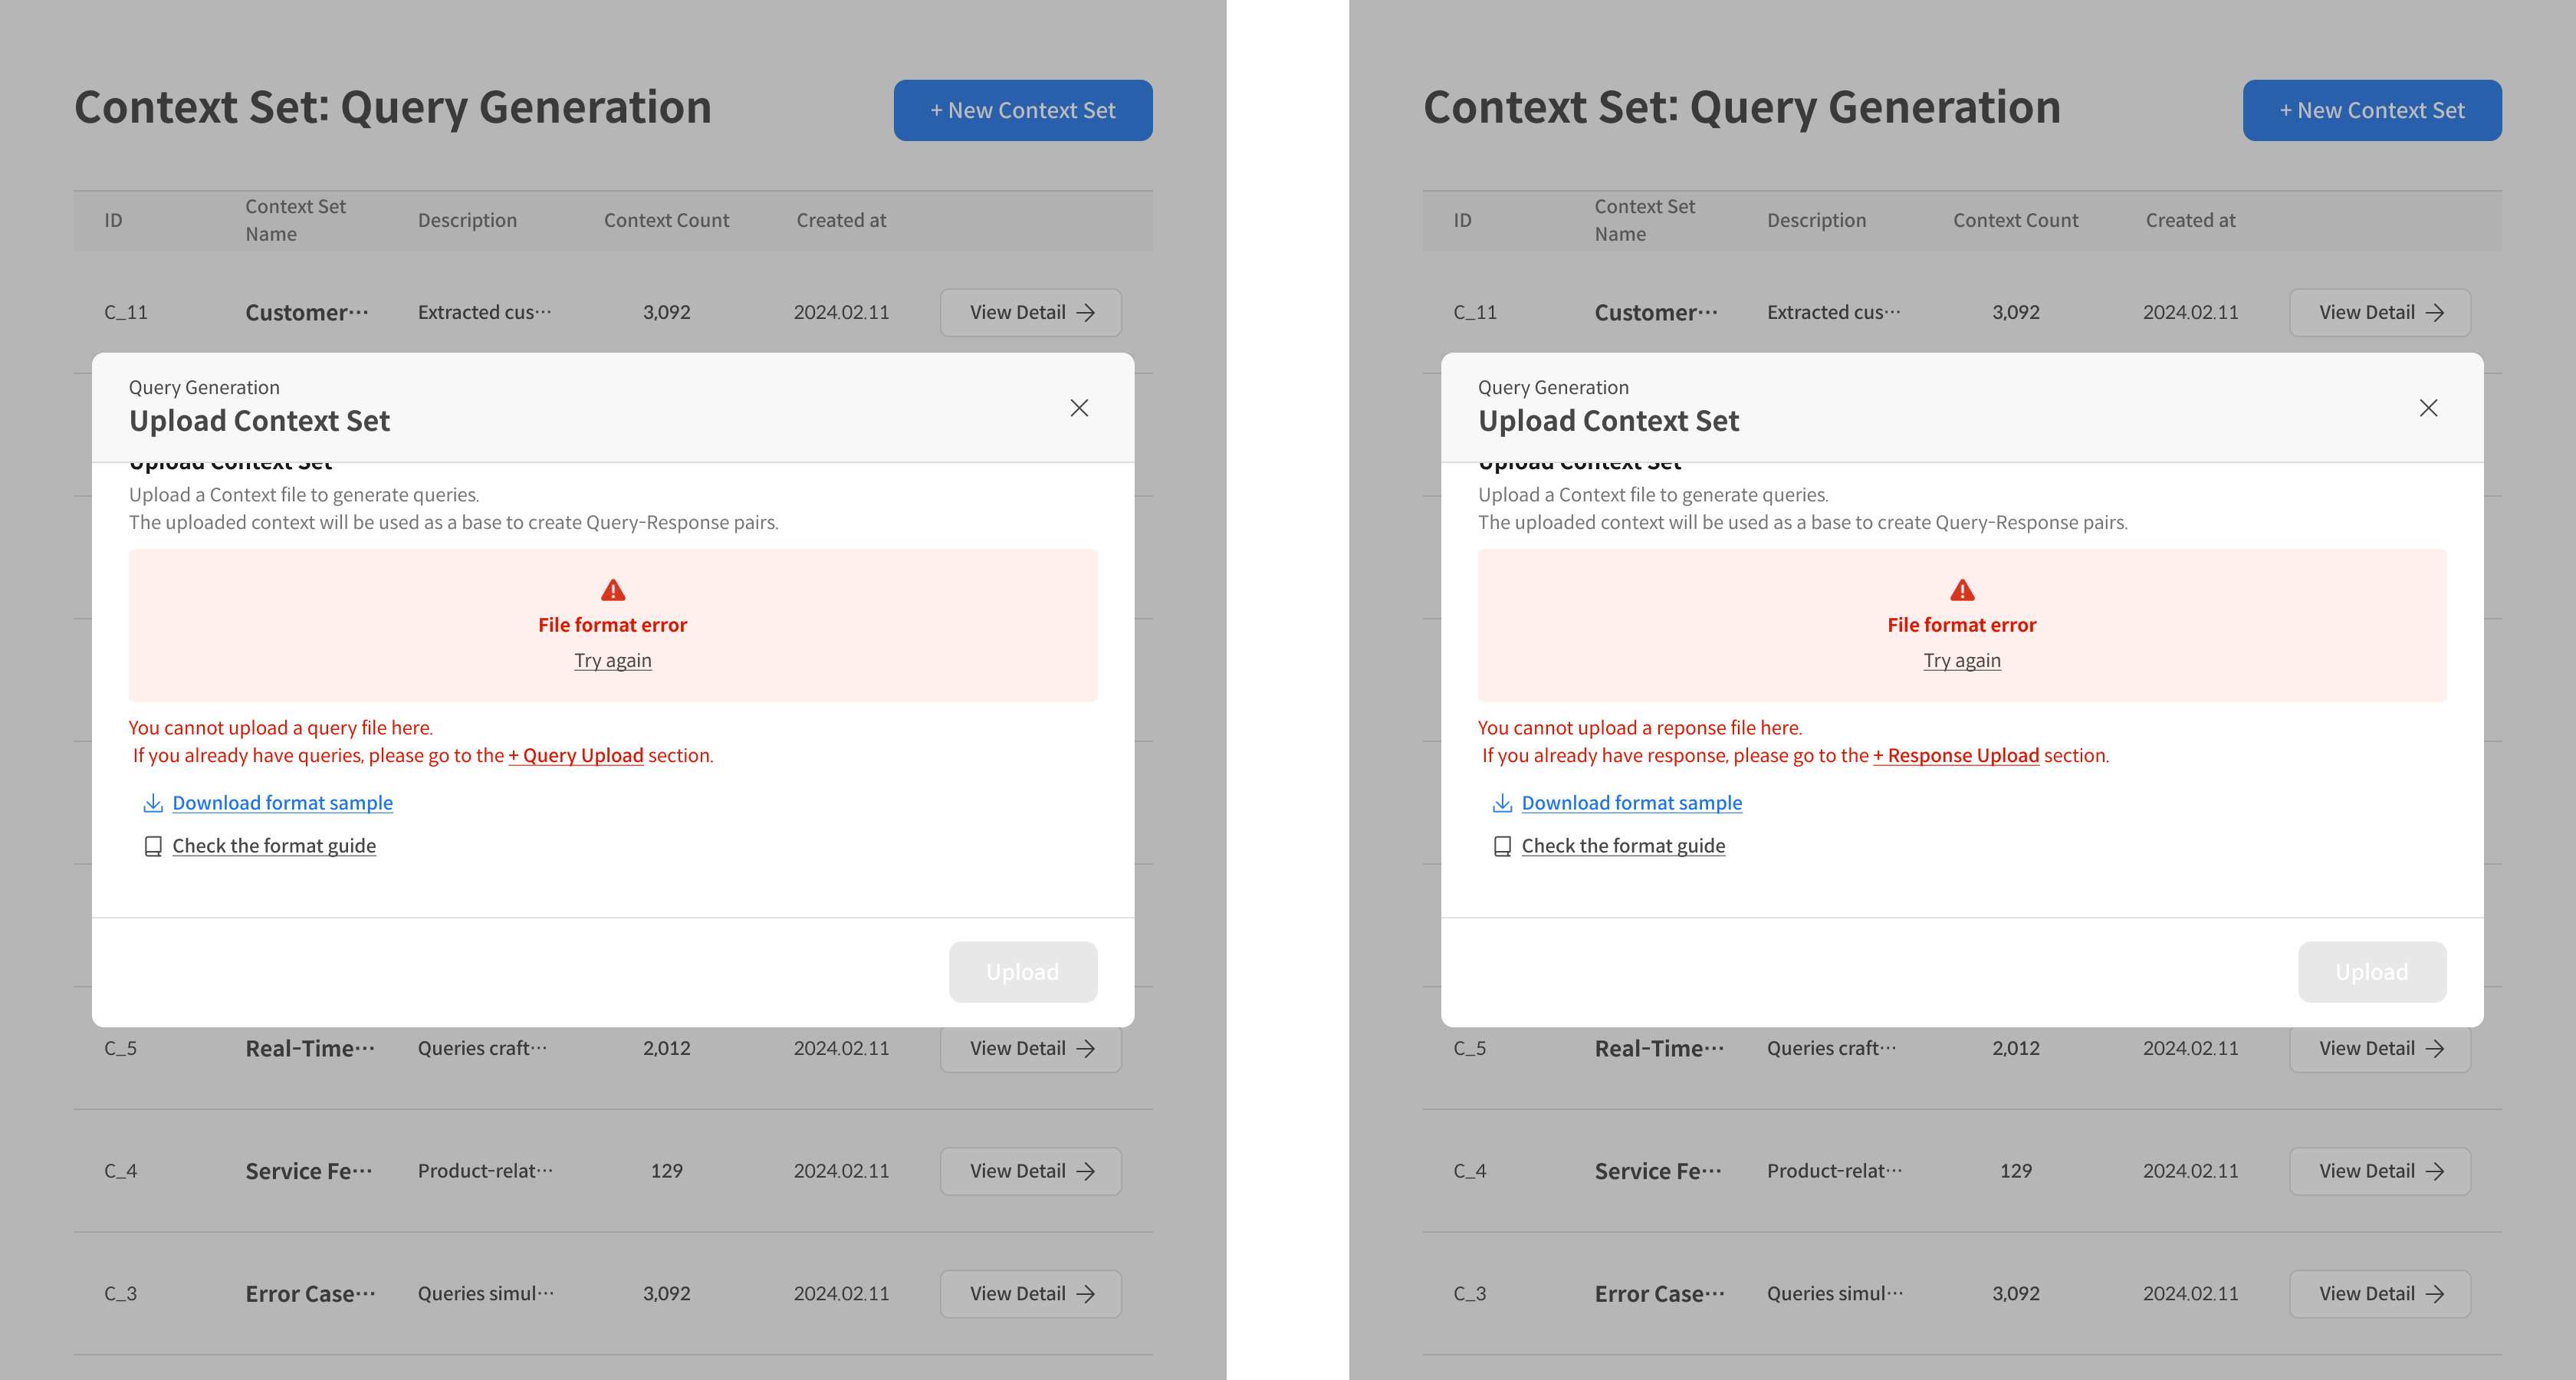
A. The uploaded file may contain query or response columns. The Context Set should only contain the context column. Please upload the query and response separately in the Query Set and Response Set, respectively.
You can proceed to the next step after all error cases have been handled.