Query Set Guide
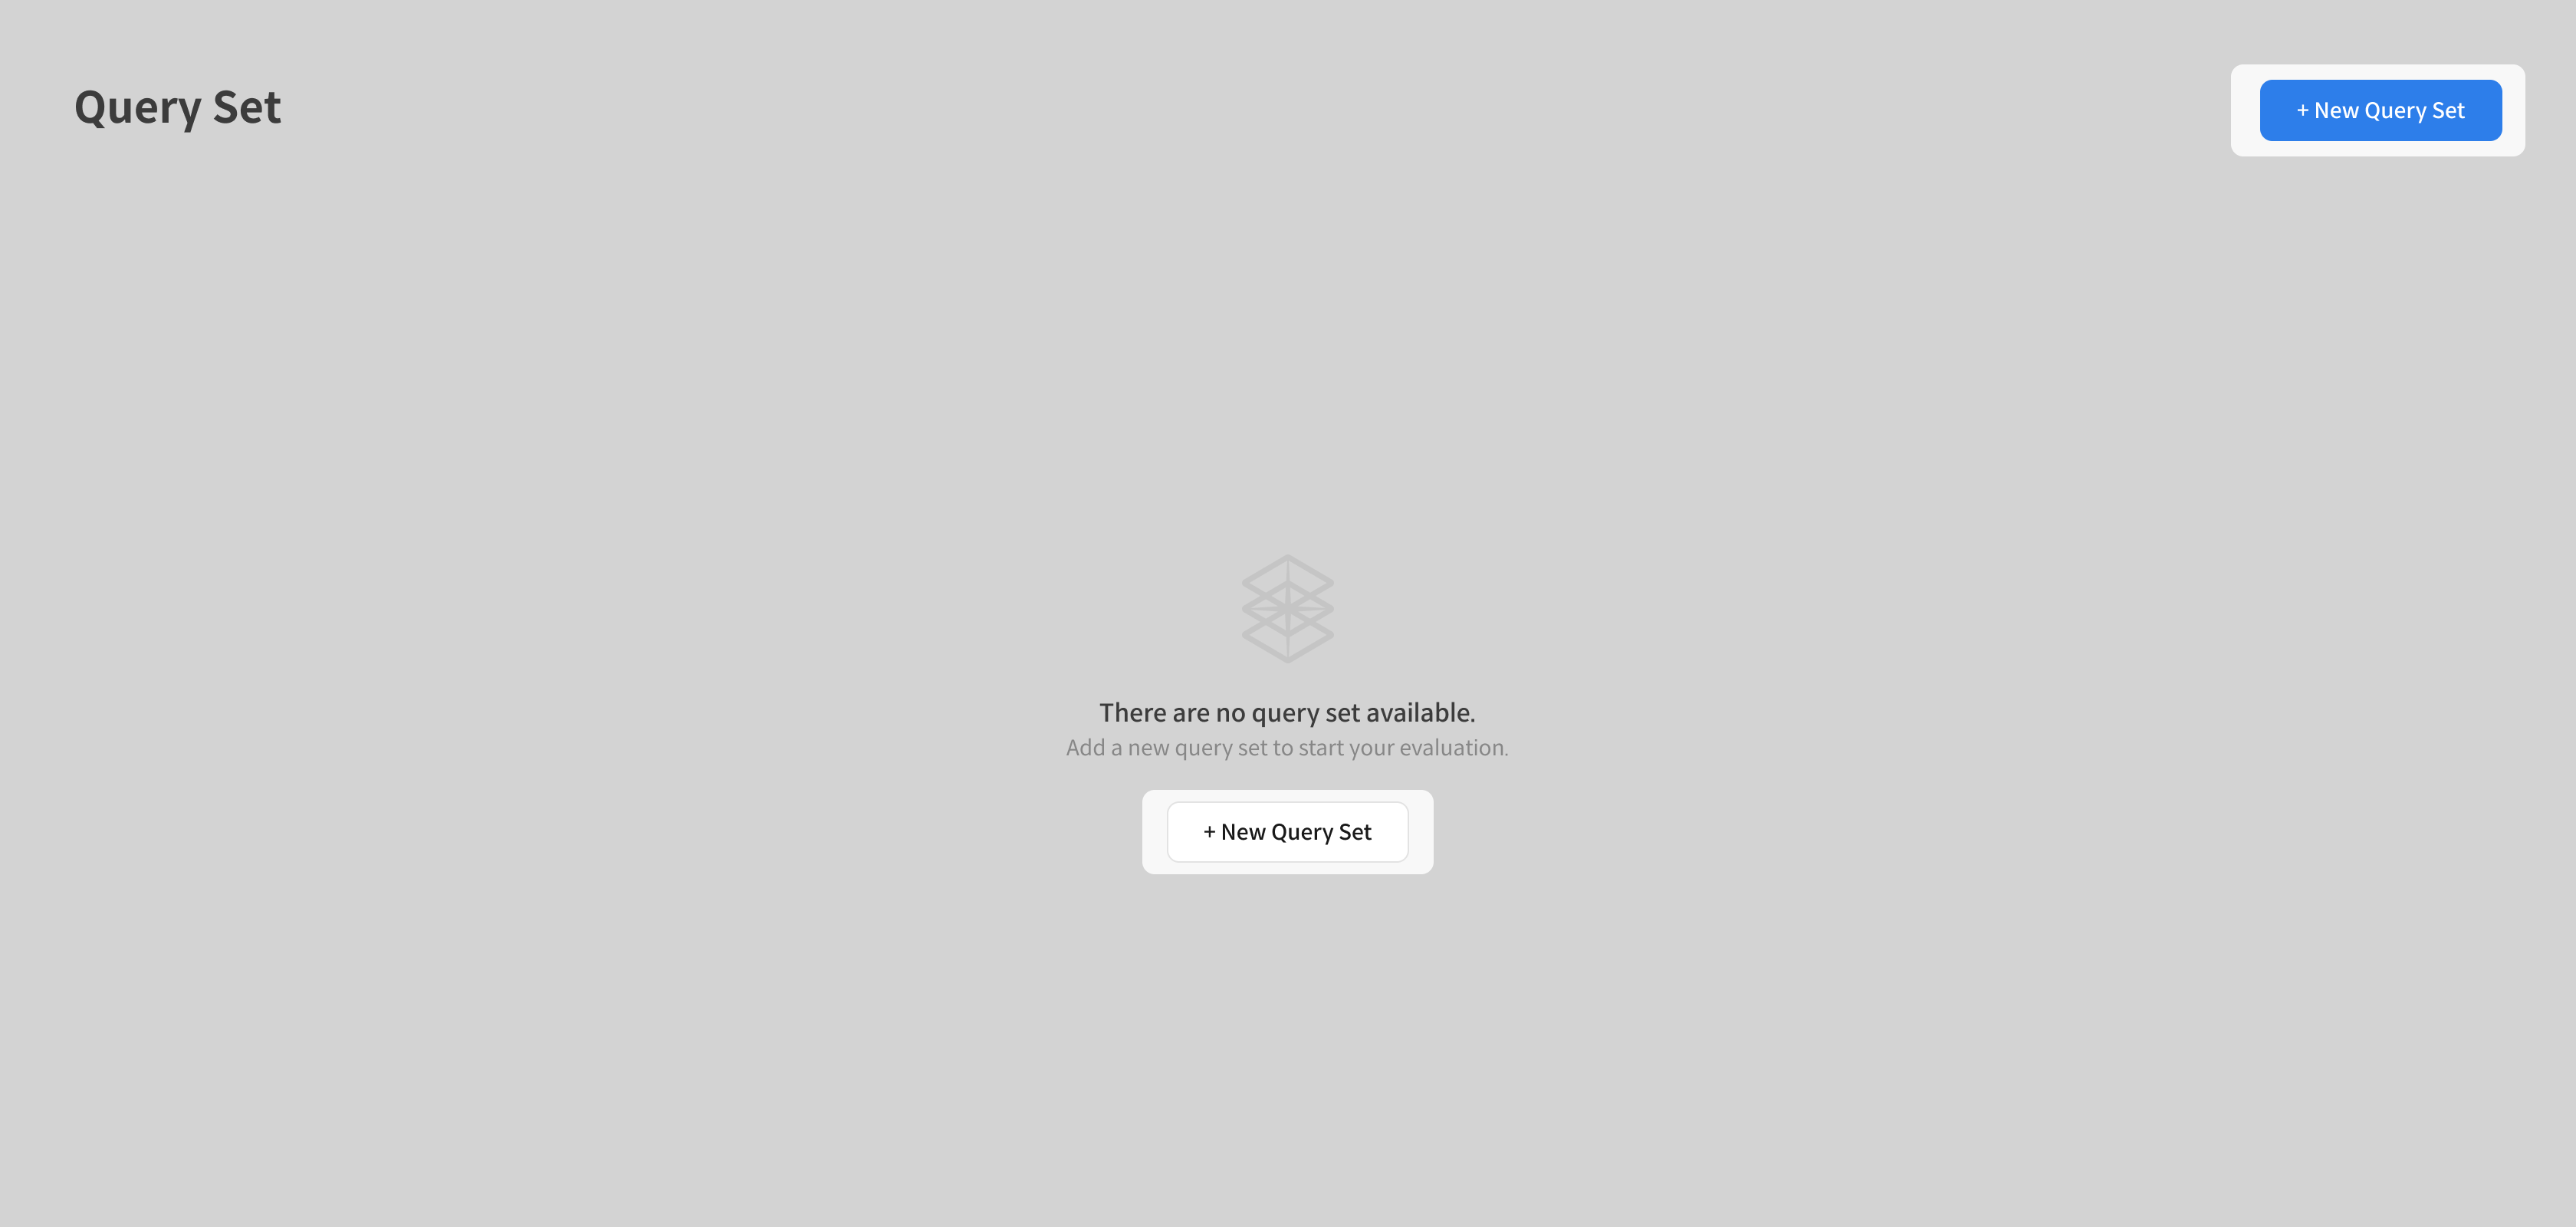
A Query Set is a collection of test questions to be presented to the AI model. Unlike other datasets, it can be freely edited until a Response Set is generated, and can be created by uploading a file or automatically generating from a Context Set.
This page guides you through the entire process from creating to editing and managing a Query Set.
Query Set Creation Paths
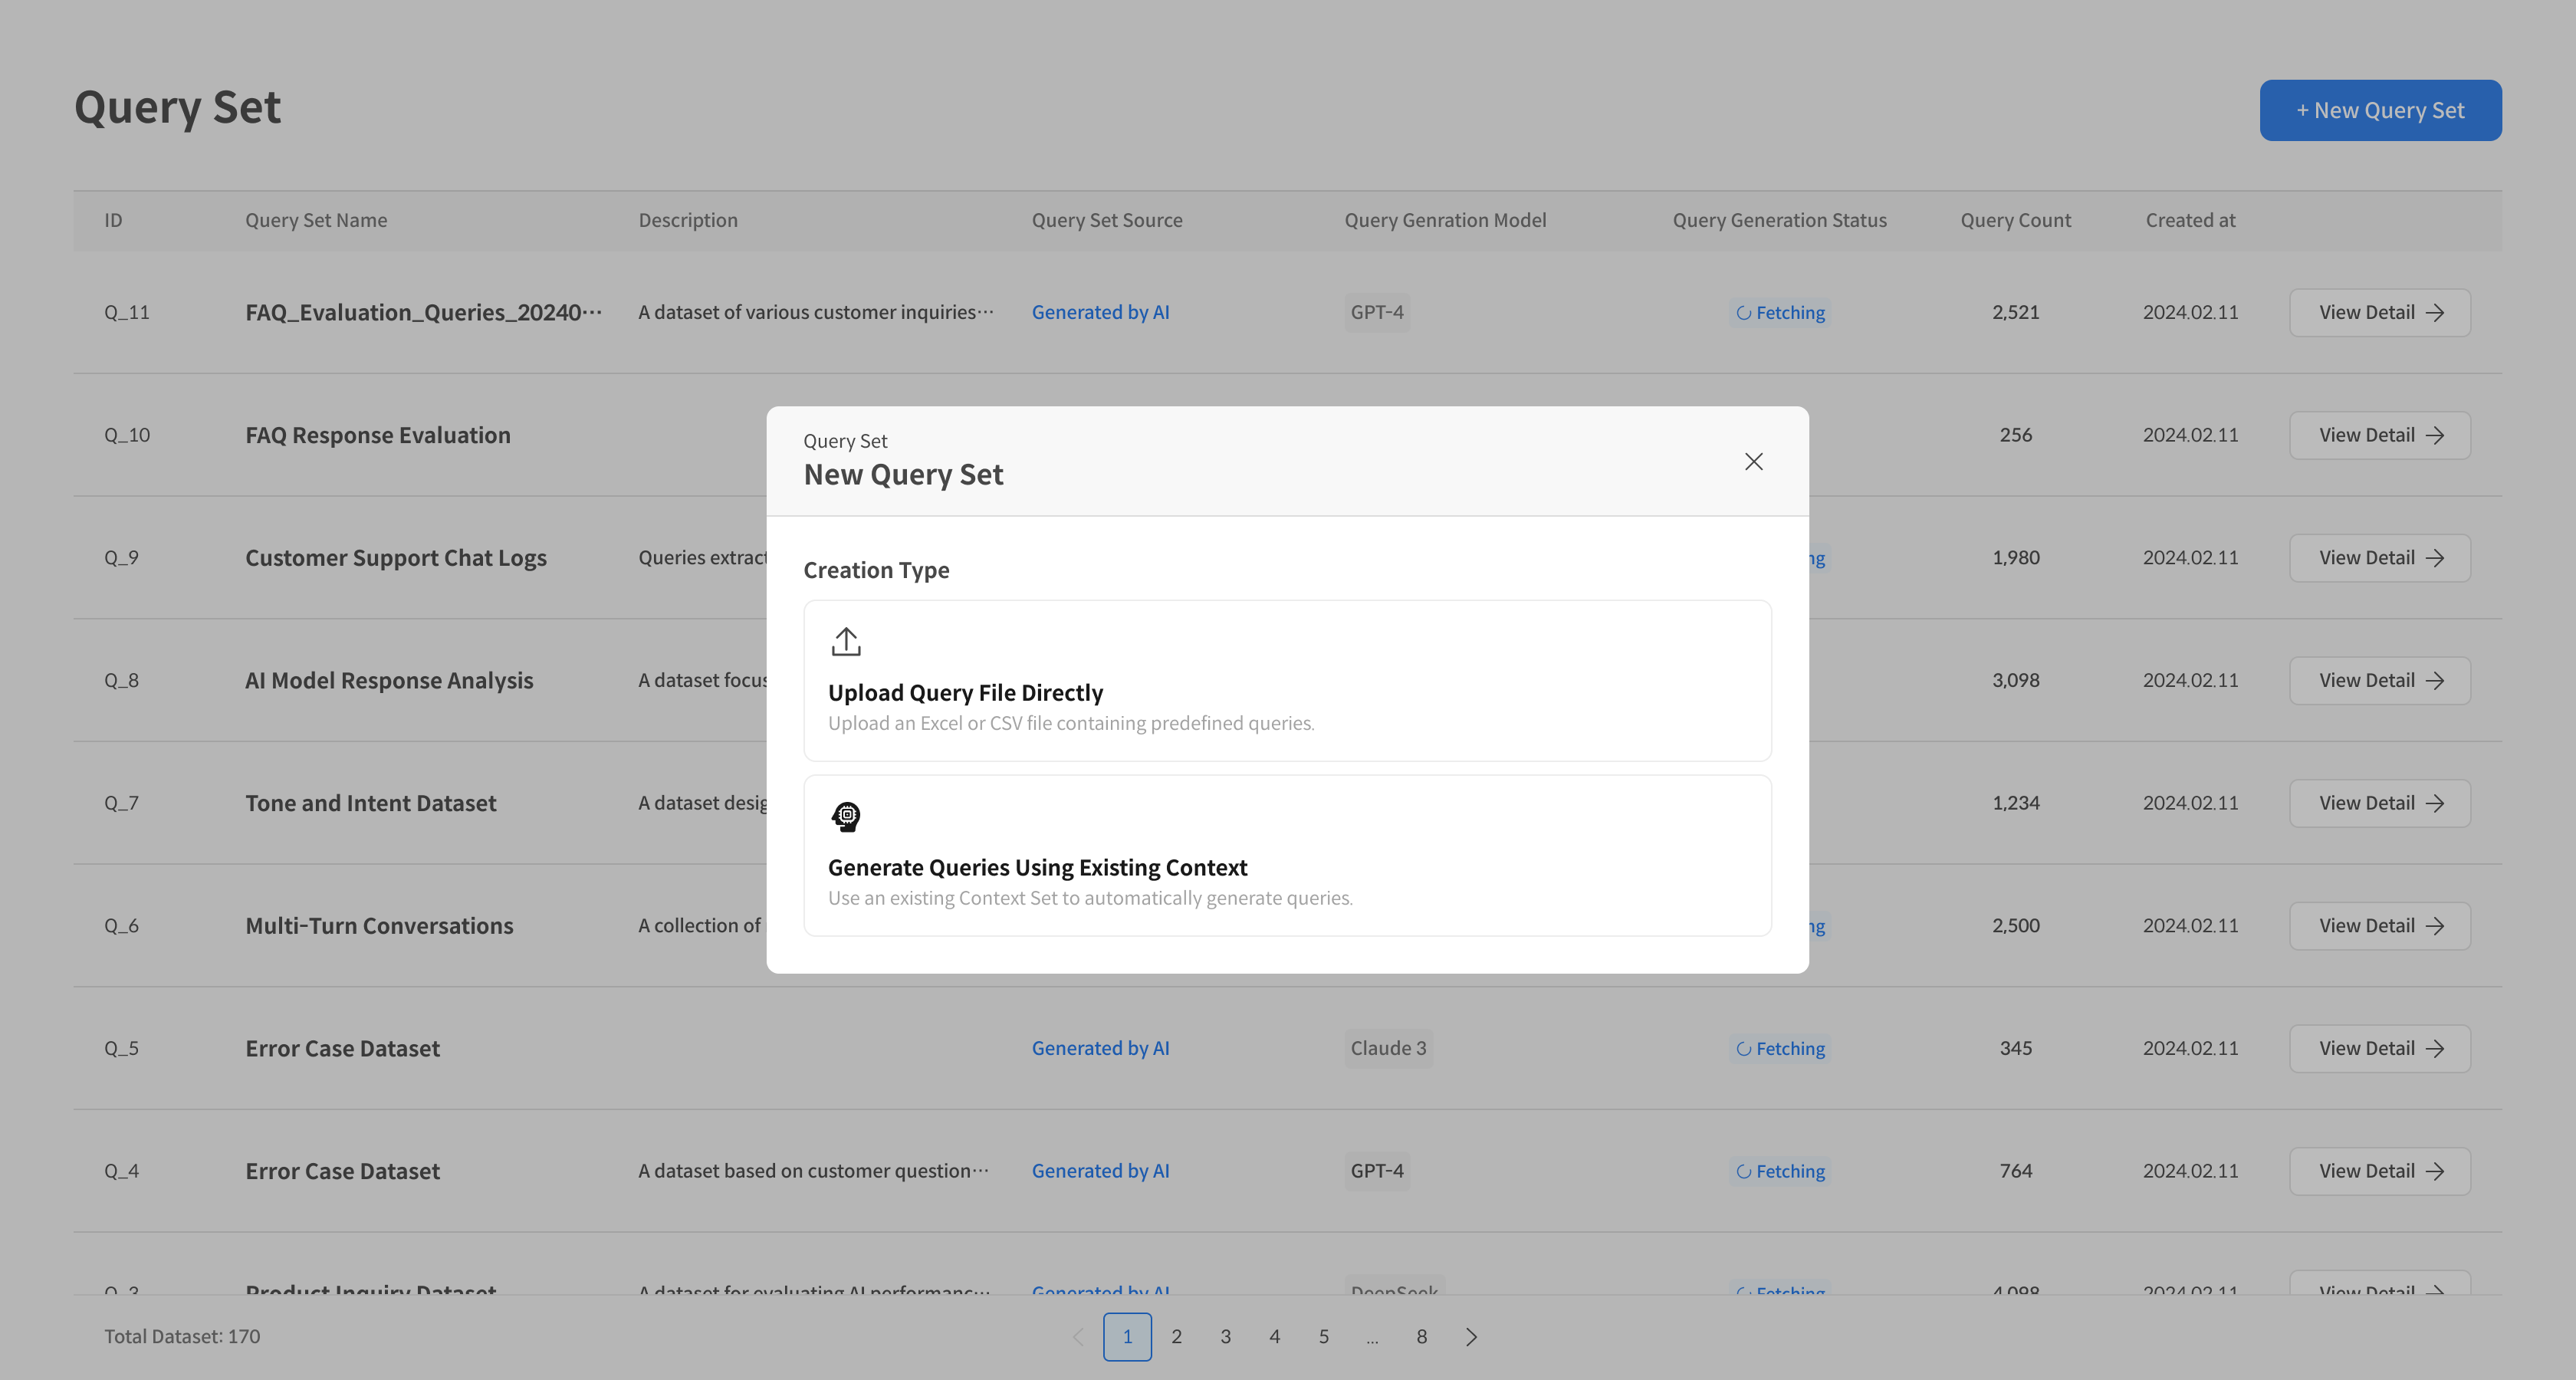
A Query Set can be created in two ways:
Path A (Upload Query File Directly): Upload a Query file directly
- Upload pre-existing Queries as a CSV/XLSX file.
- Its advantage is quick registration.
Path B (Generate Queries Using Existing Context): Auto-generation based on a Context Set
- The AI automatically generates Queries based on a Context Set.
- It allows for the automatic generation of diverse and rich questions.
Step 1: Start Creating a Query Set
① Query Set Creation Button
- Click the "+ New Query Set" button at the top right of the screen.
② Select Creation Method
- In the pop-up window, select Path A (manual upload) or Path B (AI generation based on Context).
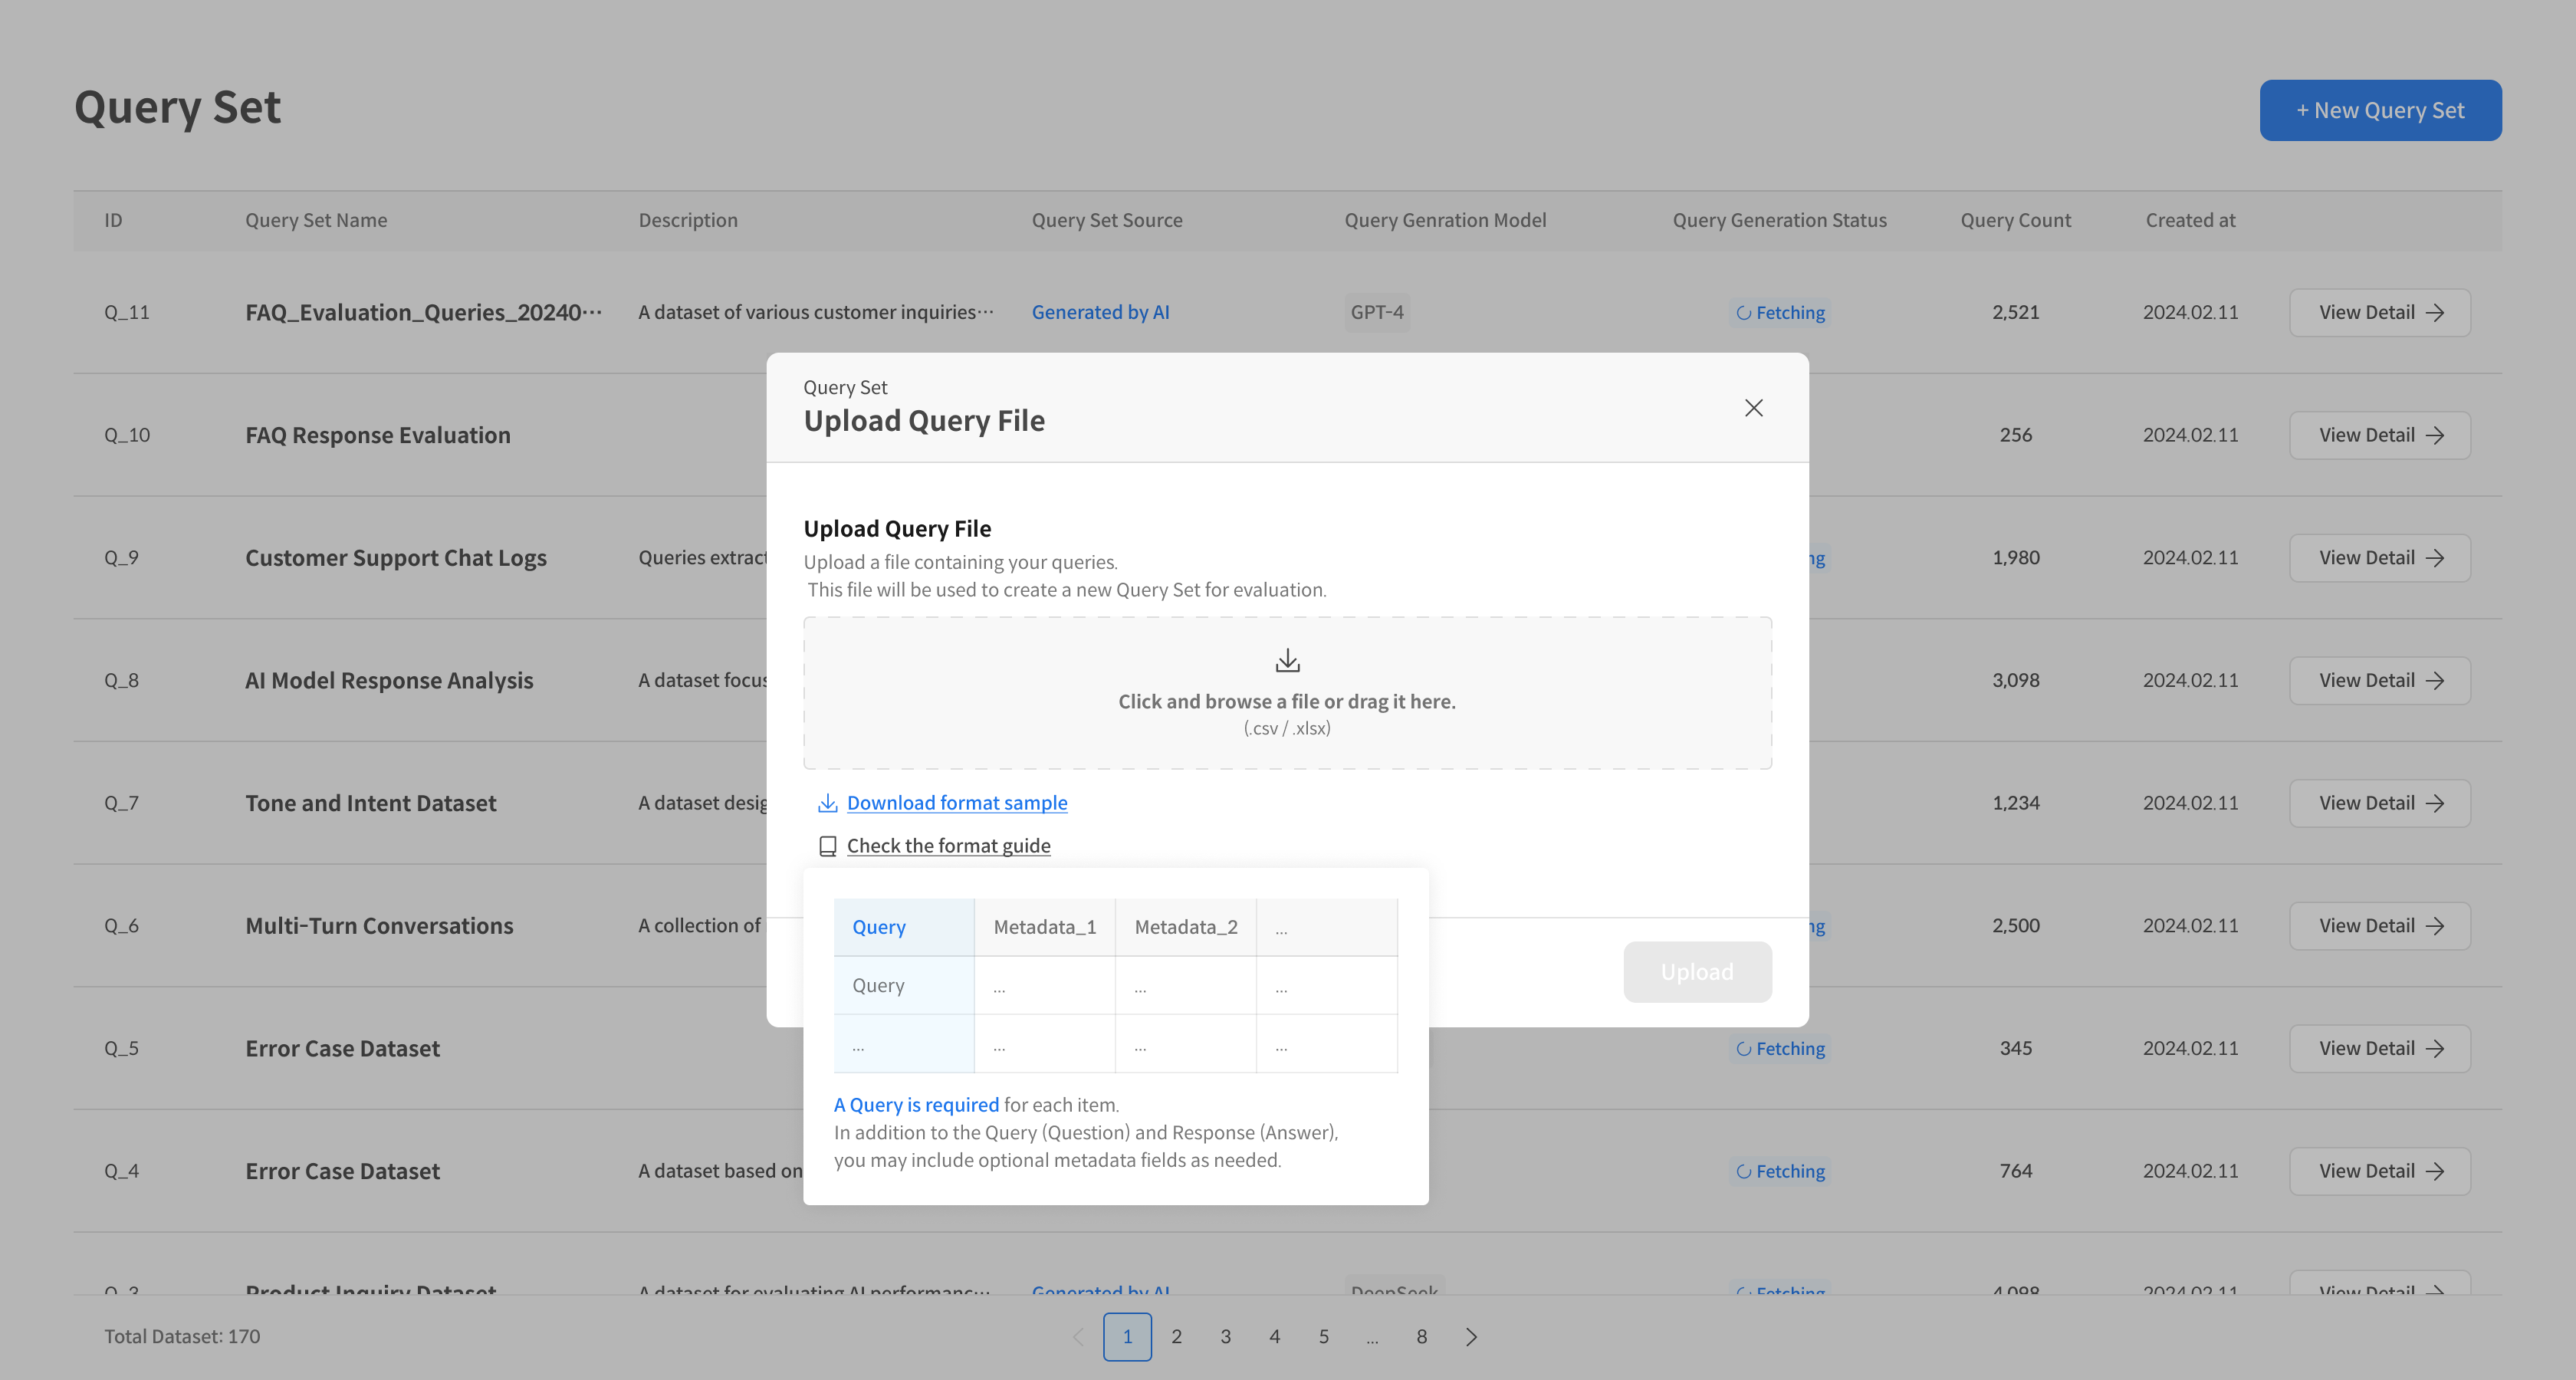
Creation Method A: Upload Query File Directly
① Upload Query File
After selecting Path A (manual upload), in the Upload Query File popup:
- Supported formats: CSV, XLSX
- Upload method: Drag & Drop or file selection
- Sample file: Download the sample file and check the format guide at the bottom.
- File Format: For details, please refer to the 📁 File Format Guide.
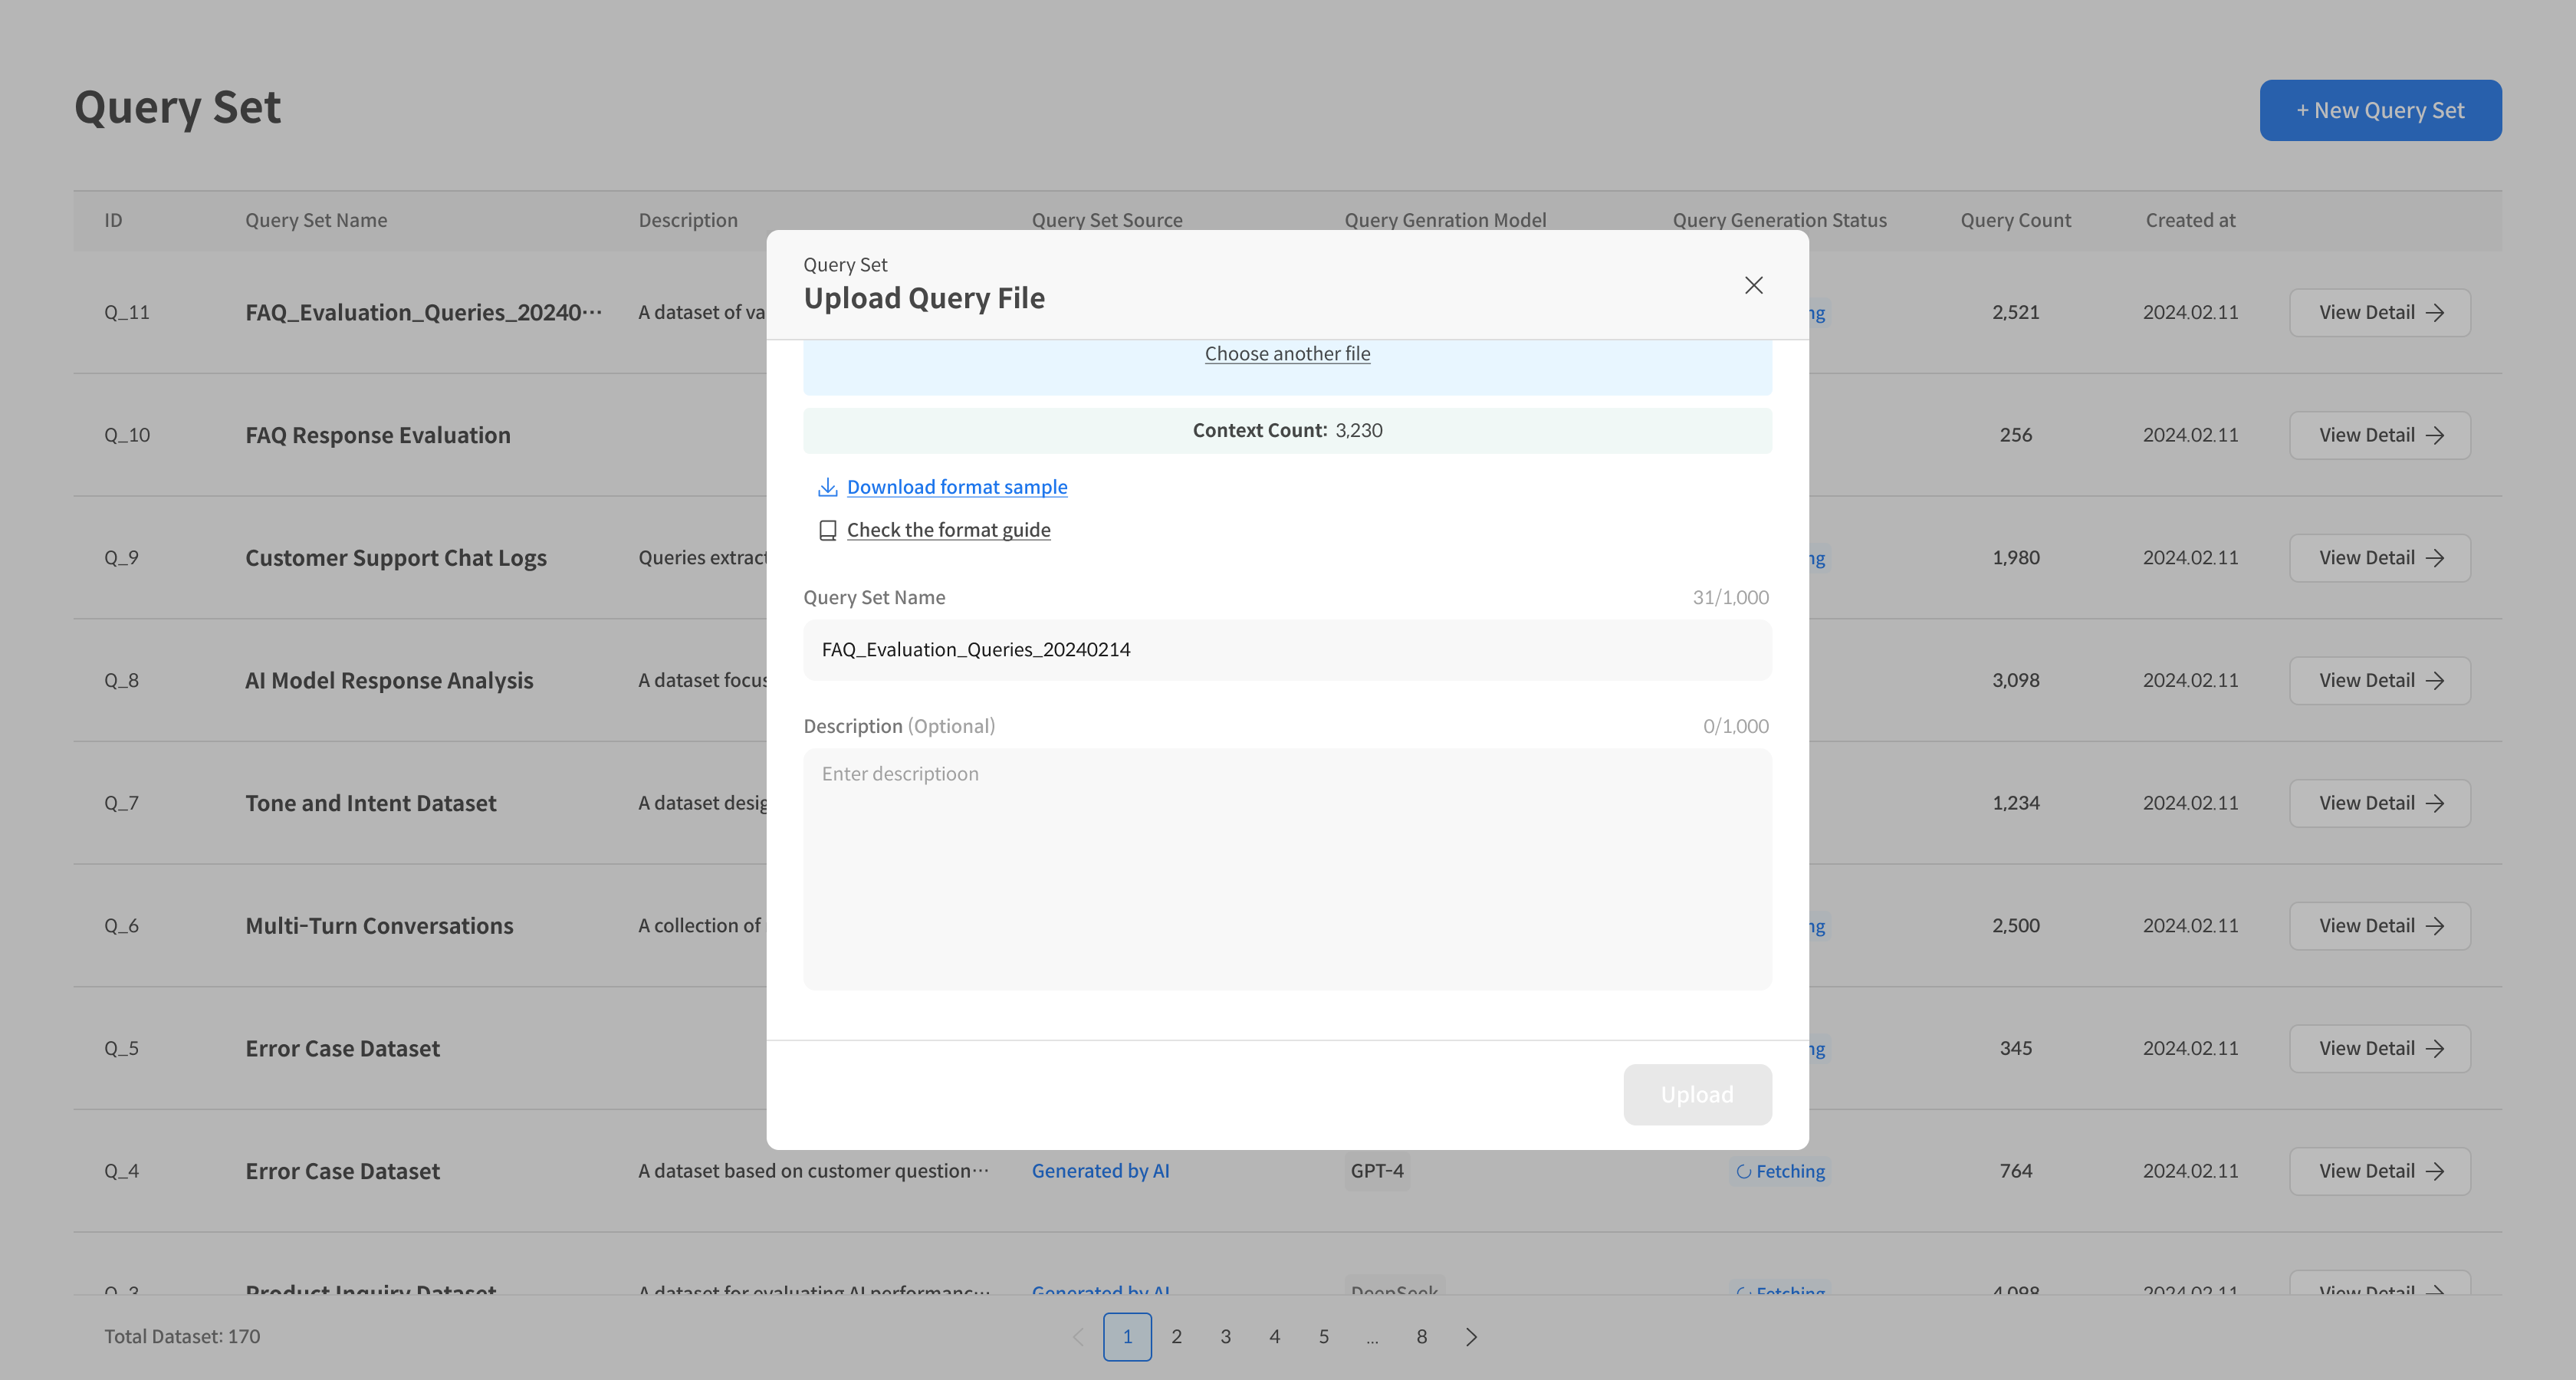
② Enter Basic Information and Save
- Query Set Name: Required
- Description: Optional
- Click the Upload button to save.
Creation Method B: Context-based Query Generation
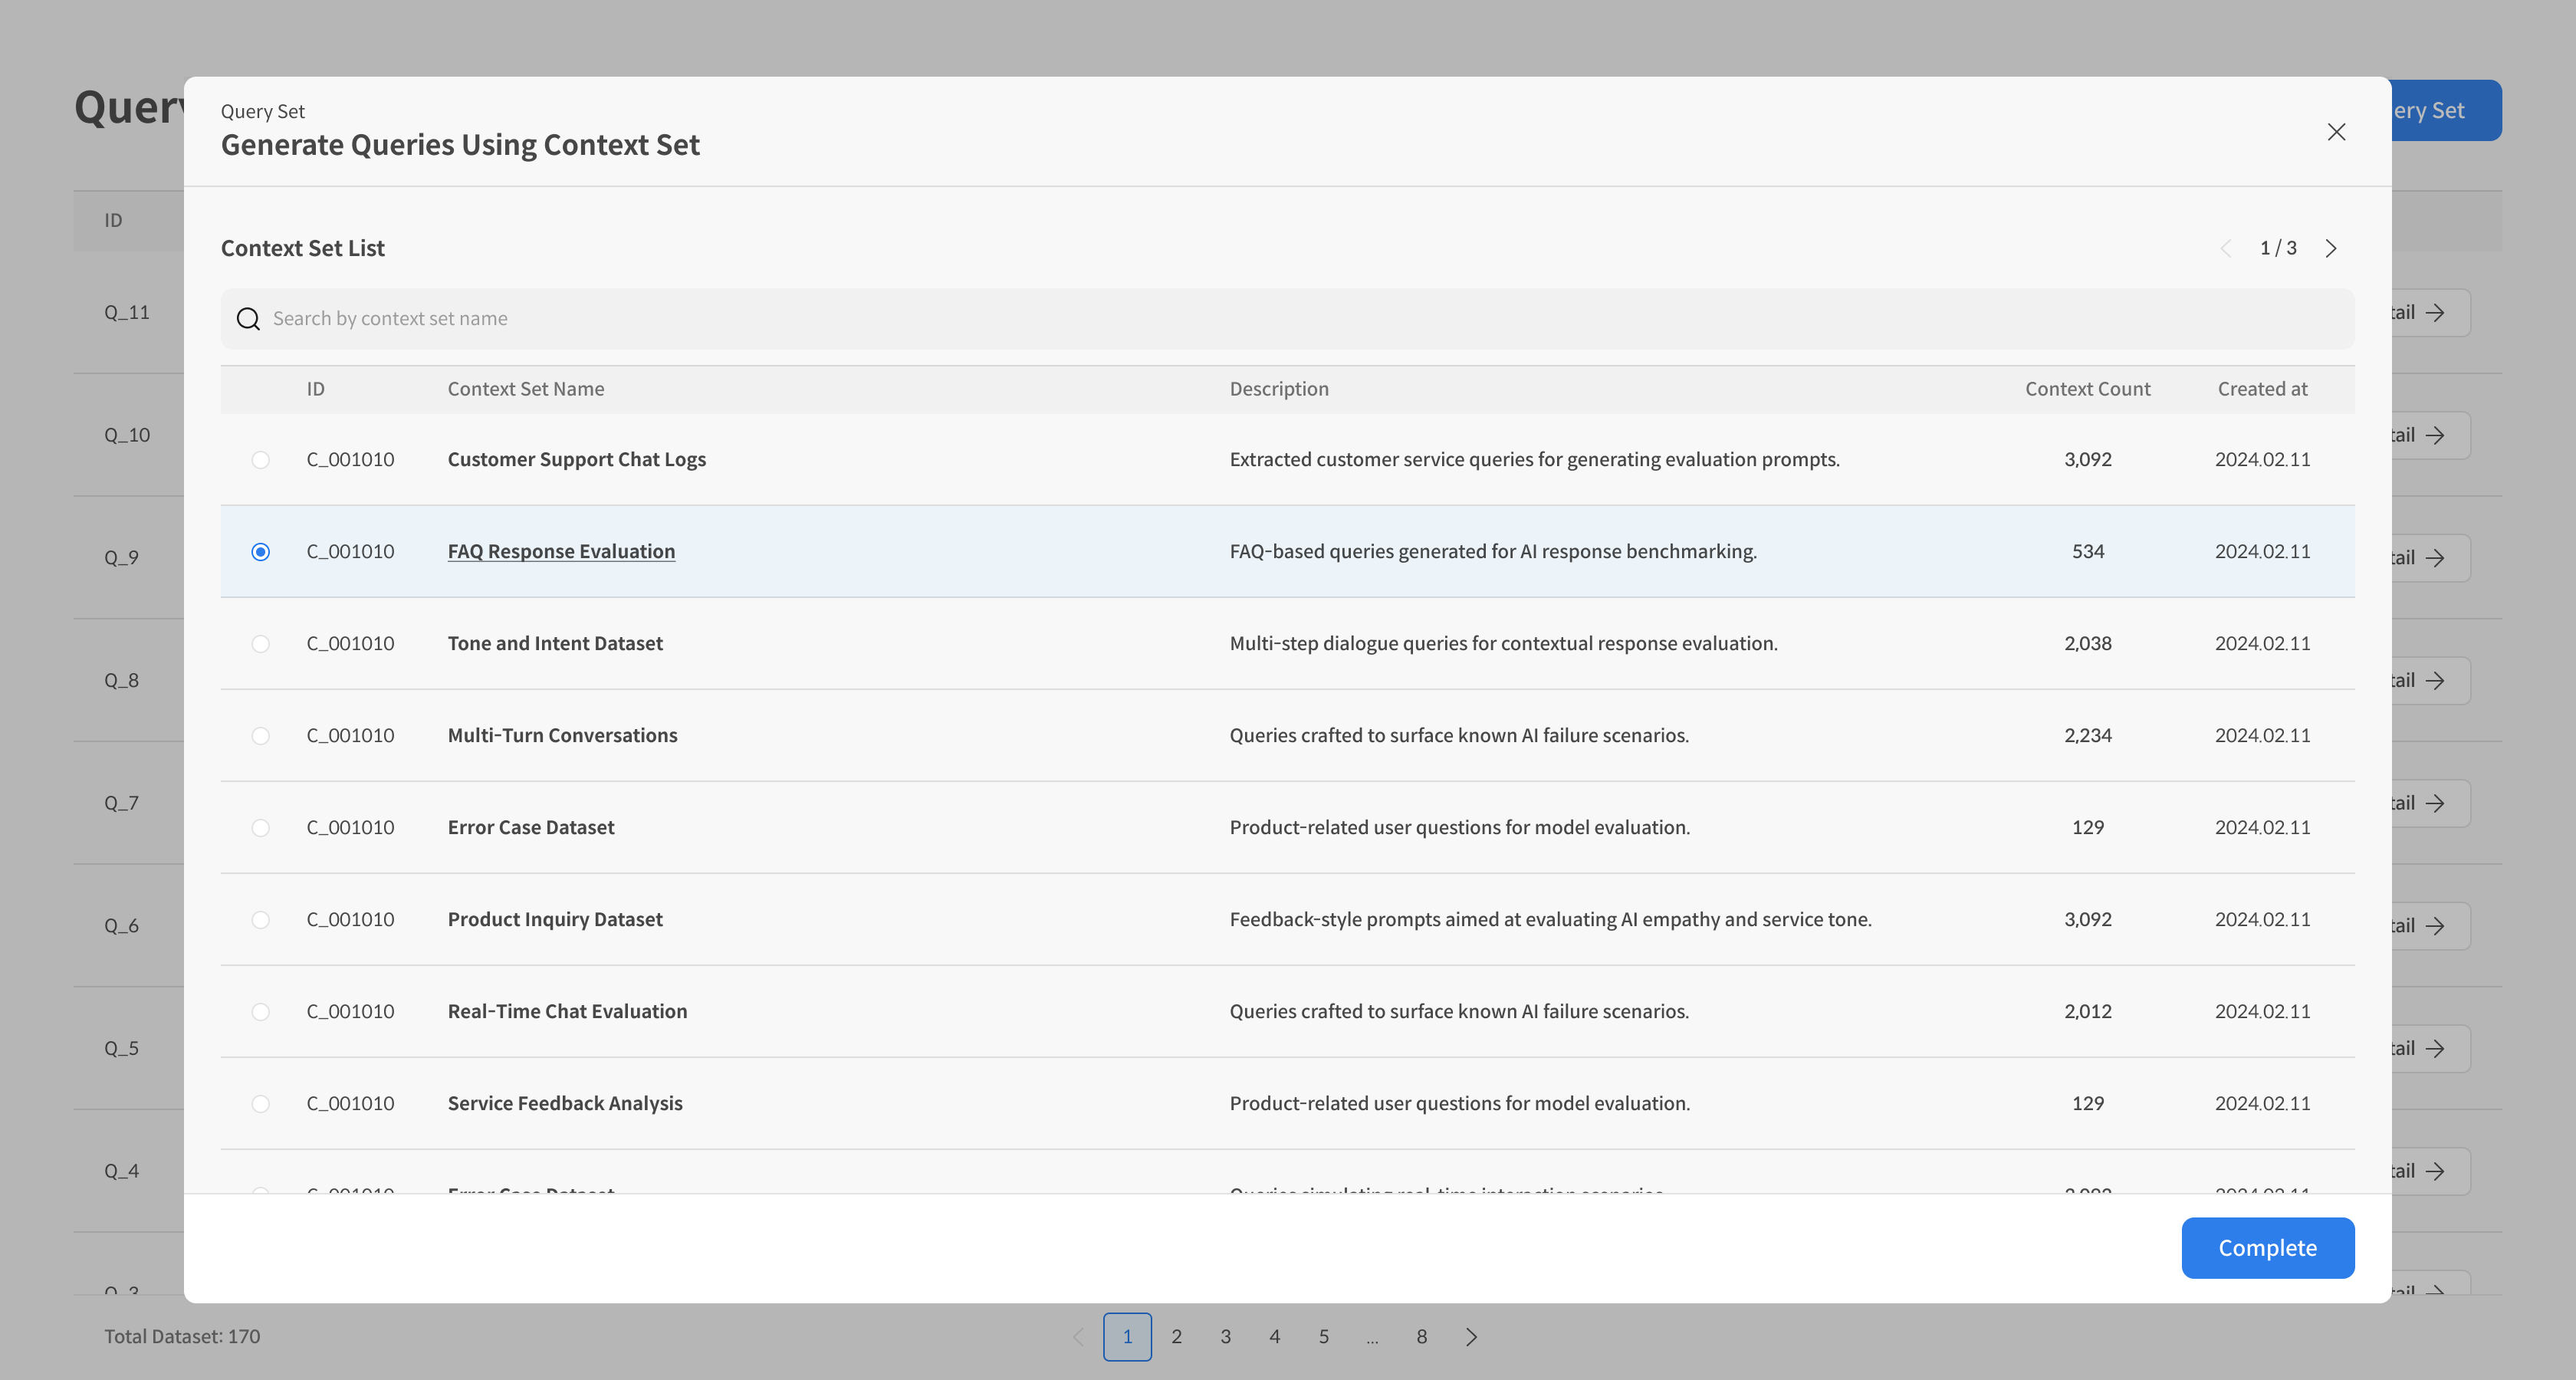
① Select Context Set
After selecting Path B (AI generation based on Context), select the desired Context Set from the Context Set List in the pop-up window.
.
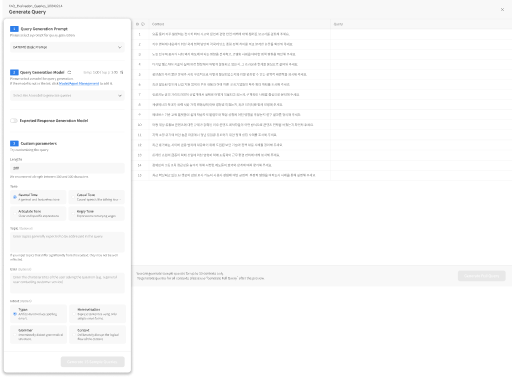
② Set Query Generation Options
Select the options for generating the query dataset and confirm before generation.
Step 1: Select Query Generation Model:
- GPT-4o, Claude 3.0, etc.
Step 2: Custom Parameters (Optional):
- Length: Adjust sentence length
- Tone: Neutral, Casual, Articulate, Angry, Abstract, etc.
- Topic: Specify a particular topic (Optional)
- User characteristics: Customer center user, etc. (Optional)
- Intent: Typos/grammatical errors/contextual disturbances, etc.
.
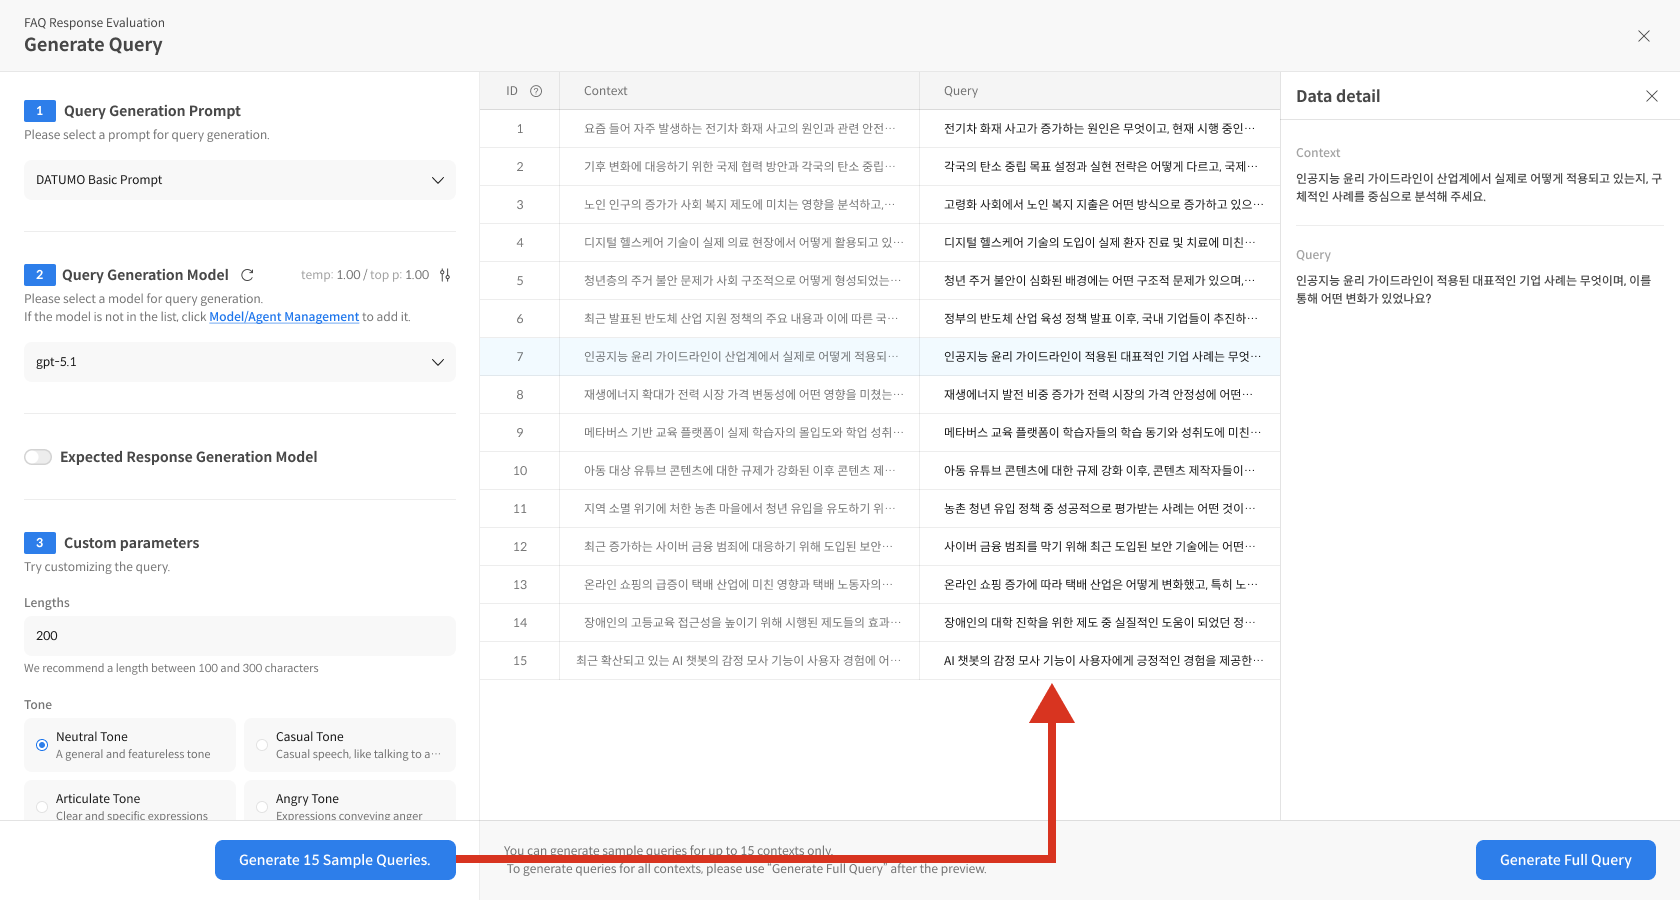
③ Execute Query Generation
-
Generate 15 Sample Queries: Generate a partial set for preview.
-
Generate Full Query: Generate for all Contexts at once.
.
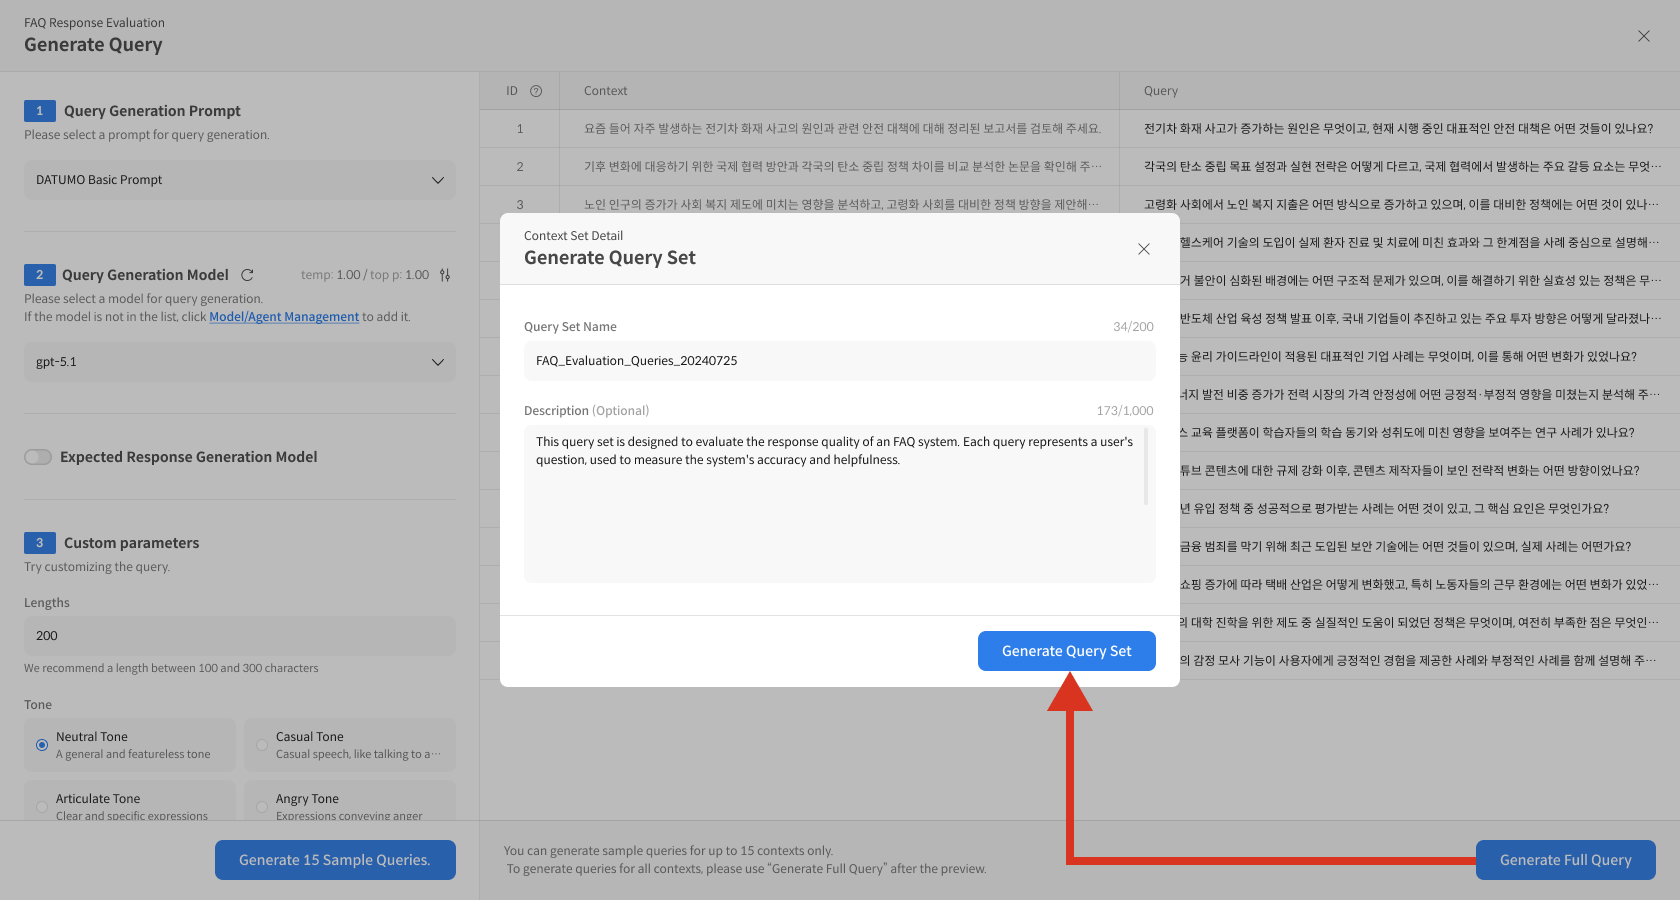
④ Save Query Set
After checking the generated Queries:
- Enter the Query Set name/description.
- Click the Generate Query Set button.
- Save complete → Connects to the Response Set creation step.
After reviewing the sample query data, if the set parameters are reflected correctly, generate queries for all documents.
You can check the query generation in real-time.
You can stop the query generation in the middle of the process.
Step 2: Query Set Management
④ Check Context List
The created Query Set is displayed as a list:
- Query Set Name: Name of the query set
- Source: Distinction between upload/Context-based
- Model: Generation model used (if Context-based)
- Generation Status: Complete/In Progress/Error
- Number of Queries: Number of questions included
- Creation Date: Date of creation
⑤ Check Detailed Information
Select the created list to go to the detail page. On the detail page, you can check each data row by row.

- In the right Basic Information panel, you can check the following information:
Query Set ID,Creation Date,Version History,Custom Parameters,Source Context Setreferenced during query generation, andFetched Response Setif response generation is complete. - You can proceed directly to auto-generating a Response by clicking the Fetching Response button.
When specific data is selected, you can check the detailed content and Metadata in the Data Detail panel.
⑥ Edit and Modify Query Set
Unlike other datasets, the Query Set can be freely modified before generating the Response Set:
- Editing: Modify individual query content.
- Remove: Delete unnecessary queries.
- Restore: Restore deleted queries.
- Versioning & History: Check modification history.
📁 File Format Guide
1. Required Columns
- query: The question content to be used for evaluation.
2. Optional Columns & Query Specials
- context: The context referenced when creating the question (=
reference_context). - gt: The column to be used as the correct answer (Response).
→ It is convenient to manage by consolidating various names like
ground_truth,expected_response,gold_answer,gold_responseinto one. - gold_chunk: The context for verifying the correct answer (Context). → Unlike the general context referenced during query generation, it is used as the basis for the correct answer during evaluation.
Query special columns (gt, gold_chunk, etc.) are not processed as metadata and are used separately in the evaluation process.
3. Metadata Columns
- The first row of the uploaded file is recognized as the column name (field name).
- All columns except for the required and special columns are automatically processed as metadata.
- e.g.,
difficulty,category,source→ They are preserved as is and can be used to filter or classify evaluation results.
Format Example
| id | query | metadata1 | metadata2 | metadata... |
|---|---|---|---|---|
| 1 | Question1 | metadata1 | metadata2 | ... |
| 2 | Question2 | metadata1 | metadata2 | ... |
| 3 | Question3 | metadata1 | metadata2 | ... |
CSV, XLSX Usage Example
| id | content | category | difficulty | domain |
|---|---|---|---|---|
| 1 | What are the customer service hours? | hours | easy | CS |
| 2 | Please explain the refund policy in detail. | policy | medium | Sales |
| 3 | Please tell me the conditions for free shipping. | shipping | easy | Logistics |
⚠️ Precautions
- Required Column:
querymust be included. - First Row: It is recognized as the column name (field name), so enter the header, not the data.
- Metadata: All columns other than the required columns are automatically processed as metadata.
❓ Frequently Asked Questions (FAQ)
Q. An error occurred during query generation. How do I handle it?
A. When all other query generations are complete, you can check only the items where an error occurred. For error items, you can handle them by choosing one of the following options:
- Delete: Proceed with deletion, excluding the corresponding query.
- Retry: Try auto-generation again.
- Enter manually: Write the query yourself.
You can proceed to the next step after all error cases have been handled.