Workspace Setup and Management
Before starting an evaluation project, you need to configure your account and workspace.
This guide is written based on the SaaS environment, with separate notes highlighting the On-Premise environment differences.
Creating a Workspace
In the SaaS environment, your account and workspace are provisioned by SelectStar when the service contract begins.
By default, the following are provided:
- Automatic creation of an initial workspace
- A pre-configured Admin account
- Default settings applied
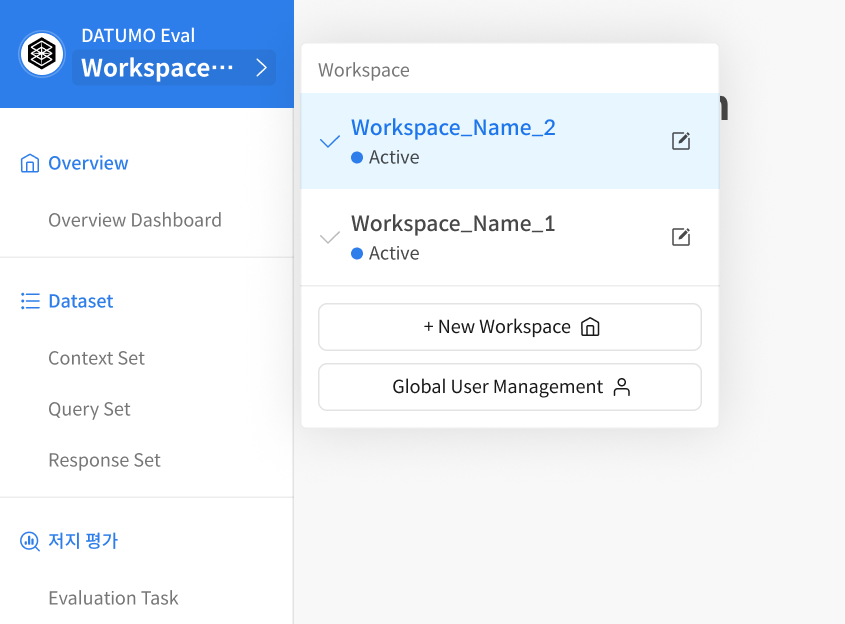
Workspace management:
- Admins can manage members
- Admins have access to all projects
💡 How it differs in the On-Premise environment
Direct Workspace Creation
The Super Admin can create workspaces directly using the
[+ New Workspace]button.
Creation Process
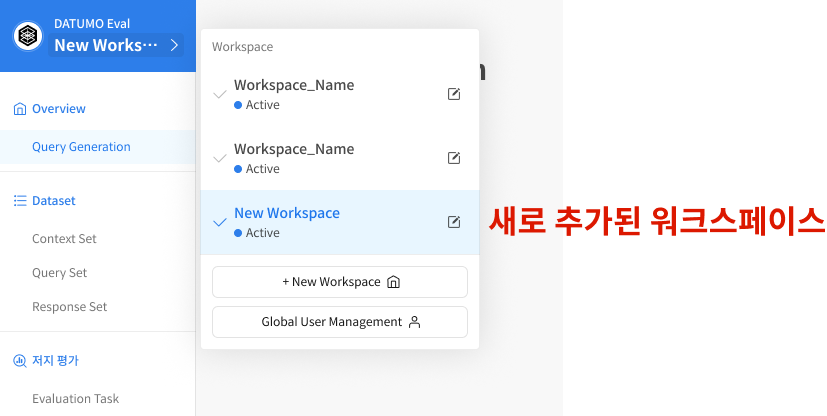
① Open the Workspace Creation Modal
The Super Admin selects the logo box in the top menu to open the workspace list modal.
From there, click the [+ New Workspace] button.
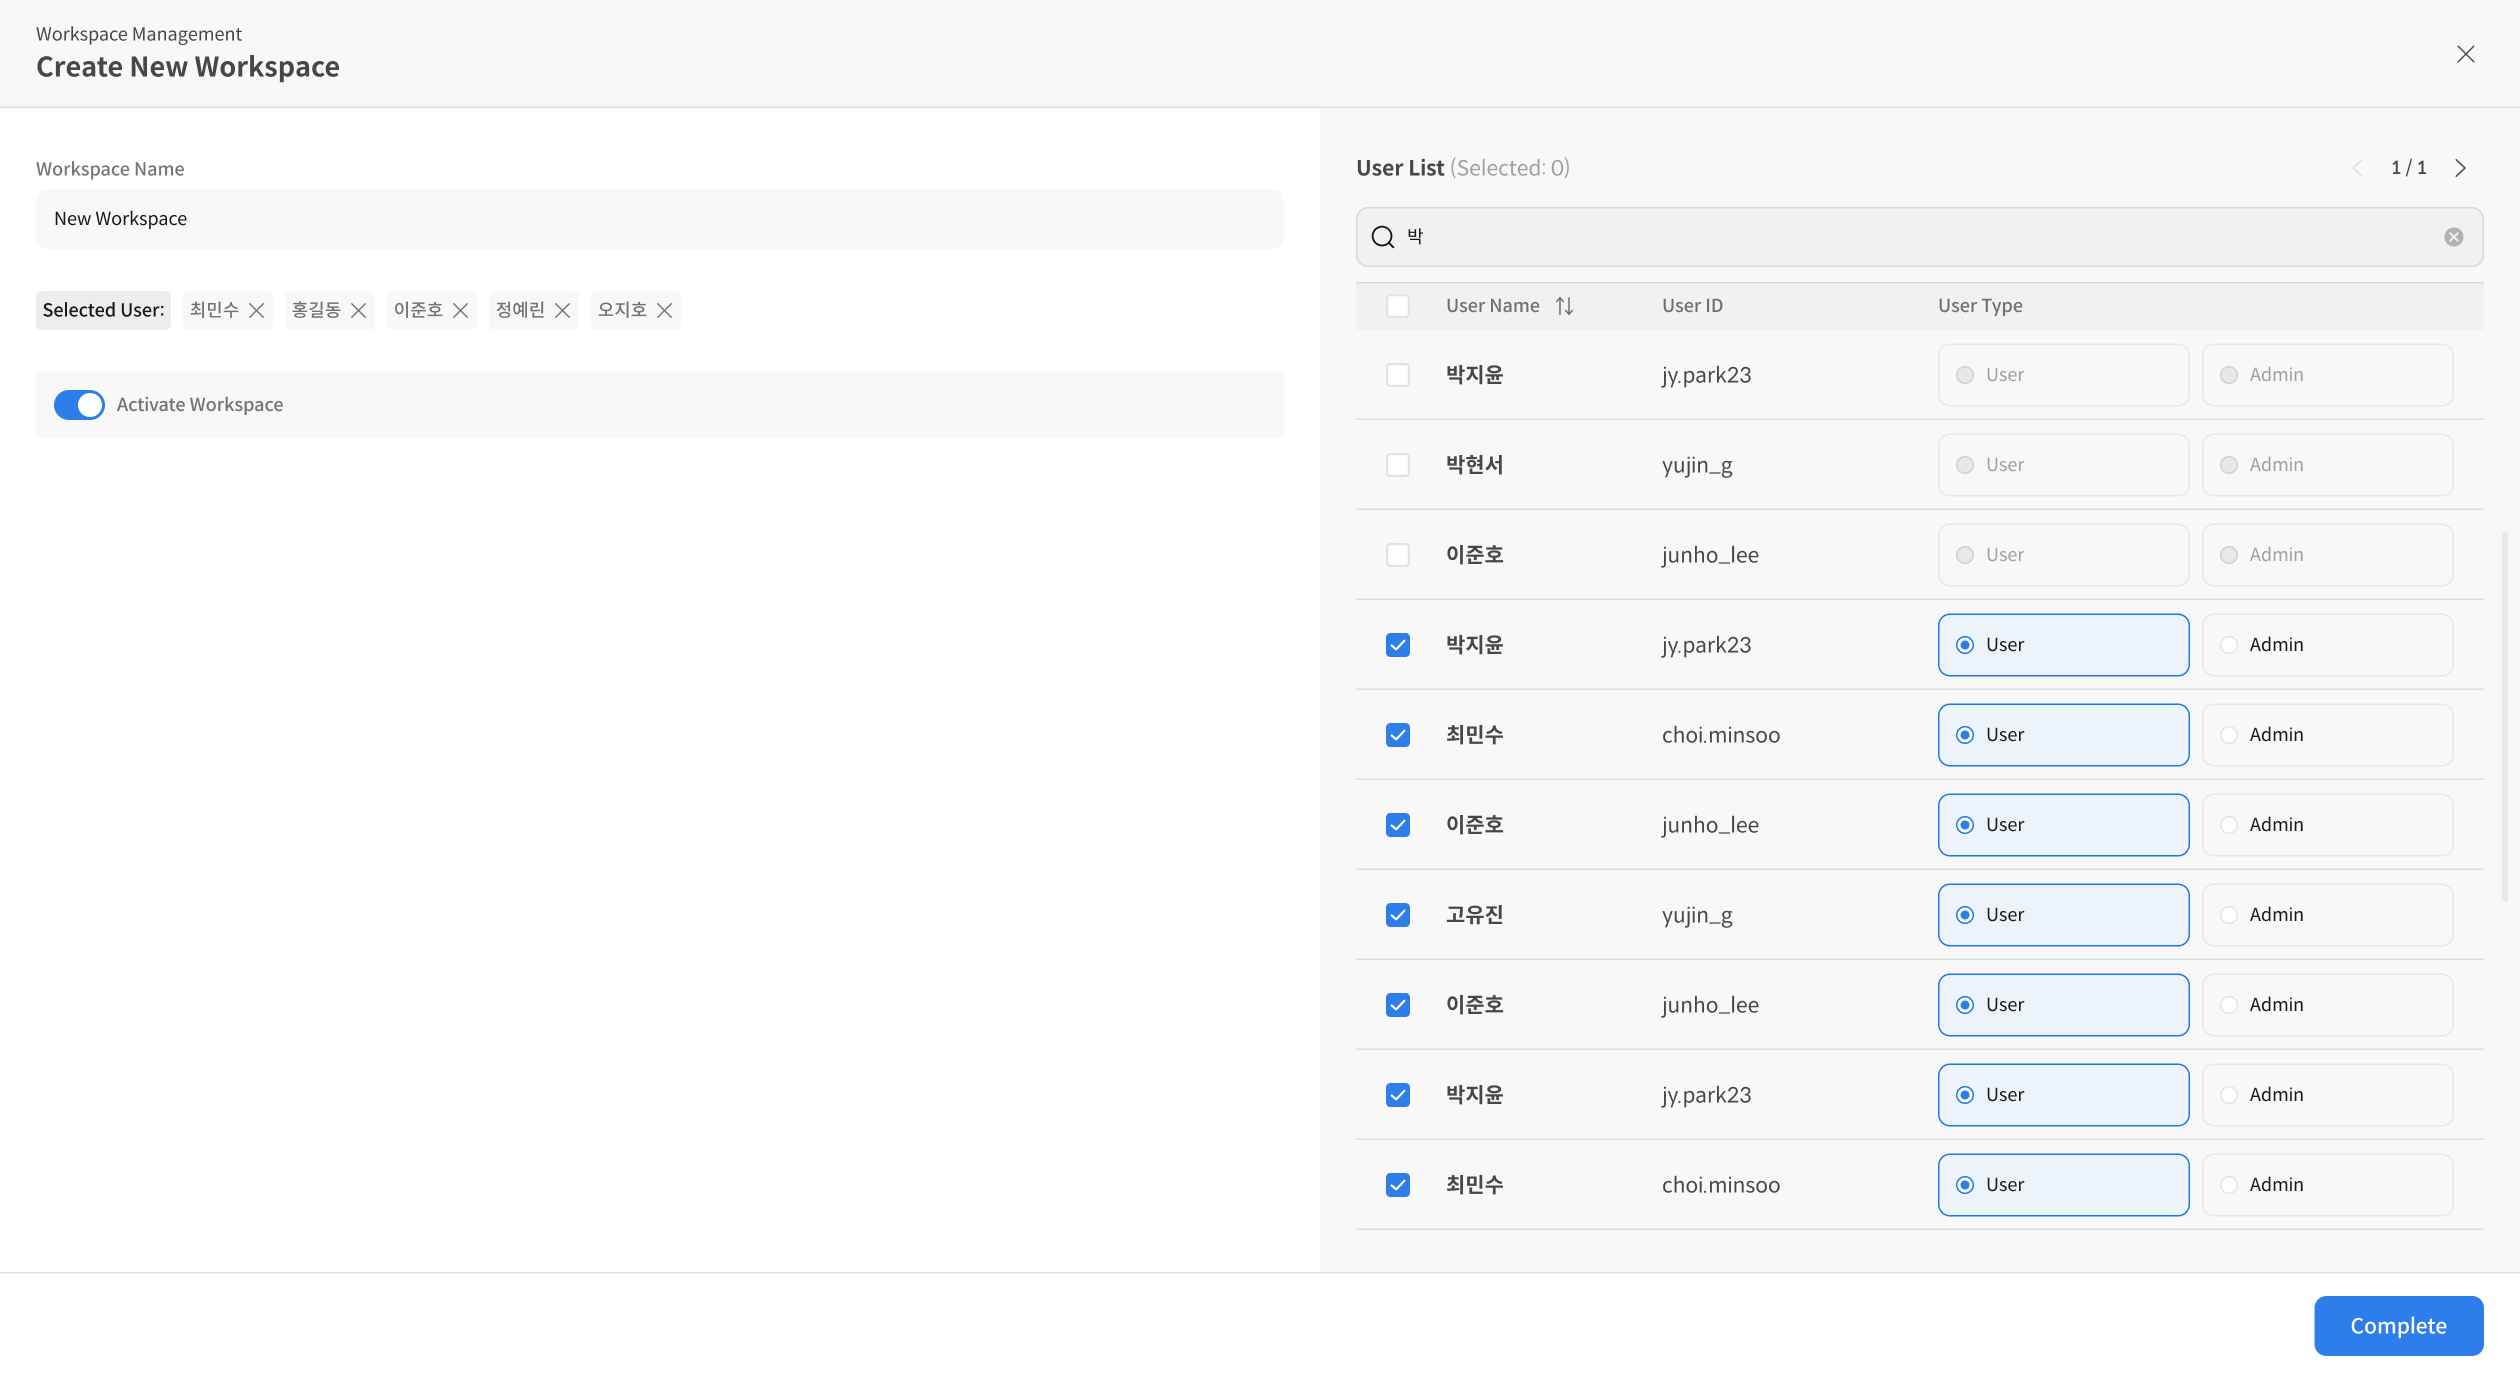
② Enter Basic Information
Fill in the workspace name, description, and activation status, then click [Complete] to save.
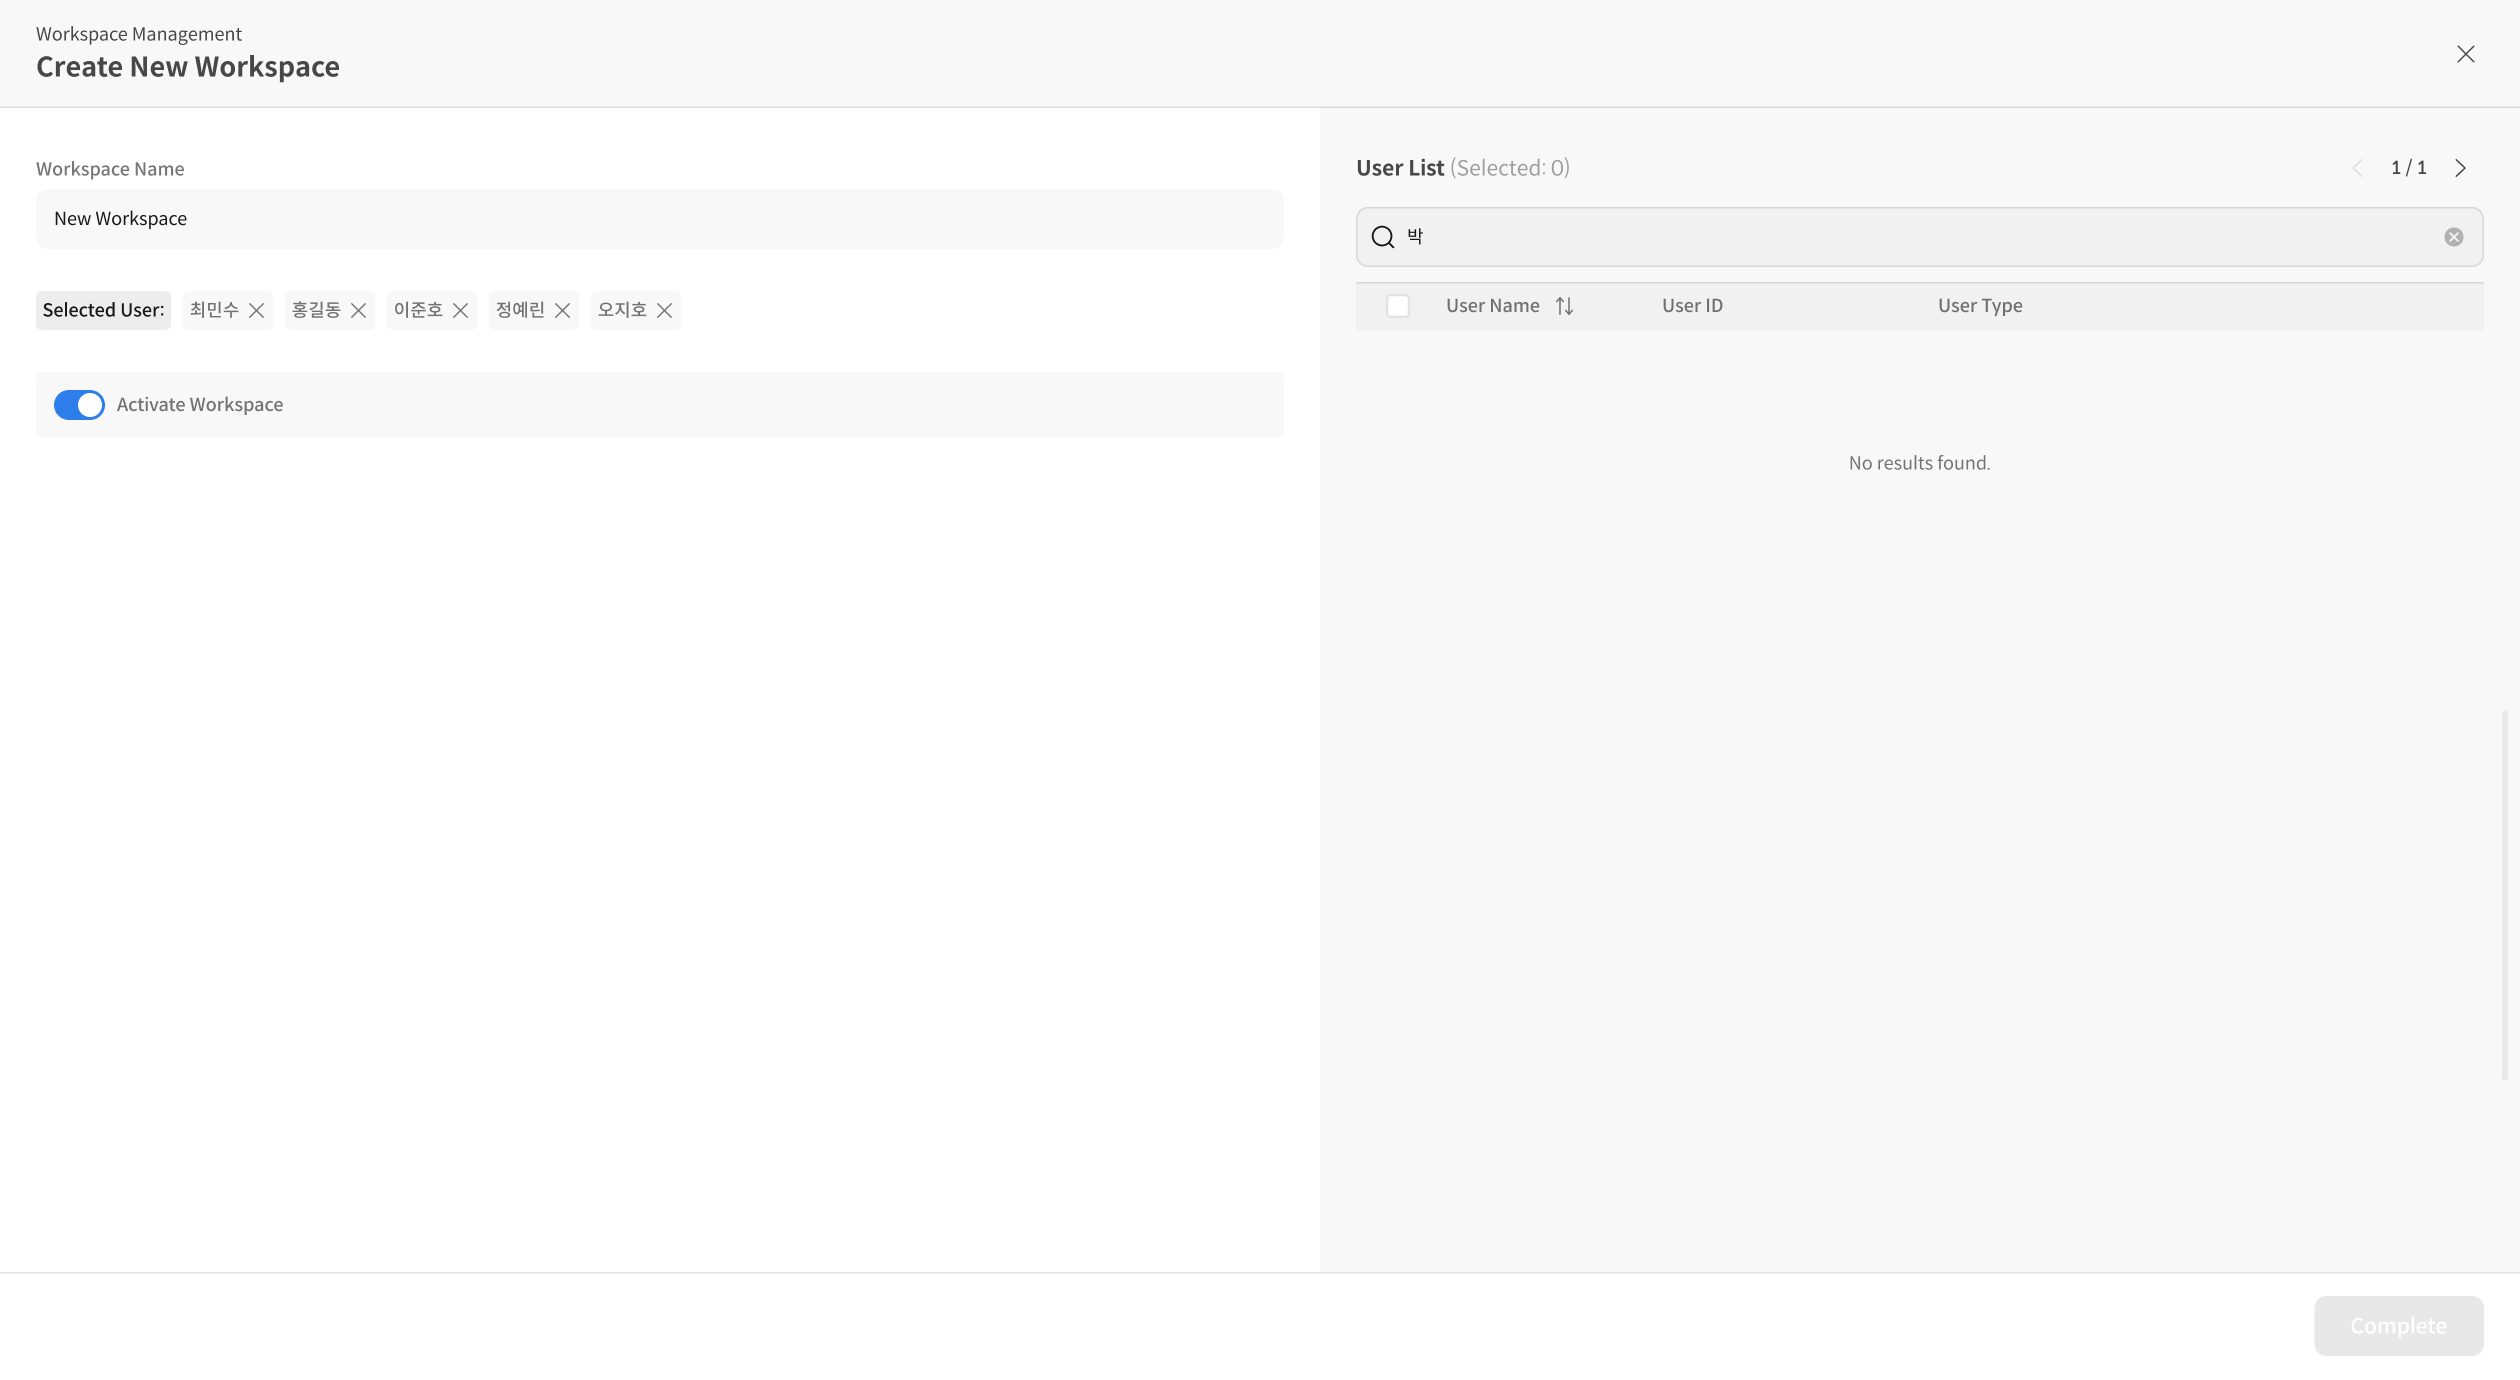
③ Invite Users
Immediately after creation, you can invite members.
However, invited users must already be registered in the Global User List.
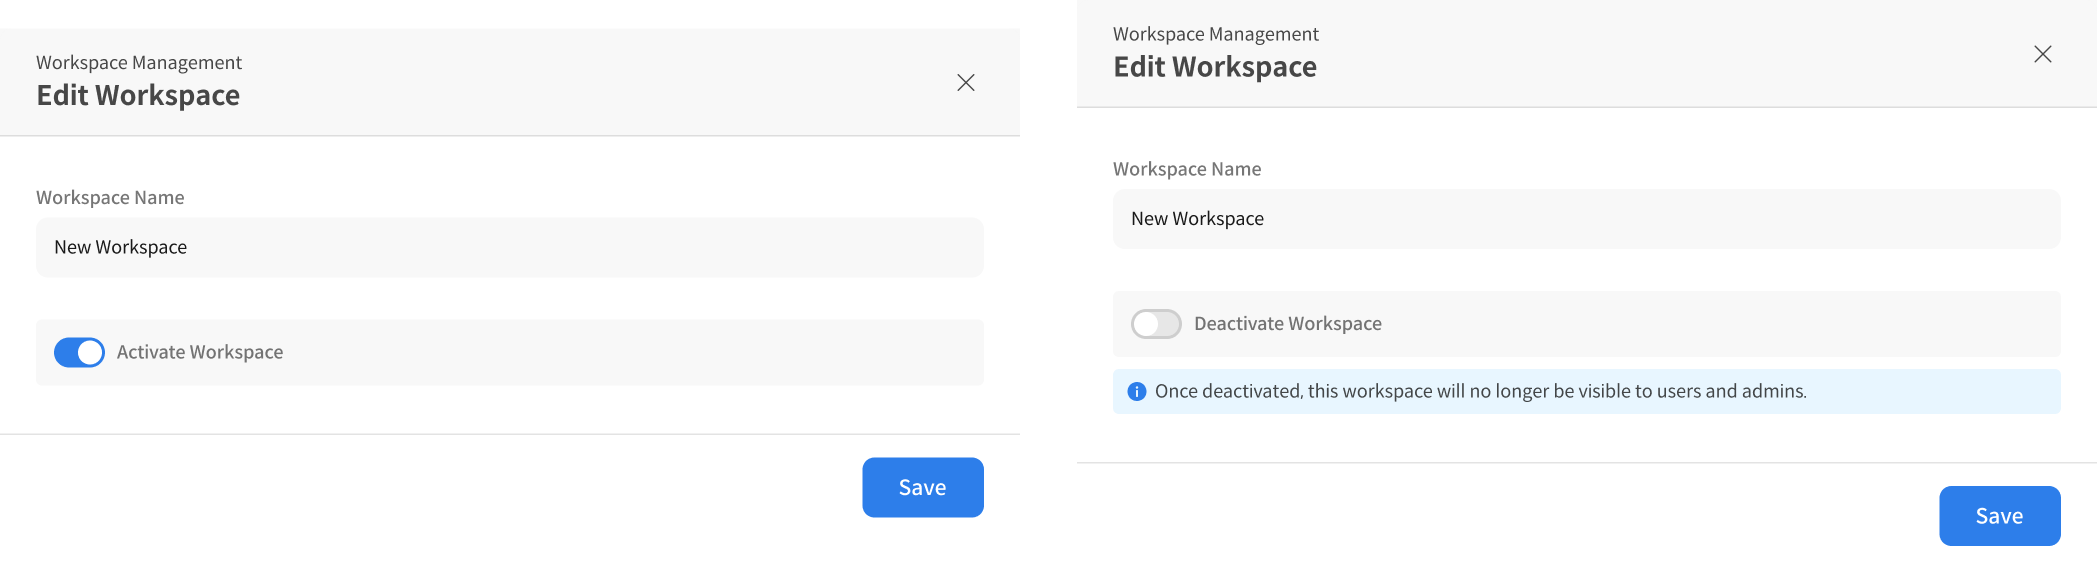
④ Manage After Creation
Once created, you can manage the workspace through the management modal.
Additional settings include enabling/disabling the workspace and modifying member permissions.